
Steering Wheel Help?


Senior Member
Joined: Sep 2006
Posts: 2,357
Likes: 0
Vehicle: 1997 Hyundai Fx Coupe
^ Ok... I'll load the pics in a bit.
Here you go mate... As I said, the picture quality is sh!t-house in just about every one but they may still give you some insight as to what you need to do.
You'll need some basic tools including:
- Steering wheel pulling kit (Available from any auto parts store for around $15).
- Philips-head screwdriver
- Ratchet with extension
- 22mm socket (If you don't have one, you could also use your wheel-brace/wrench if you have a multi-fit one with a 22mm end).
- Ratchet sockets to suit whatever steering wheel puller bolts you have. Mine were 17mm & 14mm.
- Allen key to suit steering wheel screws.
- Small amount of grease/lube.
- About an hour to do it all, including thinking time.
Before you start, it might be an idea to pull the "Horn" fuse (The fuse box is in the engine bay, behind stock battery location. Fuse layout is marked on the front cover of the fuse box), just so that it doesn't keep going off during the removal & install. It gets annoying wink1.gif
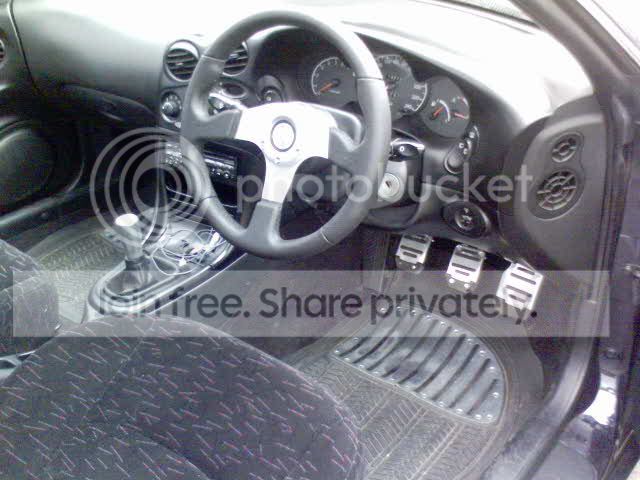
Stock wheel...

1. Start by removing the 3 Philips-head screws from the back of the steering wheel. Turn the wheel as needed so that you can get to each one.
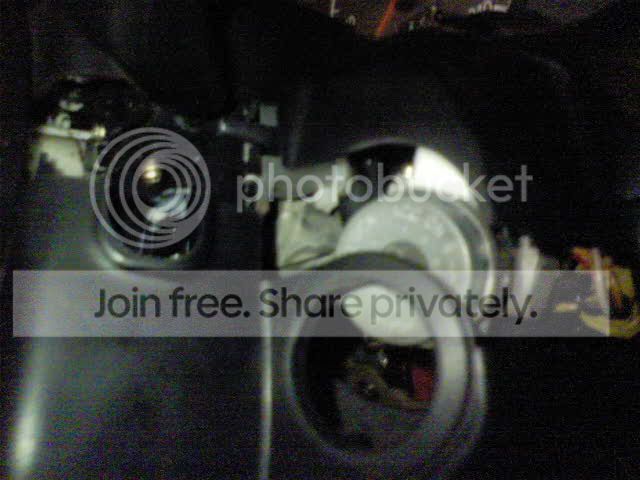
2. Carefully pull front cover away & you'll see this...
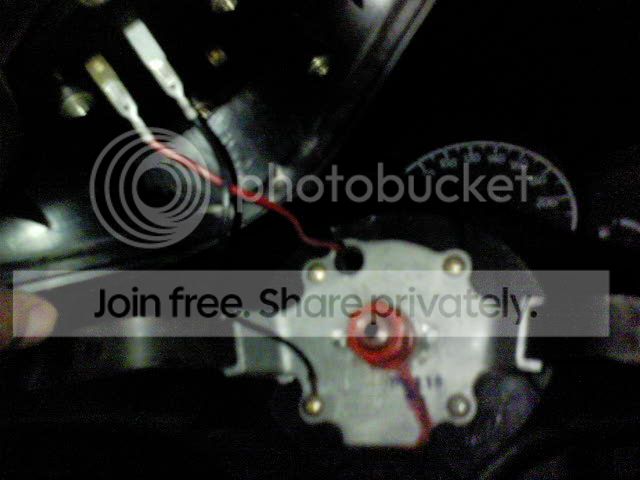
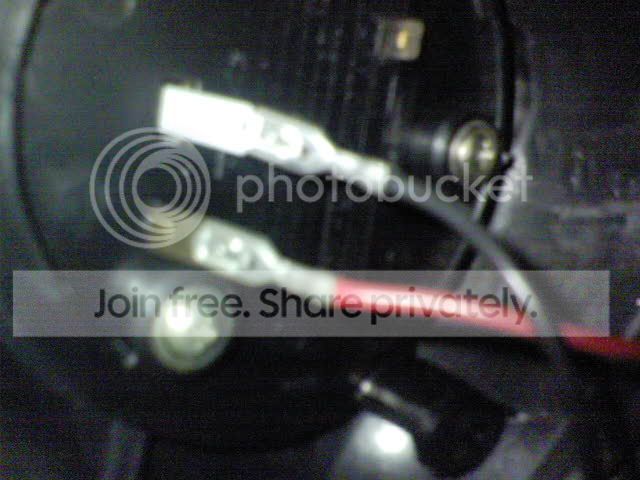
3. Disconnect both wires from the horn assembly & toss the steering wheel cover on the back seat or somewhere out of the way. You may notice in later pics that I also needlessly removed the black "Earth" wire (bottom left screw) fom my stock wheel but it was only because I thought it would be needed with the new wheel. It isn't needed but you may as well remove those 4 screws as they need to come off later anyway. These screws only hold another part of the steering wheel rear cover on, which will come off with the stock wheel.
4. Get your ratchet, extension & 22mm socket & get to work on the big nut in the middle...
5. You'll also need to remove the plastic shroud that covers the steering wheel column. Do this by removing the 3 Philips-head screws front underneath it. The third screw can only be removed with the steering wheel tilted all the way up & the tilt handle pulled down. Once they are out, carefully prise apart the plastic shroud with gentle jerks. Both parts will come away pretty easily. Put them aside somewhere out of the way.
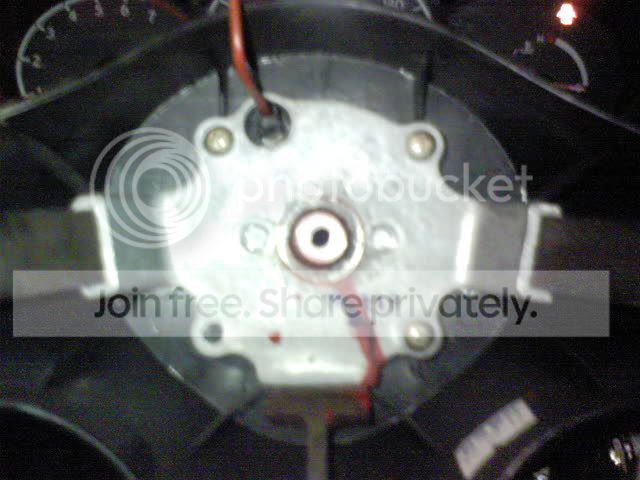
6. You should now be at this stage...
7. Get your ratchet & suitable sockets for use with the steering wheel puller. Use it like so...
Keep turning that biatch until it "cracks" off. Whatch that it doesn't hit you in the face like mine nearly did. Make a note of exactly which way the steering wheel was pointing if you want to have half a chance of getting the new one on straight the first time.
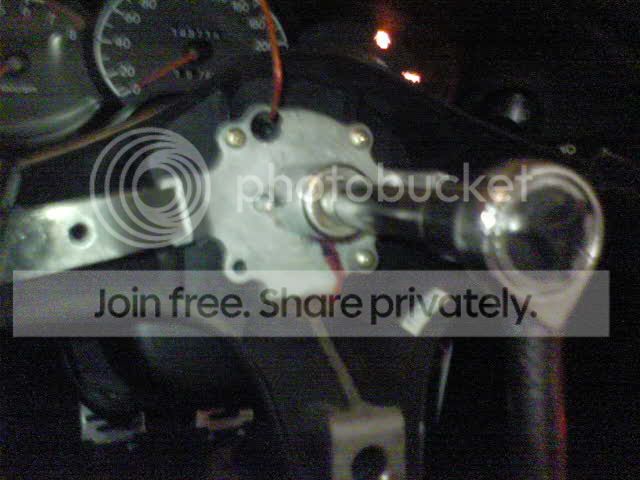
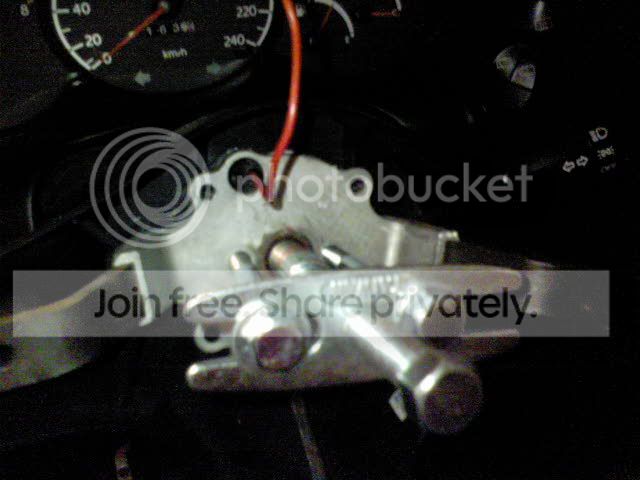
8. Now you should have this in front of you...

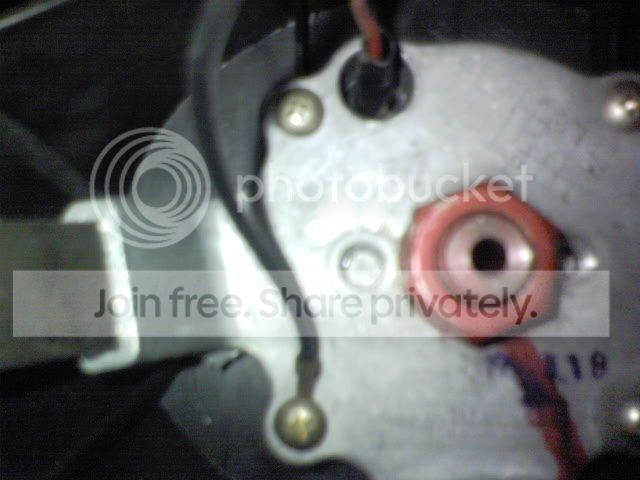
9. Lube up the copper plate at the back of your new boss kit &, paying close attention to where the top of the steering wheel position should be, push it onto the column spindle. Do it slowly & ensure that everything is lining up with the pins behind the hub & make sure that the spring-loaded horn "peg" is touching the copper plate the way it should.
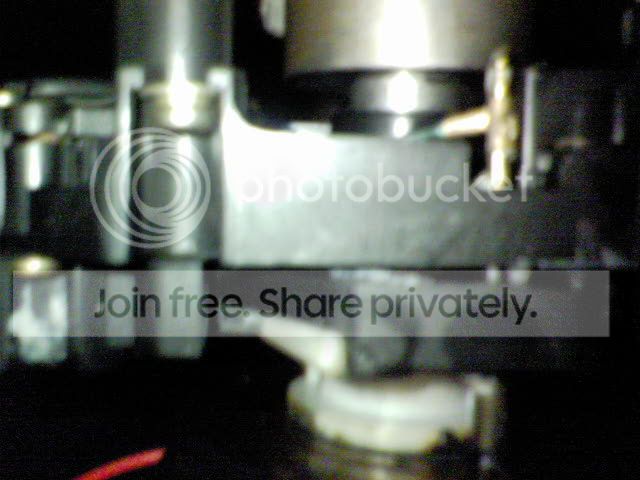
The back of the "peg" can be seen here from above (brass-coloured thing in the top right-hand side of pic). Make sure the connector at the end of it doesn't touch or foul anything else. Mine needed to be moved up about 10mm from the end of the shaft as you can see in the pic...
10. Get the 22mm nut back on there & tighten it "al' dente"... I'm not sure what the correct torque specs should be so look them up on Hyundai Web-Tech if you don't trust yourself.
The centering ring that you can see in the pics of my hub, that I posted further up in this thread the other day, stopped the horn assembly from fitting in the hole in the middle of the wheel so it wasn't used.
(Sorry I forgot to take pics in between fitting the boss kit & the finishing the install sad.gif )
11. The rest is as described in my previous post. First replace the "Horn" fuse if you removed it earlier.
Once the boss kit is bolted onto the steering column, first you need to position the new steering wheel close enough to the boss/hub so as to be able to connect the black horn wire to the horn assembly. There is a little angled pin on the side of the horn assembly that acts as the "Earth" contact when the wheel is on. Test the horn by touching that pin against something made of metal on the hub & pushing the horn button... It should work.
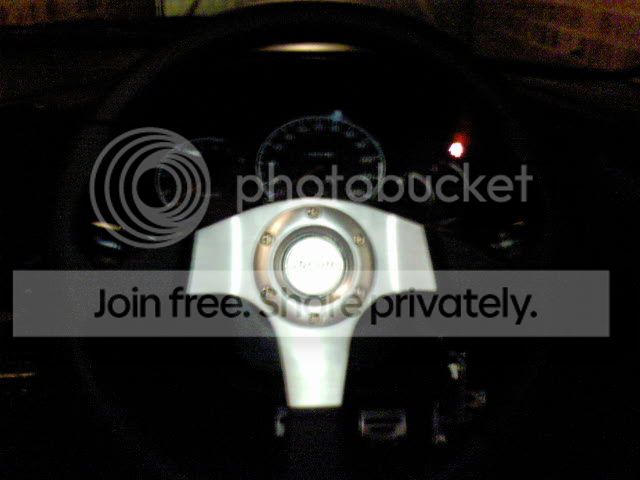
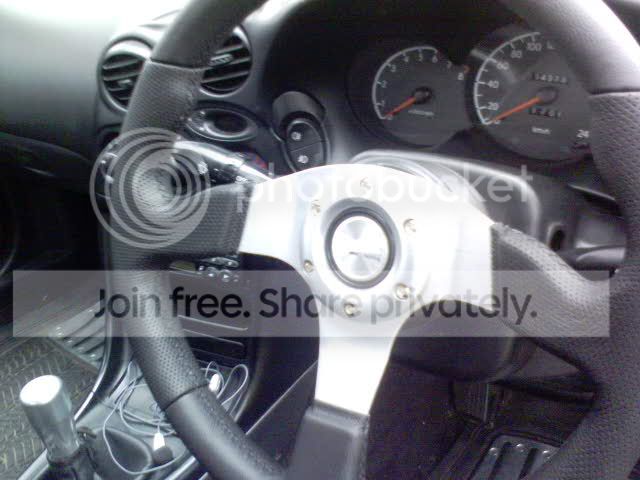
The design of your horn button surround (the billet part that the Allen screws go through) is the same as mine so the install will be the same. Line up the wheel with the holes on the hub, insert the horn assembly into the middle of the wheel & lock it into position. Make sure that the logo on it is straight. Then put the billet horn button surround on over the top, line up the holes & start screwing the Allen screws in, starting at the top so the wheel stays in place for the rest of them.
Again, check that the horn is working & then reassemble the steering column plastic shroud with the 3 screws.
Take it for a spin. If you messed up the alignment of the steering wheel (i.e.: it's all crooked even when you're driving straight) you will need to repeat steps 9 through 11... Which would kinda suck so do it right the first time fing02.gif
Here you go mate... As I said, the picture quality is sh!t-house in just about every one but they may still give you some insight as to what you need to do.
You'll need some basic tools including:
- Steering wheel pulling kit (Available from any auto parts store for around $15).
- Philips-head screwdriver
- Ratchet with extension
- 22mm socket (If you don't have one, you could also use your wheel-brace/wrench if you have a multi-fit one with a 22mm end).
- Ratchet sockets to suit whatever steering wheel puller bolts you have. Mine were 17mm & 14mm.
- Allen key to suit steering wheel screws.
- Small amount of grease/lube.
- About an hour to do it all, including thinking time.
Before you start, it might be an idea to pull the "Horn" fuse (The fuse box is in the engine bay, behind stock battery location. Fuse layout is marked on the front cover of the fuse box), just so that it doesn't keep going off during the removal & install. It gets annoying wink1.gif
Stock wheel...
1. Start by removing the 3 Philips-head screws from the back of the steering wheel. Turn the wheel as needed so that you can get to each one.
2. Carefully pull front cover away & you'll see this...
3. Disconnect both wires from the horn assembly & toss the steering wheel cover on the back seat or somewhere out of the way. You may notice in later pics that I also needlessly removed the black "Earth" wire (bottom left screw) fom my stock wheel but it was only because I thought it would be needed with the new wheel. It isn't needed but you may as well remove those 4 screws as they need to come off later anyway. These screws only hold another part of the steering wheel rear cover on, which will come off with the stock wheel.
4. Get your ratchet, extension & 22mm socket & get to work on the big nut in the middle...
5. You'll also need to remove the plastic shroud that covers the steering wheel column. Do this by removing the 3 Philips-head screws front underneath it. The third screw can only be removed with the steering wheel tilted all the way up & the tilt handle pulled down. Once they are out, carefully prise apart the plastic shroud with gentle jerks. Both parts will come away pretty easily. Put them aside somewhere out of the way.
6. You should now be at this stage...
7. Get your ratchet & suitable sockets for use with the steering wheel puller. Use it like so...
Keep turning that biatch until it "cracks" off. Whatch that it doesn't hit you in the face like mine nearly did. Make a note of exactly which way the steering wheel was pointing if you want to have half a chance of getting the new one on straight the first time.
8. Now you should have this in front of you...
9. Lube up the copper plate at the back of your new boss kit &, paying close attention to where the top of the steering wheel position should be, push it onto the column spindle. Do it slowly & ensure that everything is lining up with the pins behind the hub & make sure that the spring-loaded horn "peg" is touching the copper plate the way it should.
The back of the "peg" can be seen here from above (brass-coloured thing in the top right-hand side of pic). Make sure the connector at the end of it doesn't touch or foul anything else. Mine needed to be moved up about 10mm from the end of the shaft as you can see in the pic...
10. Get the 22mm nut back on there & tighten it "al' dente"... I'm not sure what the correct torque specs should be so look them up on Hyundai Web-Tech if you don't trust yourself.
The centering ring that you can see in the pics of my hub, that I posted further up in this thread the other day, stopped the horn assembly from fitting in the hole in the middle of the wheel so it wasn't used.
(Sorry I forgot to take pics in between fitting the boss kit & the finishing the install sad.gif )
11. The rest is as described in my previous post. First replace the "Horn" fuse if you removed it earlier.
Once the boss kit is bolted onto the steering column, first you need to position the new steering wheel close enough to the boss/hub so as to be able to connect the black horn wire to the horn assembly. There is a little angled pin on the side of the horn assembly that acts as the "Earth" contact when the wheel is on. Test the horn by touching that pin against something made of metal on the hub & pushing the horn button... It should work.
The design of your horn button surround (the billet part that the Allen screws go through) is the same as mine so the install will be the same. Line up the wheel with the holes on the hub, insert the horn assembly into the middle of the wheel & lock it into position. Make sure that the logo on it is straight. Then put the billet horn button surround on over the top, line up the holes & start screwing the Allen screws in, starting at the top so the wheel stays in place for the rest of them.
Again, check that the horn is working & then reassemble the steering column plastic shroud with the 3 screws.
Take it for a spin. If you messed up the alignment of the steering wheel (i.e.: it's all crooked even when you're driving straight) you will need to repeat steps 9 through 11... Which would kinda suck so do it right the first time fing02.gif

Thread Starter
Member
Joined: Mar 2005
Posts: 46
Likes: 0
From: Derbyshire, United Kingdom
Aw, crap! That's why I wanted the photos... I guess your Tib doesn't have an airbag. On mine, the steering wheel houses an airbag, which is somehow powered / controlled by a clockspring device. This clockspring device was visible on the Korean "paperclip" installation instructions, but not on your photos.
Thanks for putting the photos up, but I'm guessing fitting my wheel won't be as straightforward as yours was - looks good, tho' smile.gif
Kind regards,
Mike K.
(who's sellng an Isotta wheel)
Thanks for putting the photos up, but I'm guessing fitting my wheel won't be as straightforward as yours was - looks good, tho' smile.gif
Kind regards,
Mike K.
(who's sellng an Isotta wheel)