
Diy: Front Lower Ball Joint Replacement

Thread Starter
Senior Member

Joined: May 2007
Posts: 199
Likes: 0
From: Ames, IA
Vehicle: 1998 & 2001 Tiburon
In the process of doing the non-captive swap I stripped the threads on one of my lower ball joints. The only thing to do was to replace it so I decided to take some pics and make this DIY.
Parts:
- New Ball Joint
- Universal Suspension Grease
Tools:
- Metrics Sockets 14, 17, 20, 32
- 3/8 and 1/2 Ratchets
- Breaker Bar
- Pliers
- Metric Open Ended Wrenches
- PB Blaster/Liquid Wrench/WD-40
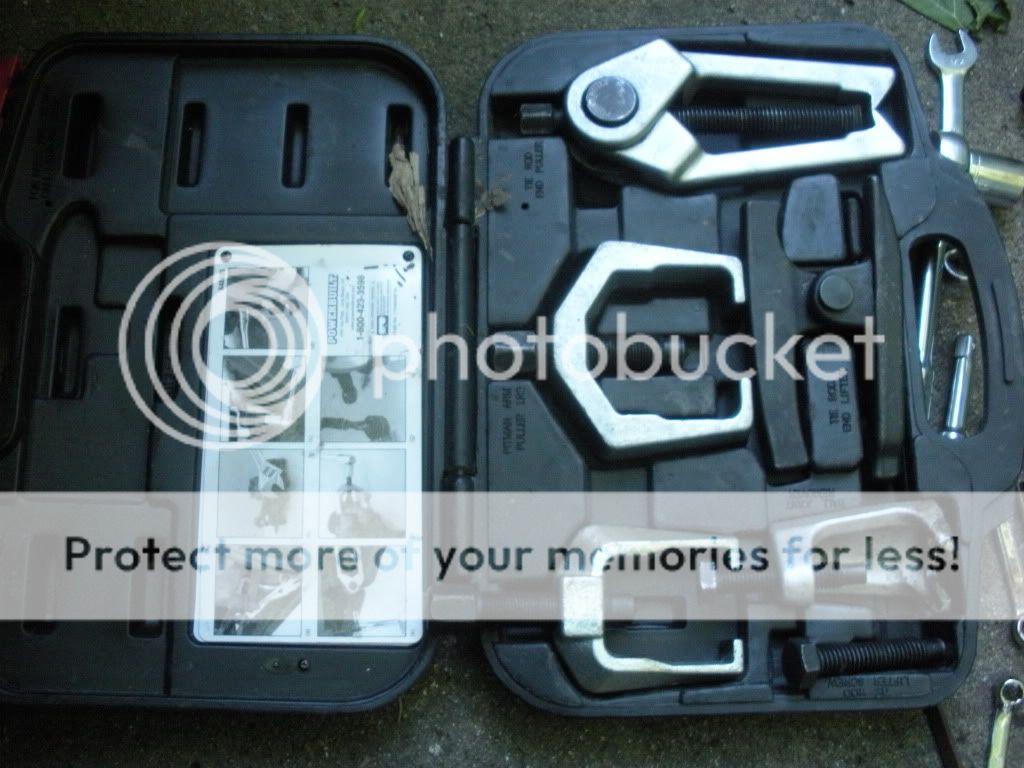
- Ball joint tool from o'reillys/advanced/autozone (pictured below)
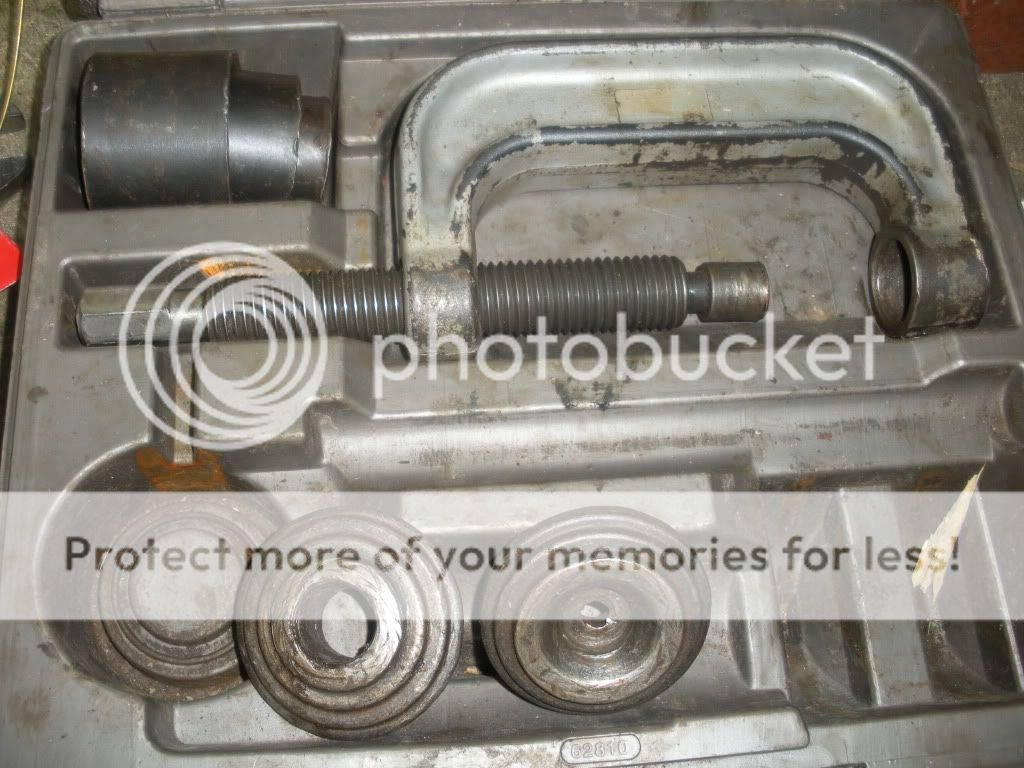
You might need this kit depending on this condition of you suspension components. (If you see rust you probably need this)
First, follow REDZMAN's DIY here to remove the spindle/hub assembly.
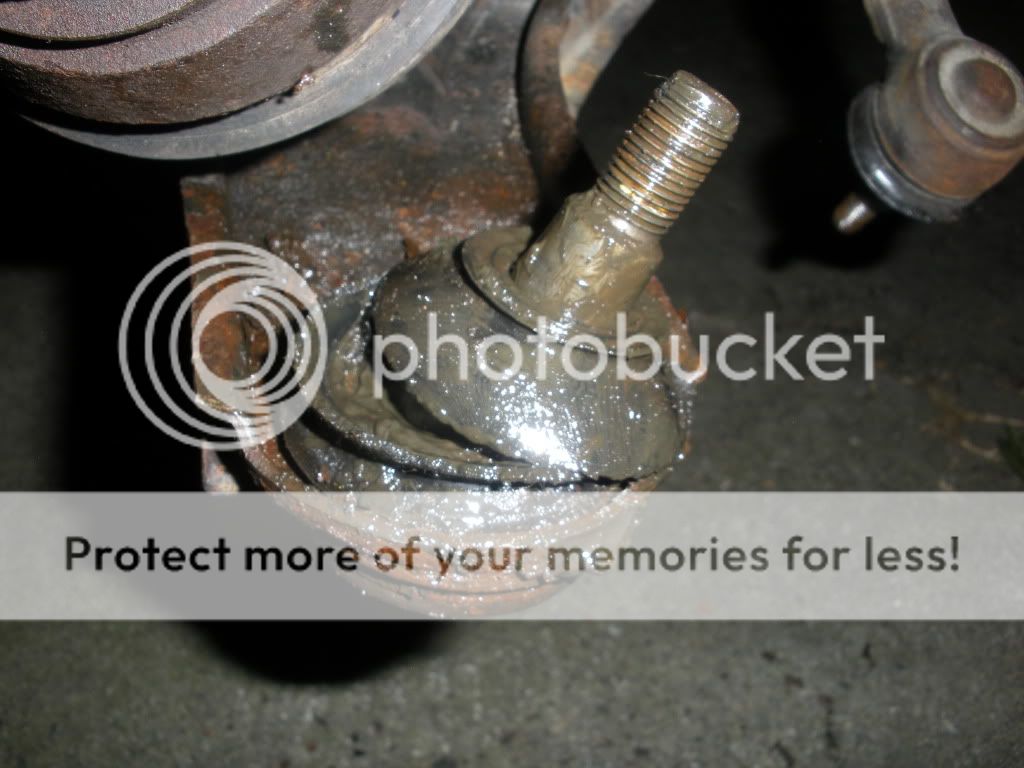
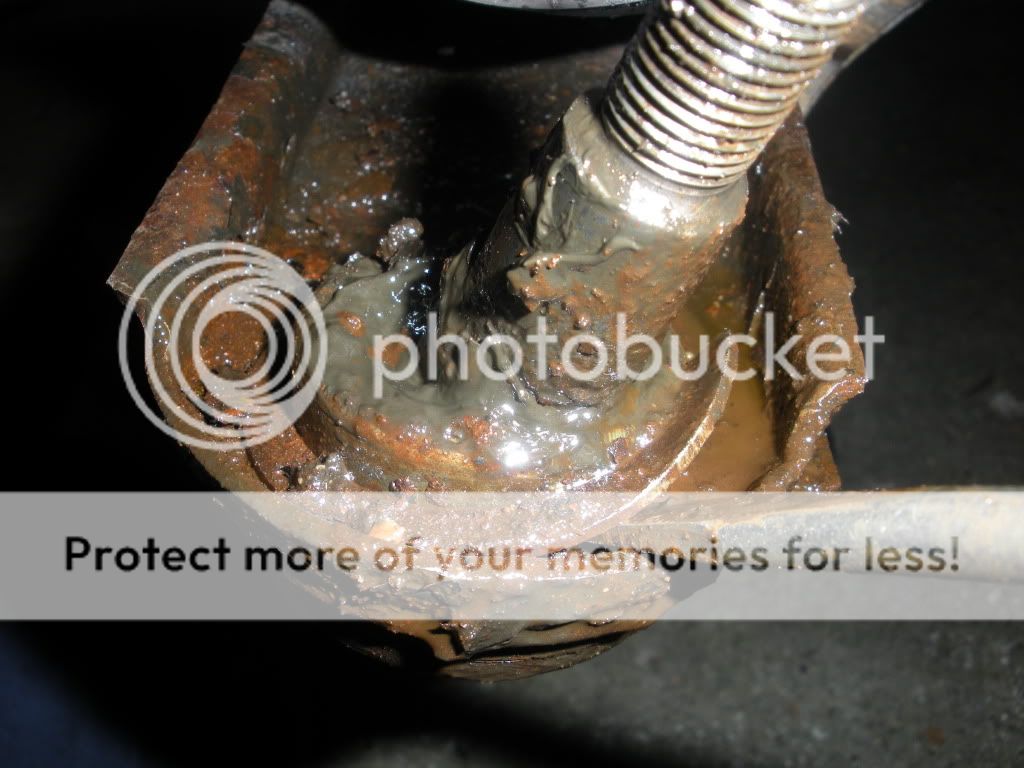
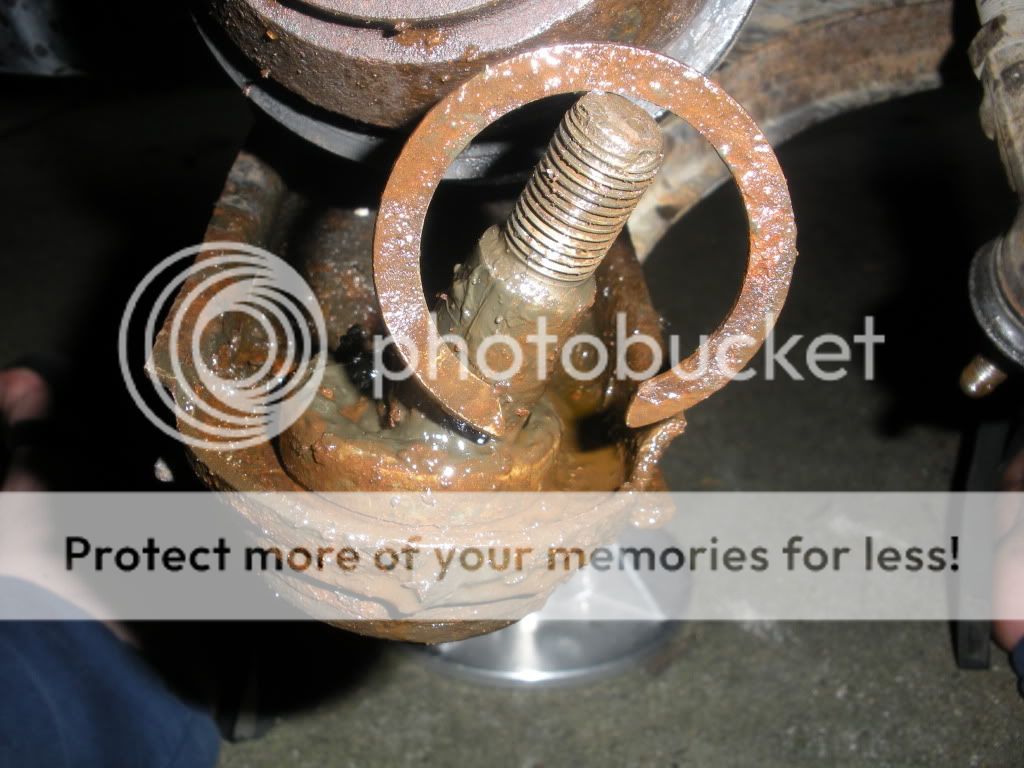
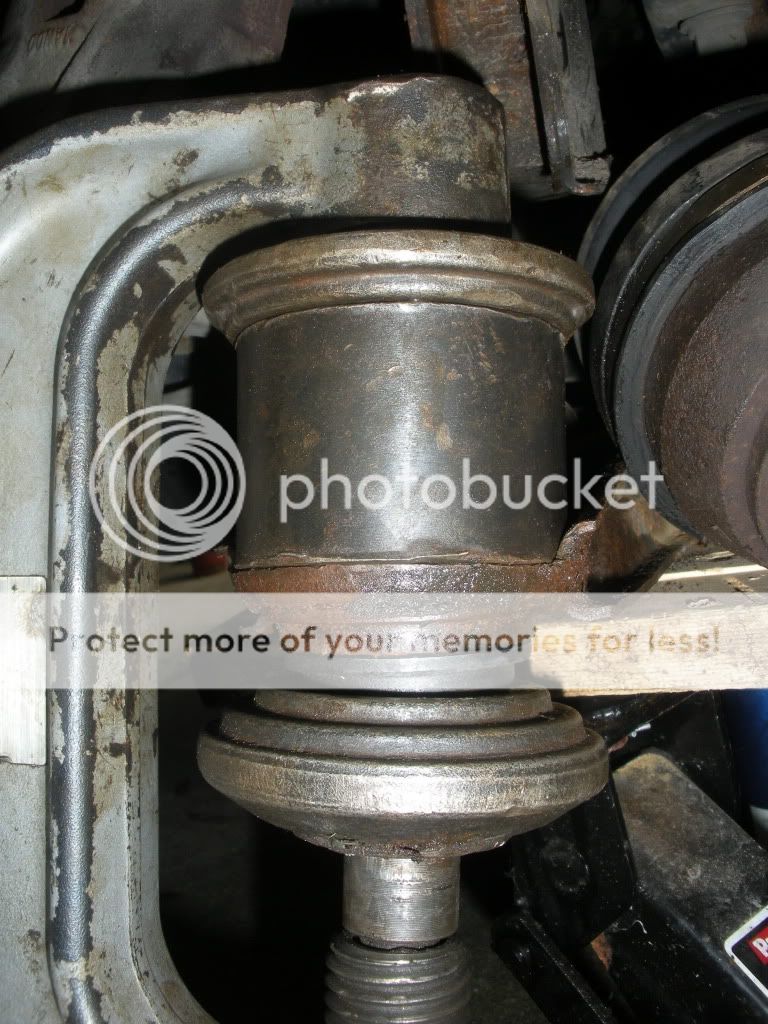
This is what my old ball joint looked like. It probably didn't have to much life left anyway.
1 - Remove the dust boot.

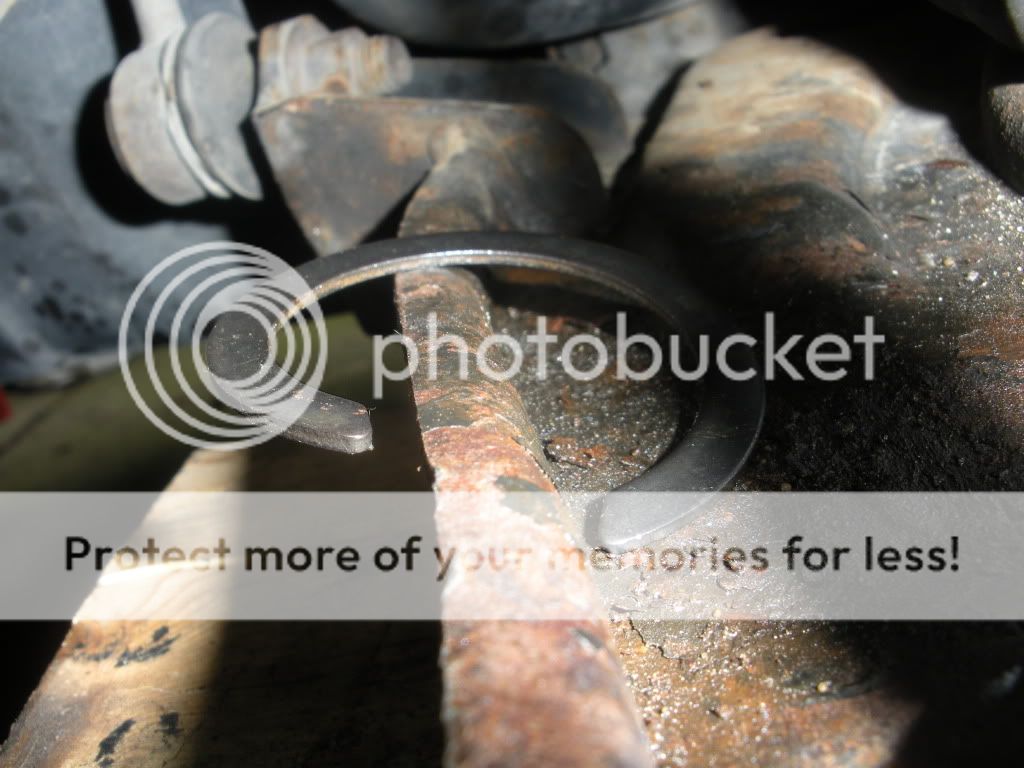
2 - Pry off the c-clip with a screwdriver.
3 - (No picture) Put a jack under your control arm and raise it several inches to give yourself more room to work. It should be easy because the shock is no longer pushing down on the arm.
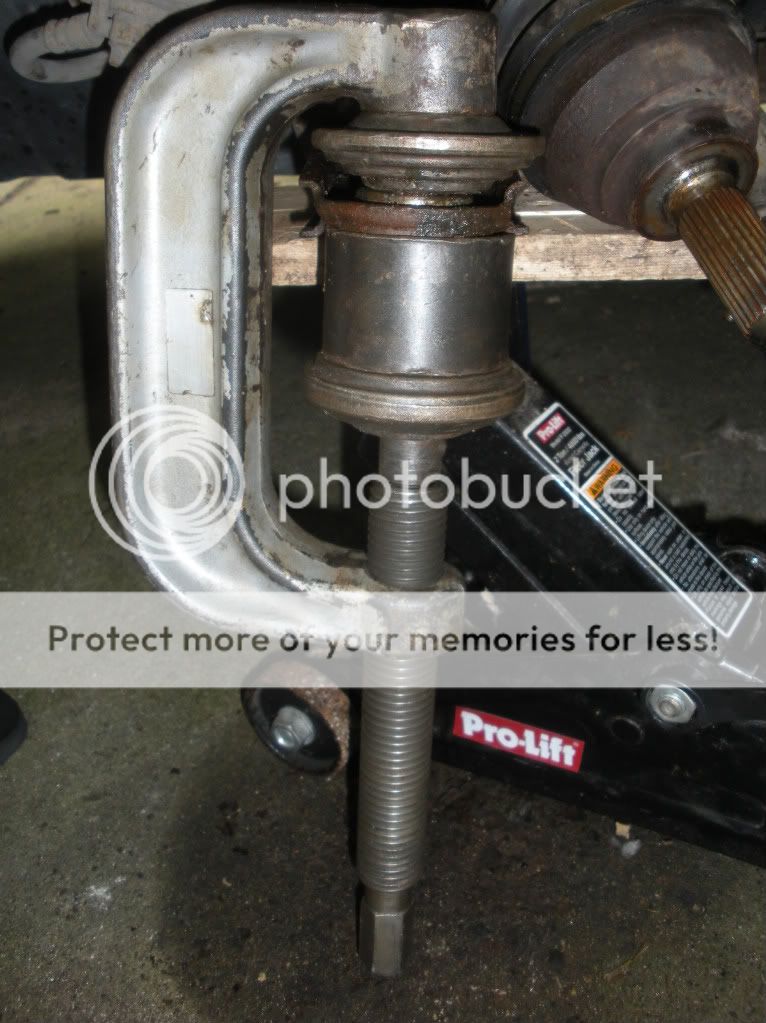
4 - Assemble the kit around the ball joint like this and make it hand tight.
5 - (No picture) Start tightening the tool. Once it starts to get hard to turn go VERY SLOWLY. You are working with high pressures here and if anything slips off it will shoot off like a bullet. The ball joint WILL come off, just take it slow.
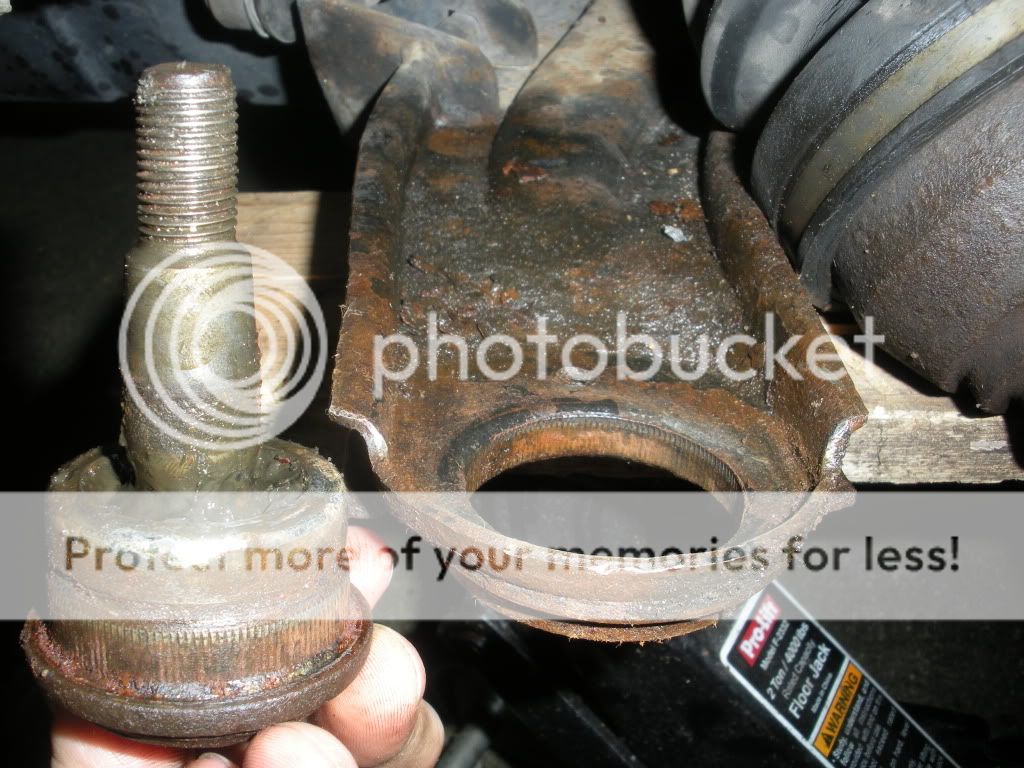
6 - Toss your old ball joint in the trash.
7 - (No picture) Clean the area around the ball joint with some PB Blaster and rags. A clean surface will ensure the new one seats properly.
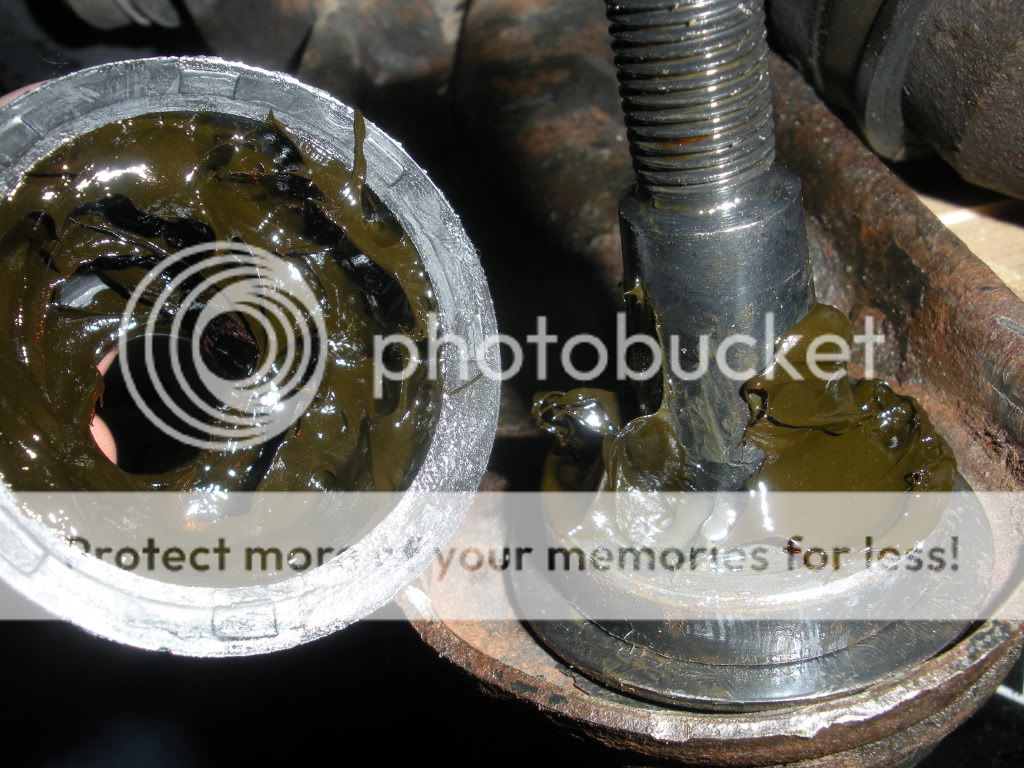
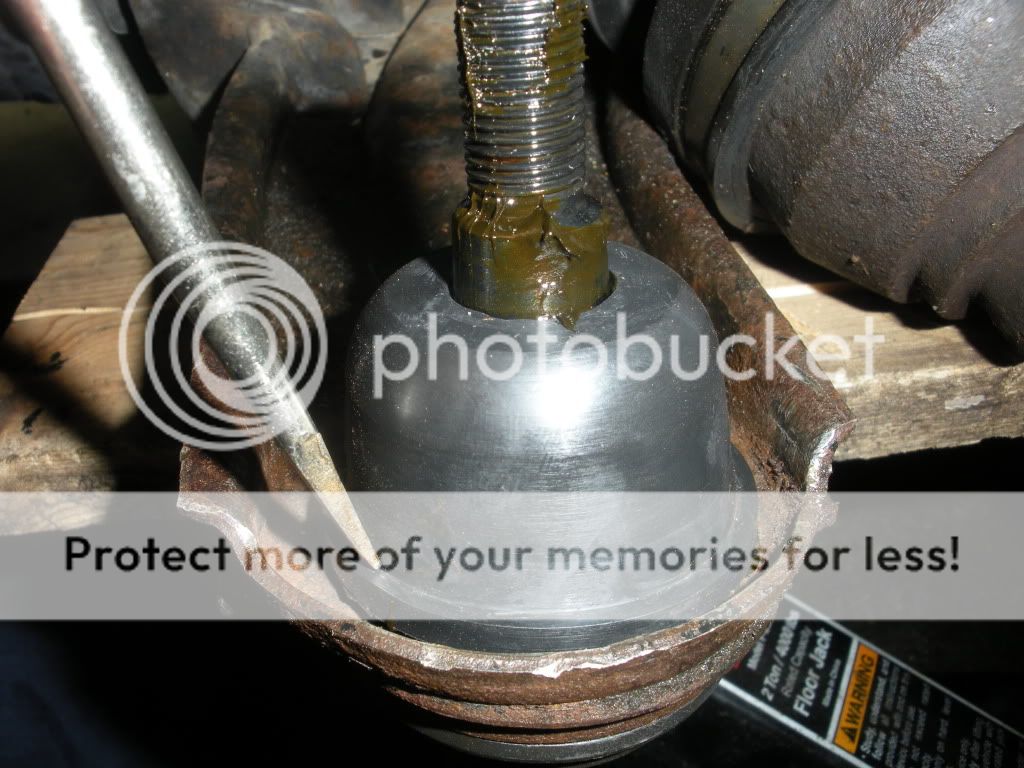
8 - (I forgot to take a pic of this step so I took it near the end of the install) Grease up your new ball joint, be generous!
9 - Assemble your tool like this. This part is very important. Take your time and line everything up perfectly.
10 - (No picture) Just like step 5, tighten SLOWLY. Every turn take a look around to make sure the ball joint is seating properly.
11 - Now it's time for the hardest part of this DIY. The c-clip is a PITMFA! I found the best way to get it on is to bend it like I did in the picture below, then tap it on with a hammer.

12 - Put the dust boot on and work around the edge with a flathead screwdriver until it's all the way down.
13 - (No picture) I used a zip tie around the bottom of the dust boot to make sure it stays where it is supposed to.
14 - Reassemble you suspension as-per REDZMAN's DIY and you're done!
Parts:
- New Ball Joint
- Universal Suspension Grease
Tools:
- Metrics Sockets 14, 17, 20, 32
- 3/8 and 1/2 Ratchets
- Breaker Bar
- Pliers
- Metric Open Ended Wrenches
- PB Blaster/Liquid Wrench/WD-40
- Ball joint tool from o'reillys/advanced/autozone (pictured below)
You might need this kit depending on this condition of you suspension components. (If you see rust you probably need this)
First, follow REDZMAN's DIY here to remove the spindle/hub assembly.
This is what my old ball joint looked like. It probably didn't have to much life left anyway.
1 - Remove the dust boot.
2 - Pry off the c-clip with a screwdriver.
3 - (No picture) Put a jack under your control arm and raise it several inches to give yourself more room to work. It should be easy because the shock is no longer pushing down on the arm.
4 - Assemble the kit around the ball joint like this and make it hand tight.
5 - (No picture) Start tightening the tool. Once it starts to get hard to turn go VERY SLOWLY. You are working with high pressures here and if anything slips off it will shoot off like a bullet. The ball joint WILL come off, just take it slow.
6 - Toss your old ball joint in the trash.
7 - (No picture) Clean the area around the ball joint with some PB Blaster and rags. A clean surface will ensure the new one seats properly.
8 - (I forgot to take a pic of this step so I took it near the end of the install) Grease up your new ball joint, be generous!
9 - Assemble your tool like this. This part is very important. Take your time and line everything up perfectly.
10 - (No picture) Just like step 5, tighten SLOWLY. Every turn take a look around to make sure the ball joint is seating properly.
11 - Now it's time for the hardest part of this DIY. The c-clip is a PITMFA! I found the best way to get it on is to bend it like I did in the picture below, then tap it on with a hammer.
12 - Put the dust boot on and work around the edge with a flathead screwdriver until it's all the way down.
13 - (No picture) I used a zip tie around the bottom of the dust boot to make sure it stays where it is supposed to.
14 - Reassemble you suspension as-per REDZMAN's DIY and you're done!
Senior Member
Joined: Mar 2006
Posts: 4,244
Likes: 0
From: Ashland, KY
Vehicle: 2001/Hyundai/Tiburon
thanks! I'll be doing this soon, I usually go with the big hammer method though. Might have to try the tool rental this time.
I'm planning on getting the moog ball joints with a grease fitting again. Only reason I'm replacing mine is one has a torn boot and they were replaced like 50k ago.
I'm planning on getting the moog ball joints with a grease fitting again. Only reason I'm replacing mine is one has a torn boot and they were replaced like 50k ago.


Senior Member
Joined: Feb 2009
Posts: 1,932
Likes: 0
From: Boston
Vehicle: 2006 Pontiac GTO
Nice.
An alternative is to buy a new control arm (got one for $80 at rockauto if I remember correctly), which has a new ball joint already installed but also new bushings as well and is fairly easy to replace (unless your sway bar endlink is rusted to shit).
An alternative is to buy a new control arm (got one for $80 at rockauto if I remember correctly), which has a new ball joint already installed but also new bushings as well and is fairly easy to replace (unless your sway bar endlink is rusted to shit).
Thread Starter
Senior Member
Joined: May 2007
Posts: 199
Likes: 0
From: Ames, IA
Vehicle: 1998 & 2001 Tiburon
Thanks guys! I totally forgot about this thread. I was really tired when I typed it up.
Radu: I never thought about that but that's a really good idea. And that's really cheap considering the ball joint alone was almost $20.
Supercow: I tried to get the ball joint out for 2 hours before I finally broke down and got the tool. With the tool it literally took me 3 minutes. I would definitely recommend it!
Bigfishmoney: The c-clip goes on the ball joint itself. The boot is held on from above by the spindle, but I put a zip tie on just to make sure I stays put.