
Changing tires and painting rims

Thread Starter
Senior Member

Joined: Apr 2009
Posts: 1,687
Likes: 1
From: Sacramento, CA
Vehicle: 02 Hyundai Accent
Lots of stuff done today and more to come through out the week as I am kid free till sunday. So changing my own tires presented a small challenge, the tire changer we have here is in need of the locking handle and connect rod to lock up the draw bar and the tilt tower. Anyone thats ever busted tires for a living knows this is a bad thing, especially if you dont want to scratch the rim. Now I did set up and training for Accu-Turn Equipment for 7 years in central and northern Cali, northwest Nevada and on occasion into Oregon. I learned a few tricks in that long period of time so I wasnt to worried.
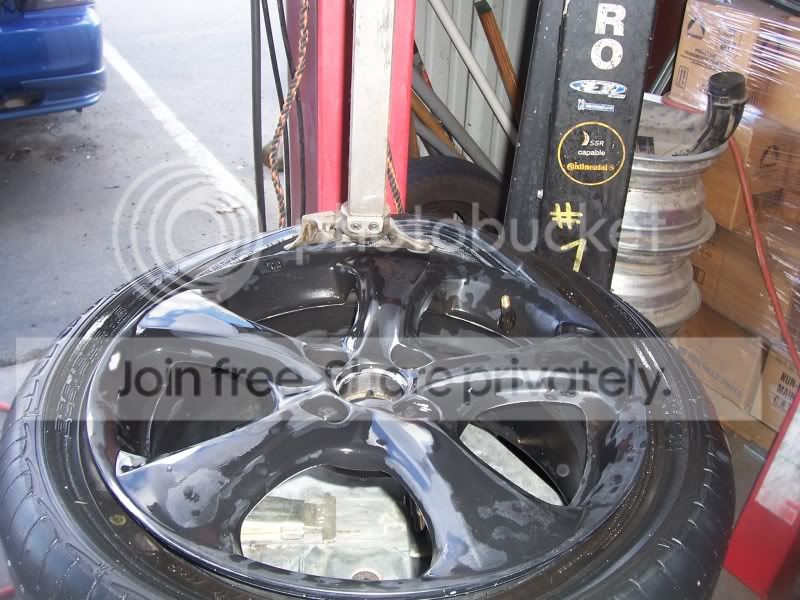
The new tires 205/45/16
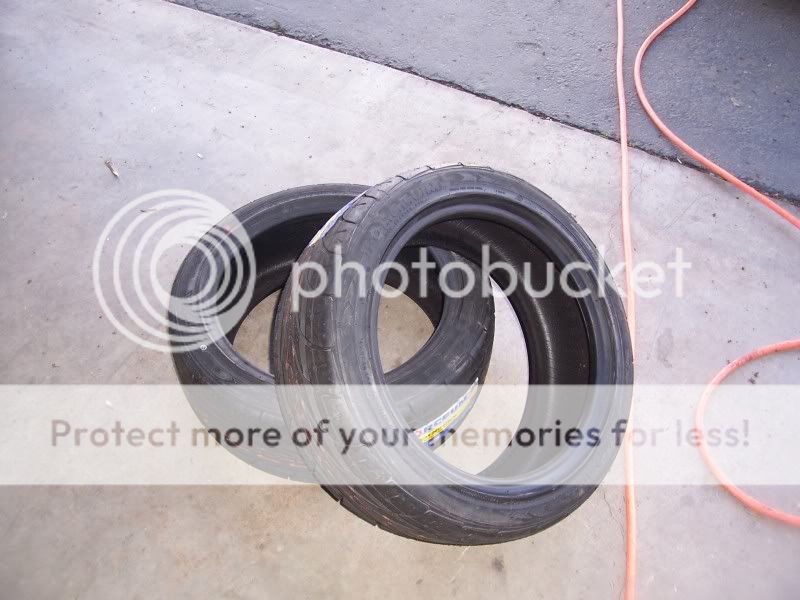
The first of 2
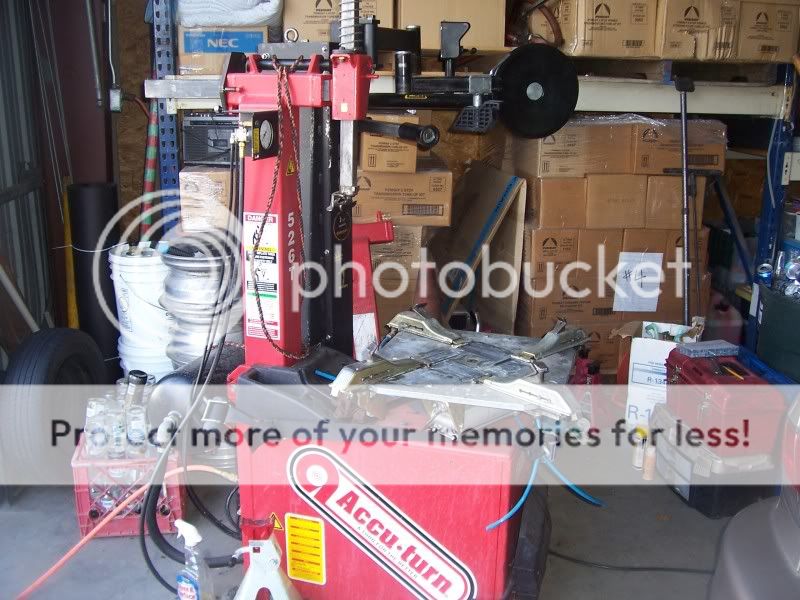
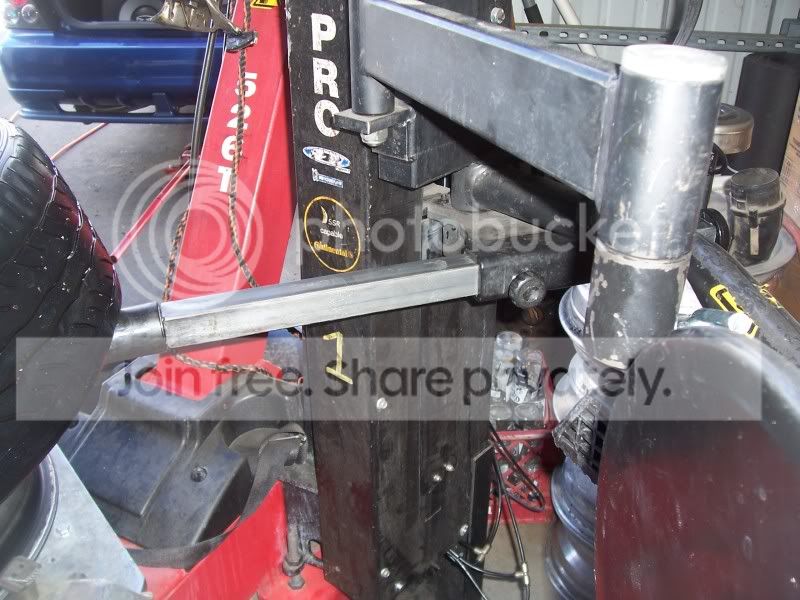
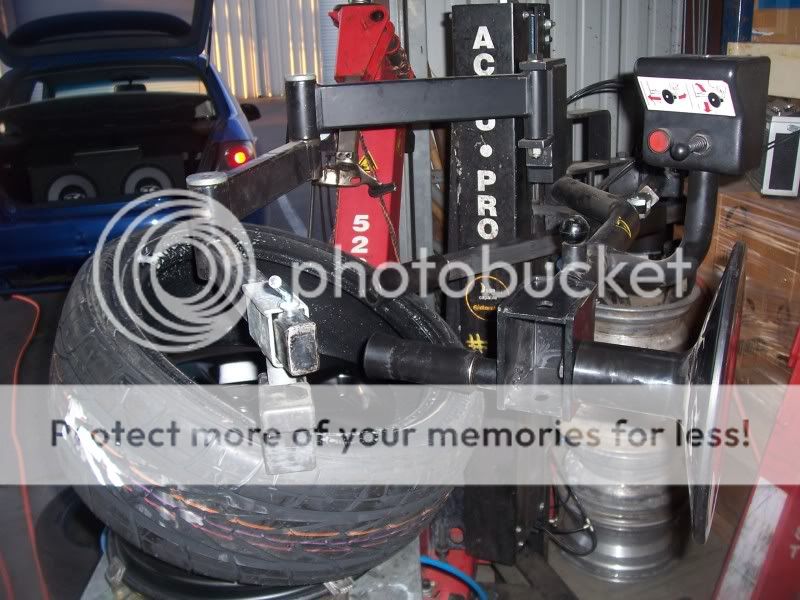
The Tire Changer Accu-Turn 526THP, trained alot of mofos on this
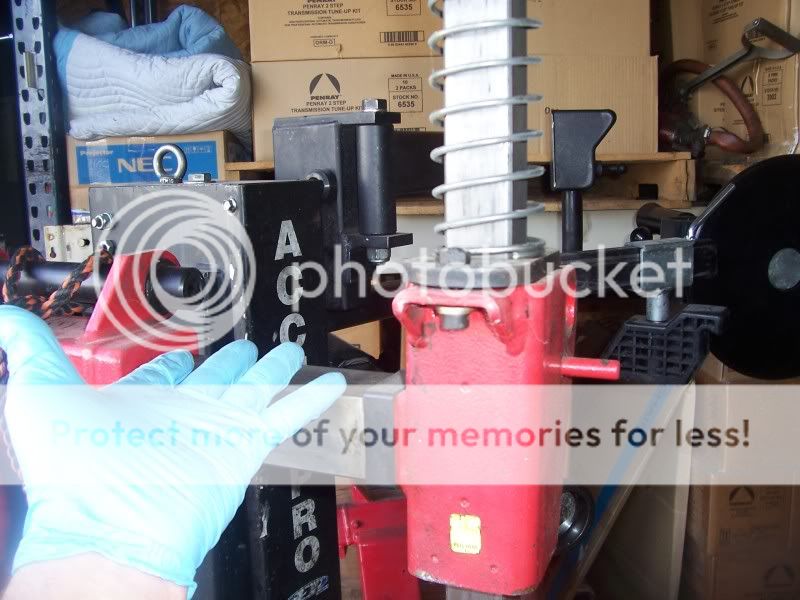
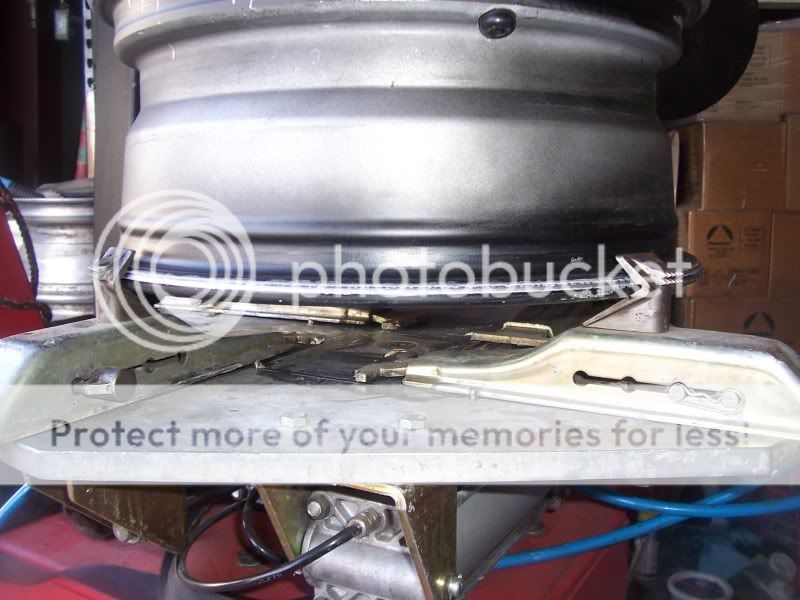
The missing parts, technically making this machine inoperable. There should be a handle in the front to the right and connecting into the black hole just above my pointer finger, this would lock everything up tight.
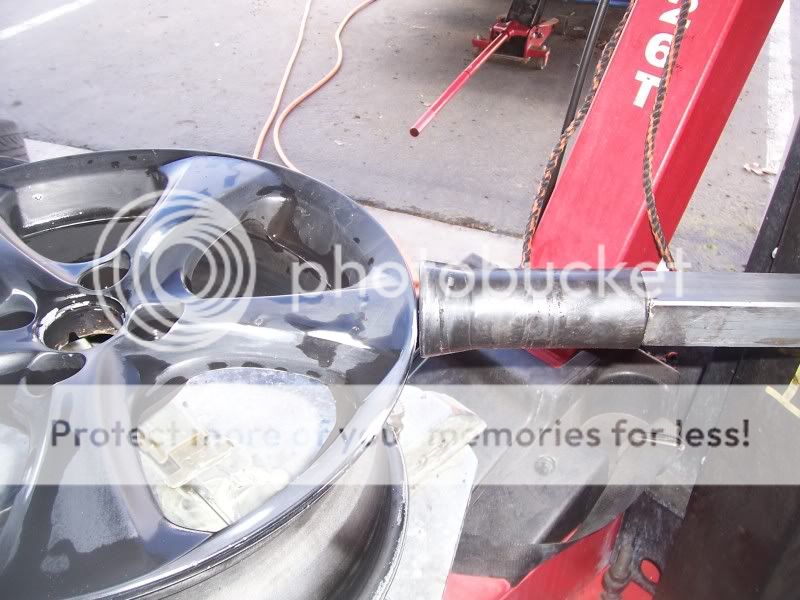
In the next set of pics you will see me using the the tire changer like normal as I free the top bead of the tire. I wasnt sure how well this was gunna turn out with nothing locked up and all sloppy.

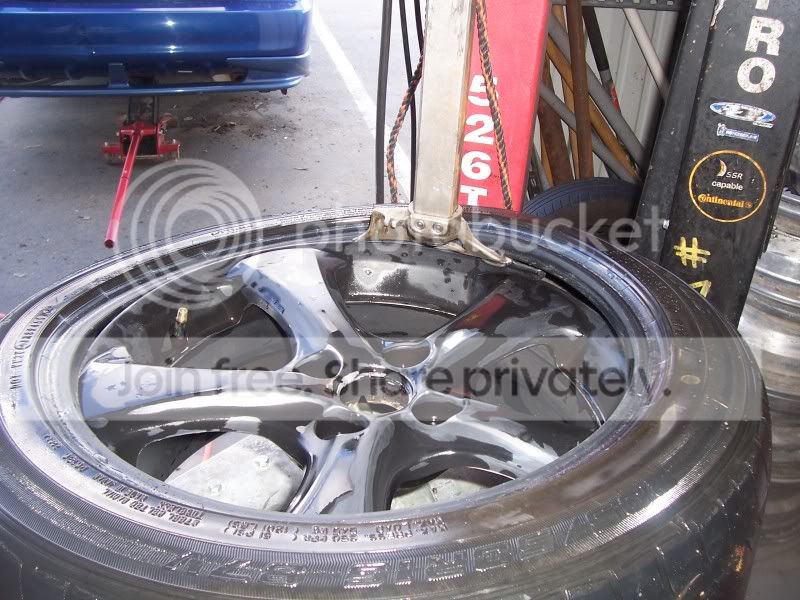
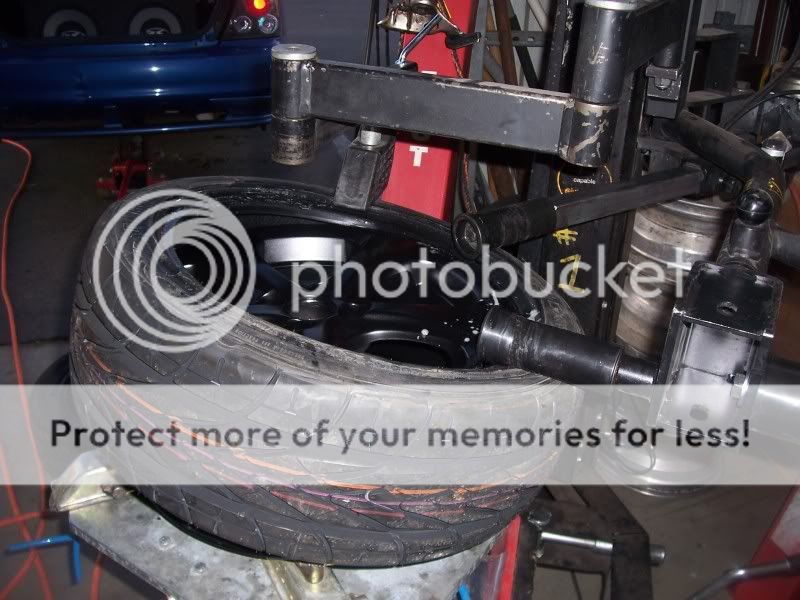
So with the top bead off I push the tilt tower out of the way, from here on out I will be using the helper arm only. I developed this trick after having to learn then train people on Pax tires...f*ck YOU MICHELIN MAN!
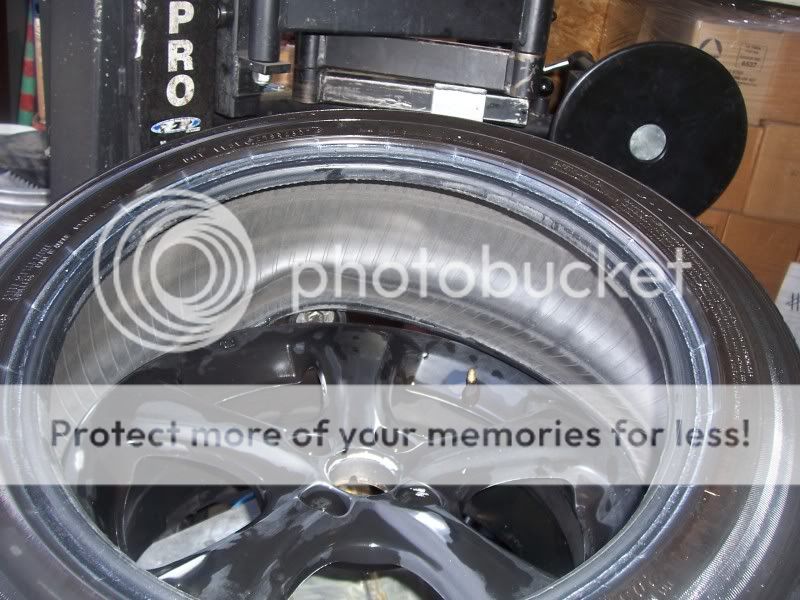
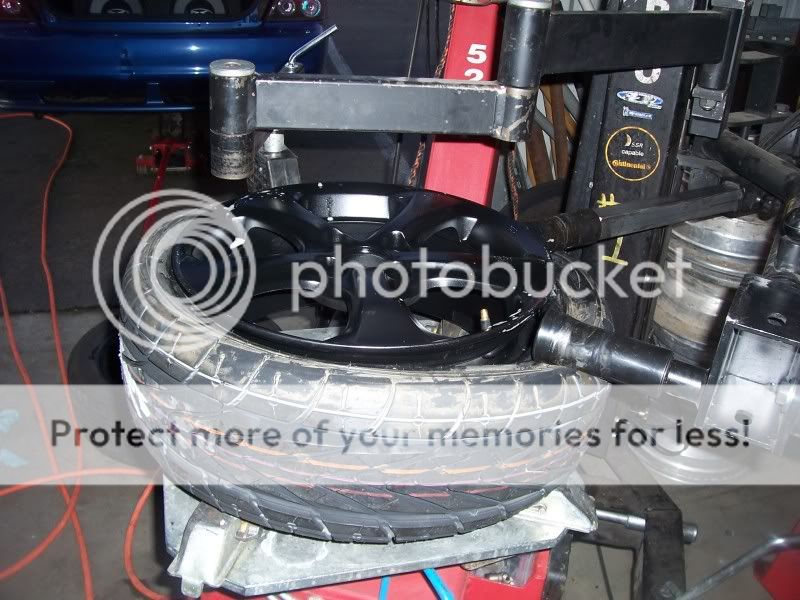
Tip for you owners that like your rims. When you go to the tire shop make sure they are using the outside clamping method. Using the inside clamp method leaves the teeth buried in your rim. You see the teeth on the outside of the jaws holding my rim.
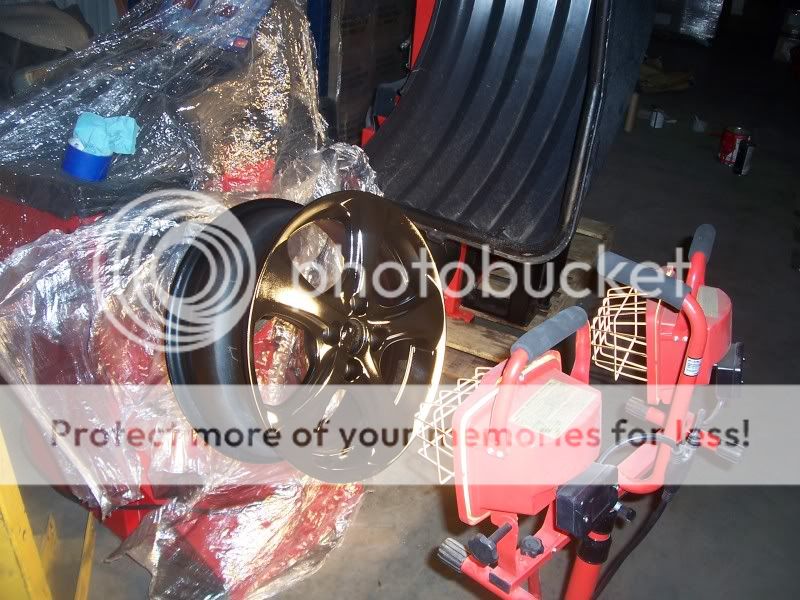
It is only rumored to be an old wives tale but here is the proof. You can turn a balancer and a shop lamp into a heated paint booth for your rims. I should have snapped a pic when I had the hood down, trapping some heat.
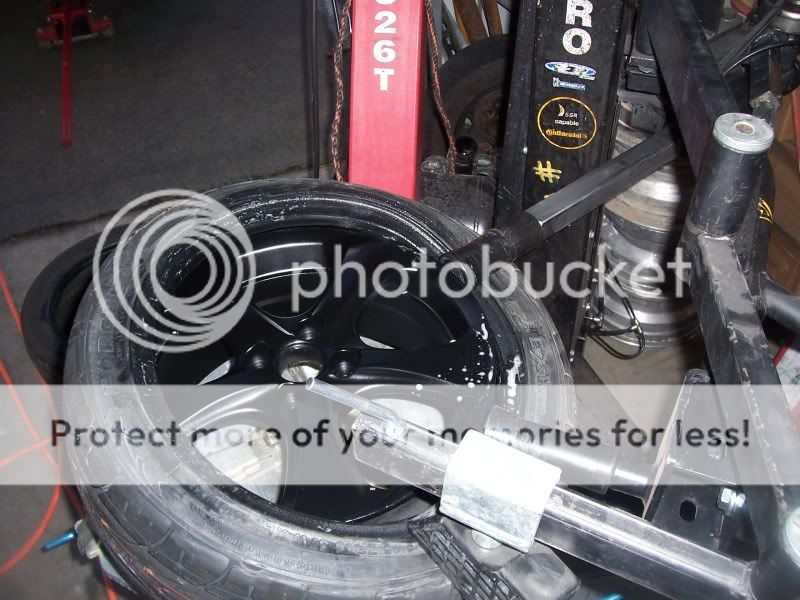
Time to put the first bead on the rim


Bottom bead is down, now for the hardest step of changing a low pro tire, the top bead
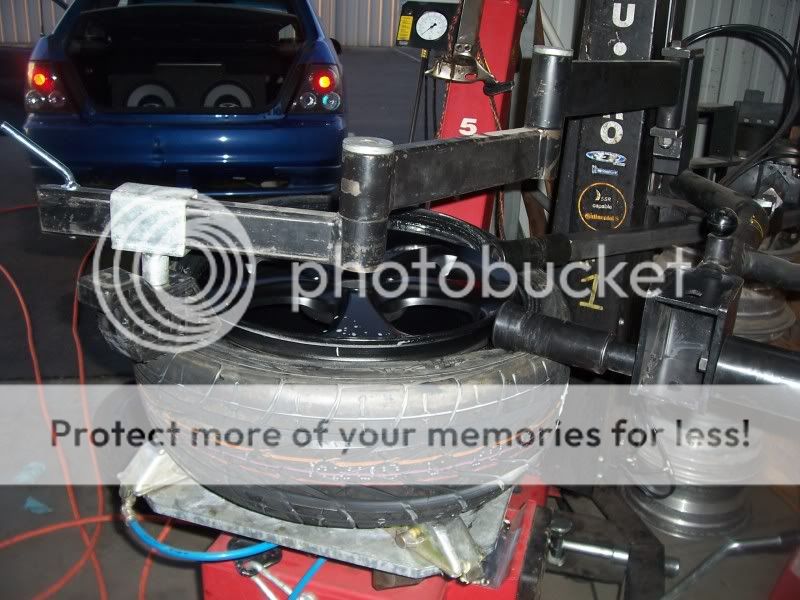
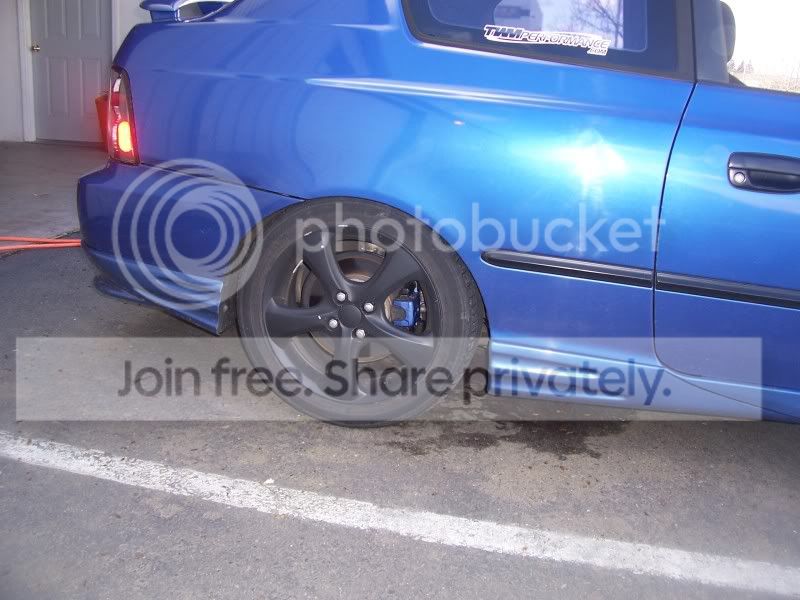
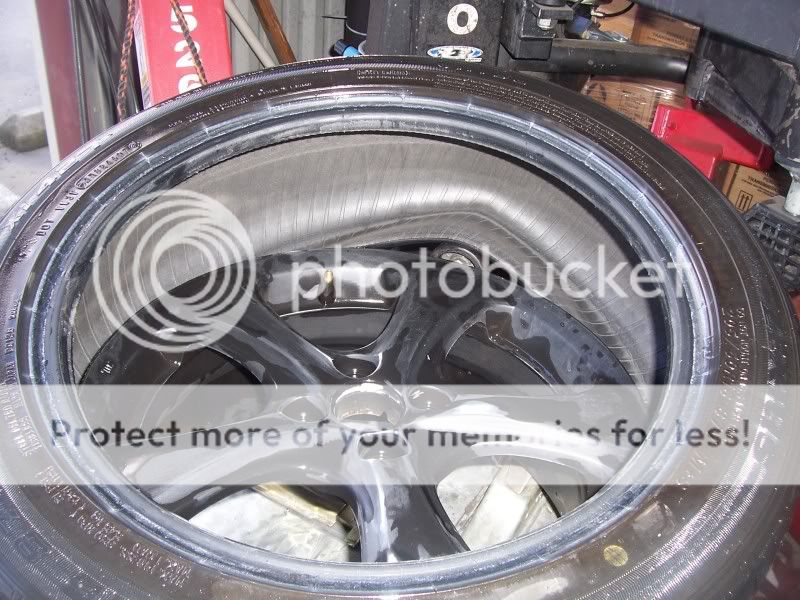
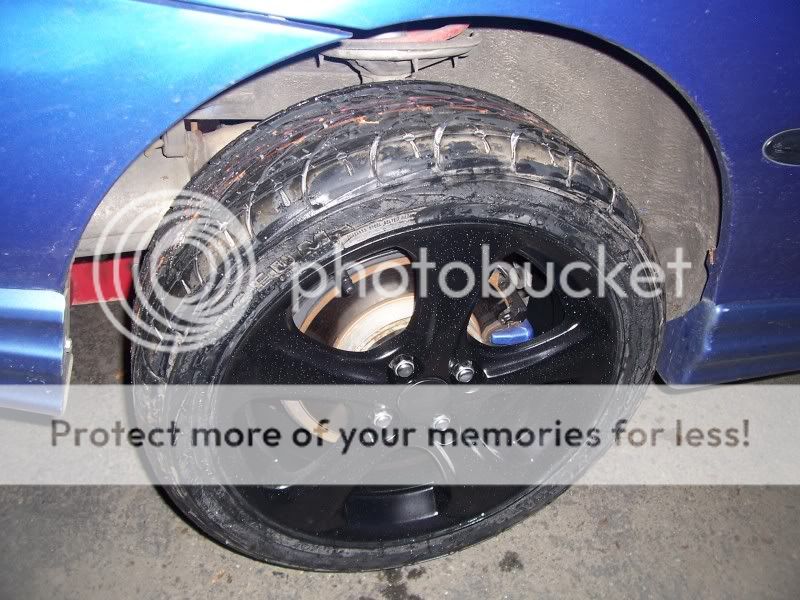
Finished product, now repeat for the other side. The rims need a final west sand then one more coat, maybe in a week or two, for now there done and not one scratch putting them on.
The new tires 205/45/16
The first of 2
The Tire Changer Accu-Turn 526THP, trained alot of mofos on this
The missing parts, technically making this machine inoperable. There should be a handle in the front to the right and connecting into the black hole just above my pointer finger, this would lock everything up tight.
In the next set of pics you will see me using the the tire changer like normal as I free the top bead of the tire. I wasnt sure how well this was gunna turn out with nothing locked up and all sloppy.
So with the top bead off I push the tilt tower out of the way, from here on out I will be using the helper arm only. I developed this trick after having to learn then train people on Pax tires...f*ck YOU MICHELIN MAN!
Tip for you owners that like your rims. When you go to the tire shop make sure they are using the outside clamping method. Using the inside clamp method leaves the teeth buried in your rim. You see the teeth on the outside of the jaws holding my rim.
It is only rumored to be an old wives tale but here is the proof. You can turn a balancer and a shop lamp into a heated paint booth for your rims. I should have snapped a pic when I had the hood down, trapping some heat.
Time to put the first bead on the rim
Bottom bead is down, now for the hardest step of changing a low pro tire, the top bead
Finished product, now repeat for the other side. The rims need a final west sand then one more coat, maybe in a week or two, for now there done and not one scratch putting them on.

Senior Member
Joined: Aug 2009
Posts: 11,992
Likes: 0
From: Washington D.C.
Vehicle: Hyundai Tiburon FX
That's cool! That saves you a lot of money! Call me lazy but I just painted with the tires on by using flash cards around the edge of the rim. I like those rims a lot, and that's a real compliment considering there are VERY few rims I like. 

Thread Starter
Senior Member
Joined: Apr 2009
Posts: 1,687
Likes: 1
From: Sacramento, CA
Vehicle: 02 Hyundai Accent
Indeed I am very lucky to be surrounded by tire changers, balancers, brake lathes, fluid exchange equipment and various other types of automotive equipment an tools and even luckier to have the knowledge on how to run all of them.
Senior Member
Joined: Nov 2007
Posts: 1,139
Likes: 0
From: Albany,NY
Vehicle: 2011 Tuscon
^^yup.
My top bead on my rims was such a pita to get on. Same tire size, just a bigger rim.
Did you use sticky weights on both sides? I love those rims btw. 4x100 tho correct?
My top bead on my rims was such a pita to get on. Same tire size, just a bigger rim.
Did you use sticky weights on both sides? I love those rims btw. 4x100 tho correct?
Thread Starter
Senior Member
Joined: Apr 2009
Posts: 1,687
Likes: 1
From: Sacramento, CA
Vehicle: 02 Hyundai Accent
Yes it is a 4x100 pattern, the rims themselves are Hyundai made and came off a 07 Accent. I am gunna use pound on weights for the inside and sticky weights on the outside. On top of that the balancer I will be using has a "hide weight" option that allows you to split the weights needed for the outside plane and hide them behind the spokes of the rim. Hopefully no weights will be seen at all.