tktibby01, silver 2001 tiburon
 12-21-2010, 12:24 PM
#1
Senior Member
Thread Starter

Join Date: Sep 2009
Location: NJ
Posts: 106
Likes: 0
Received 0 Likes
on
0 Posts
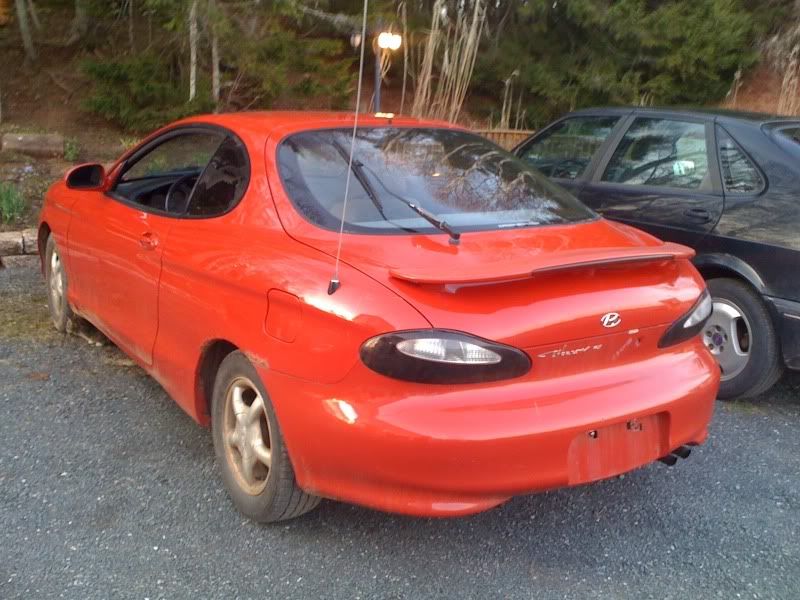
Just did a little photoshoot yesterday real quick tell me what you guys think and if you have any suggestions for future project. I live up at school so its hard to get anything done up there but im thinking about restoring my headlights while im home for winter break. Dont mind the dent above the drive side front wheel well lol, previous owner hit a mailbox. But regardless these are the results of a kids first car and a college budget. Welcome to comments and criticism. I was only going for some nice scene shots so ill update with interior and engine pictures within the week.


 12-21-2010, 01:24 PM
#2
Moderator


Join Date: Mar 2009
Location: wamego, kansas
Posts: 5,280
Likes: 0
Received 0 Likes
on
0 Posts
Vehicle: 2001 hyundai tiburon
nice area to take pics of. my only gripe and this is just something i have taken from photography lessons is have one focal point in your picture. yeah, the house is kickazz looking but if your focus is the car then it should be completely out of the picture. doesn't look like from the surroundings that it couldve been done.
another thing to think about is the background. if you have a telephone pole or a tree in the bg make sure that it is not in the pic looking like it is growing out of the car. i usually try to put a try behind the car like the car is driving away fomr it but that is just personal opinion.
remember the rules of thirds. 1/3 sky, 2/3 ground, vice versa, whatever will do good for the pic at the time.
just some photography tips i have picked up over time.
12-21-2010, 02:56 PM
#4
Senior Member
Thread Starter
Join Date: Sep 2009
Location: NJ
Posts: 106
Likes: 0
Received 0 Likes
on
0 Posts
thanks lee for the info i honestly was just shooting lol never took a photography class before lol
and agreed i have a pair of altezzas and another pair of aftermarkets i drive around with just because i dont feel the need to draw attention anymore with my tinted tails lol, they were actually the first pair i ever tinted and im relatively happy with how they came out
and agreed i have a pair of altezzas and another pair of aftermarkets i drive around with just because i dont feel the need to draw attention anymore with my tinted tails lol, they were actually the first pair i ever tinted and im relatively happy with how they came out
12-21-2010, 05:40 PM
#9
Senior Member

Join Date: Feb 2010
Posts: 190
Likes: 0
Received 0 Likes
on
0 Posts
Vehicle: '97 hyundai tiburon fx
It turned out pretty good,I'll redo it later with another set. The black plastic is messed up and I cracked a lens,not bad you can't really see it,and I just let the nightshade dry and took some clear silicone on my finger and sealed the crack. And yeah I just used the oven,10 mins at 250 the. 5 mins as needed till it's all apart. I rushed my first one that's wh it cracked. But the finish stayed oem without polishing or sanding. I'm happy haha. I'll be tinting my corners on the outside come spring.
I also did the map lights and red door lenses.
12-21-2010, 06:33 PM
#10
Administrator

Join Date: Oct 2002
Location: ɯooɹpǝq ɹnoʎ
Posts: 13,943
Likes: 0
Received 0 Likes
on
0 Posts
Vehicle: ǝdnoɔ sısǝuǝƃ
from a photography standpoint, consider this: http://en.wikipedia.org/wiki/Rule_of_thirds
The car gets lost in the massive home in the background, then the empty space
The car gets lost in the massive home in the background, then the empty space