
Redturbulance Build Thread....lots Of Pics Beware

Thread Starter
Senior Member

Joined: Aug 2001
Posts: 650
Likes: 0
From: Missoula,MT
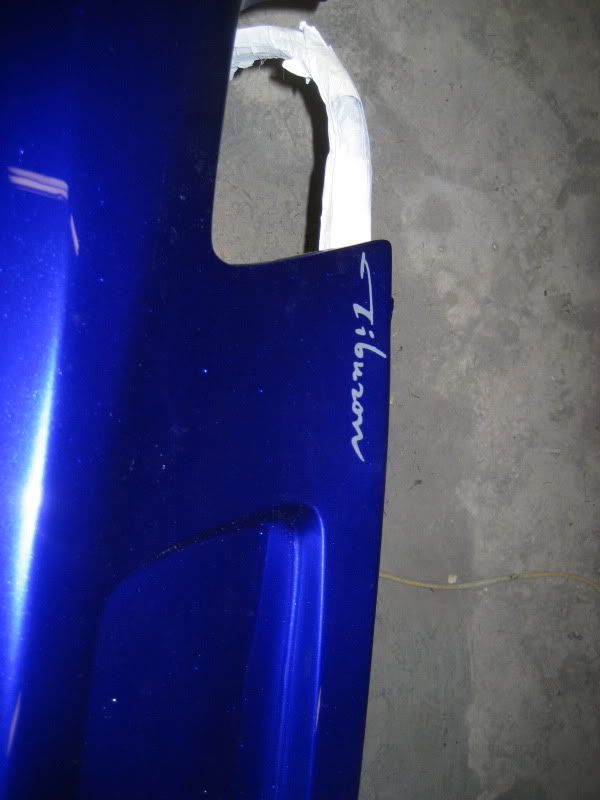
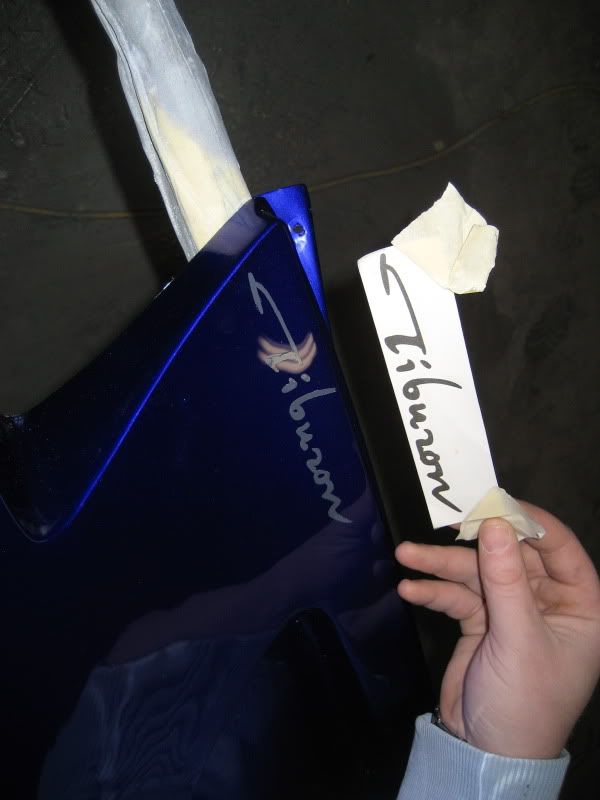
Vehicle: 2001 Hyundai tiburon
Well i uploaded a ton of pics today and was going to start a build thread to show some more details of the car. So here goes
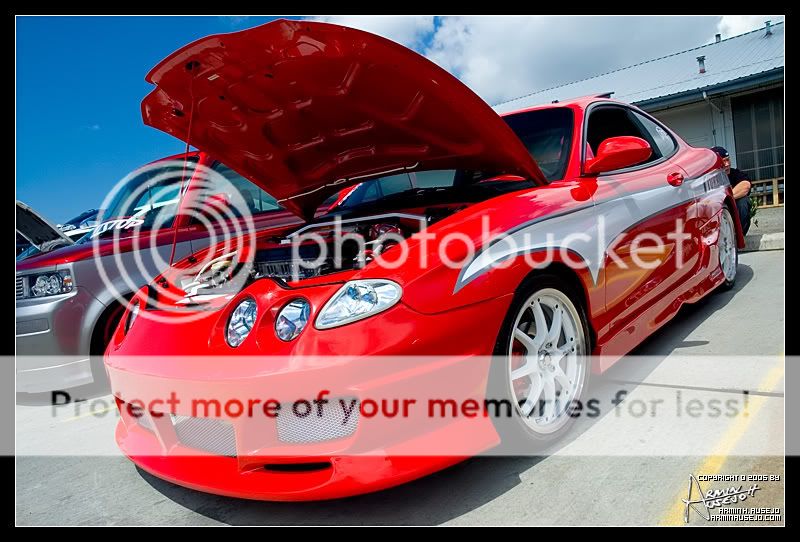
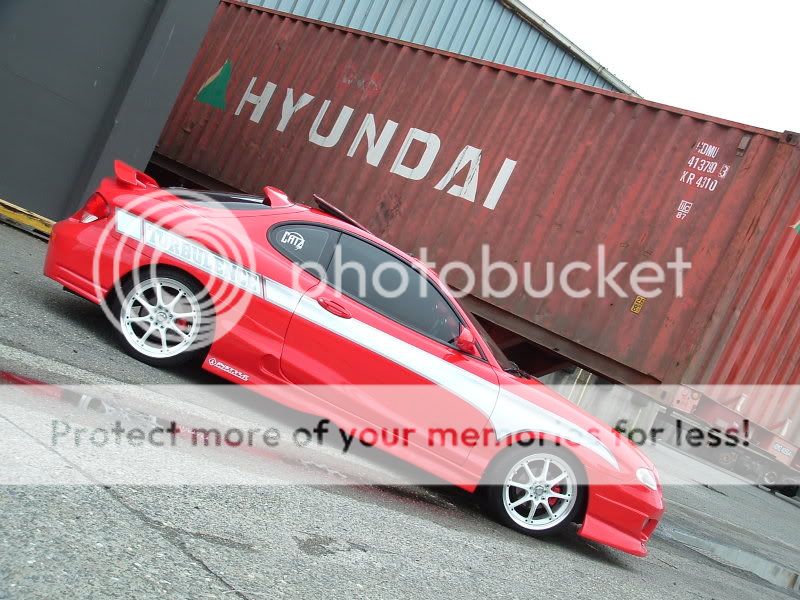
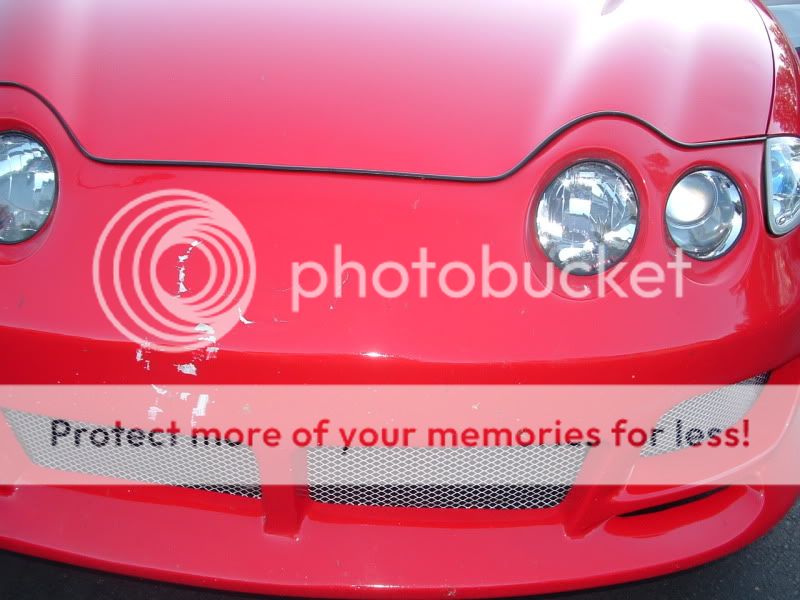
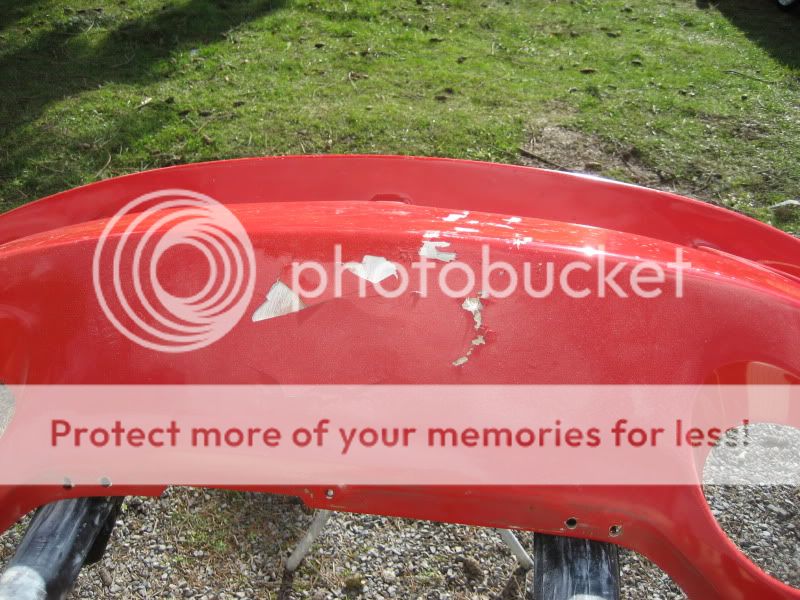
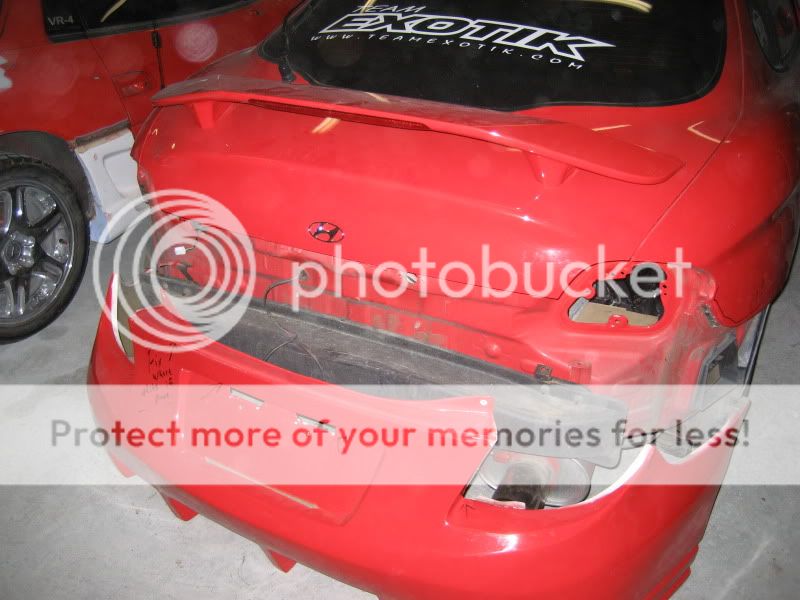
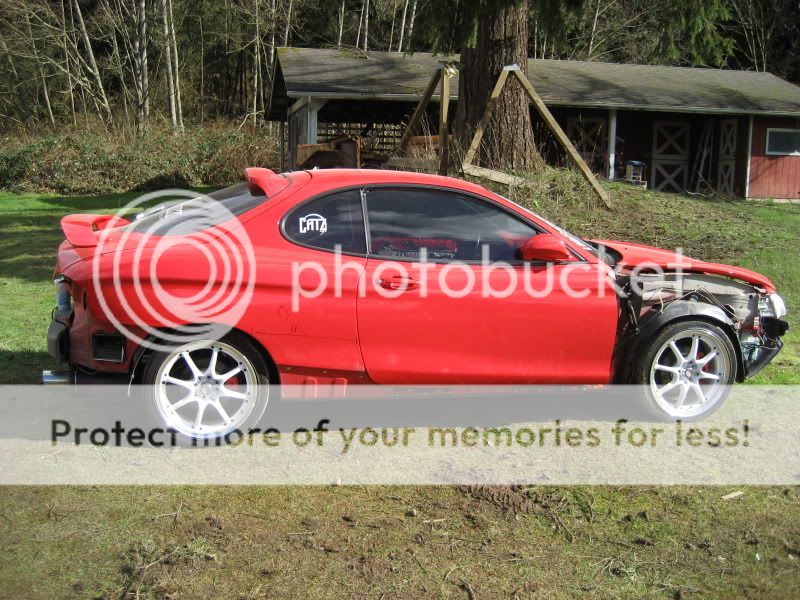
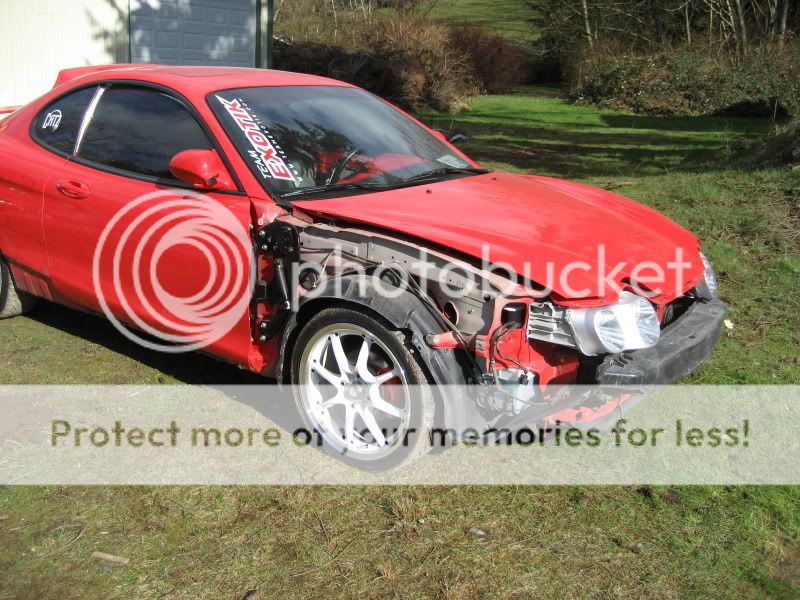
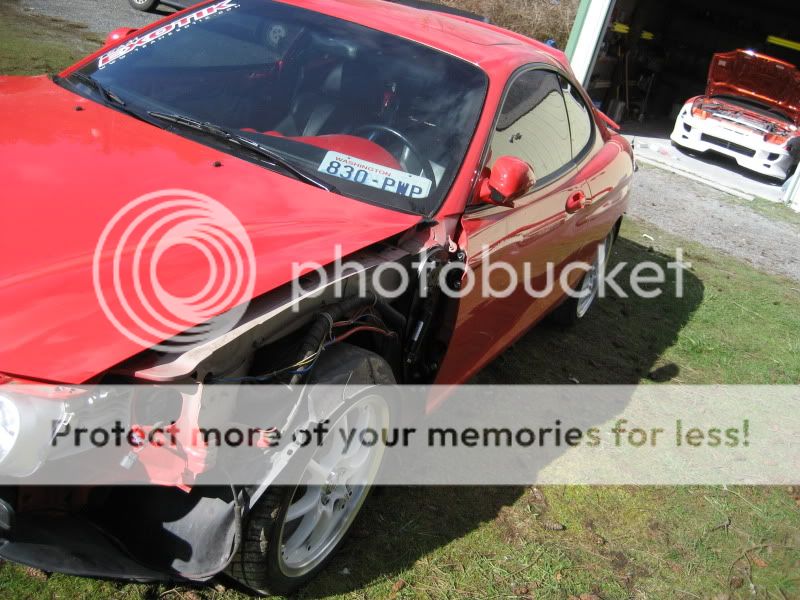
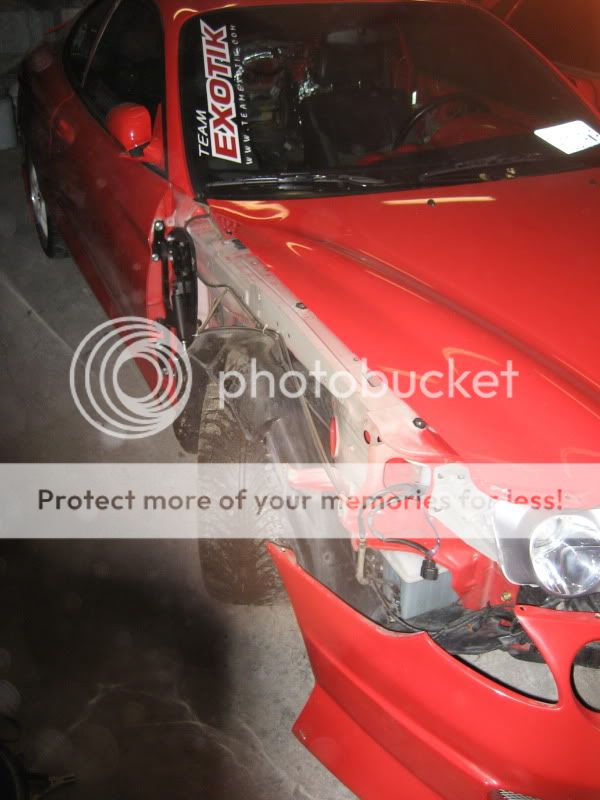
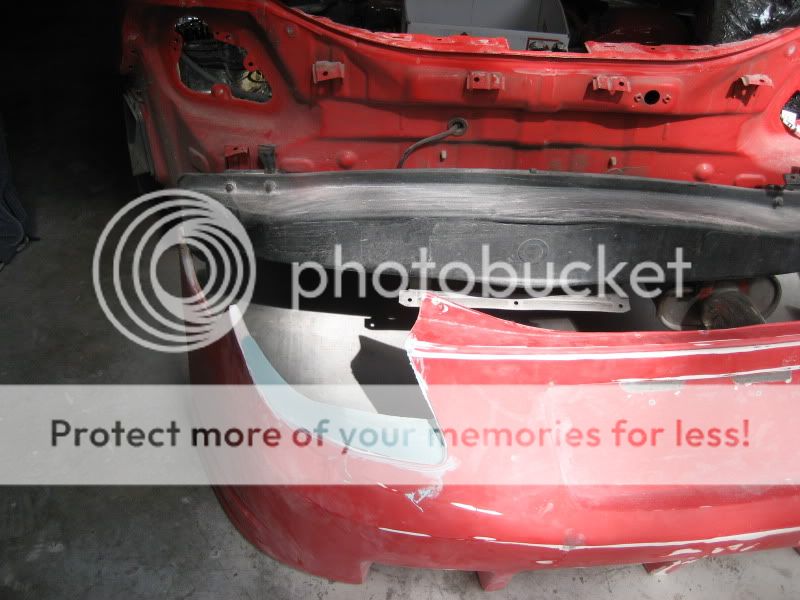
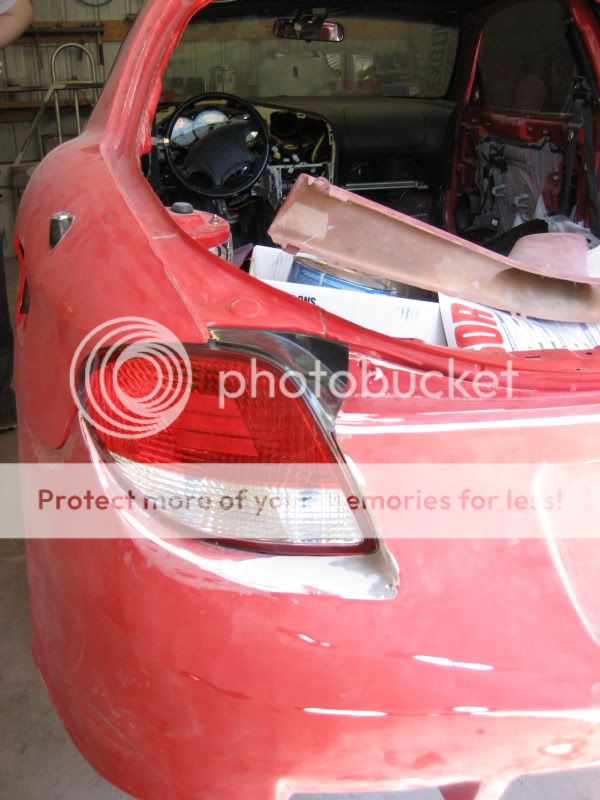
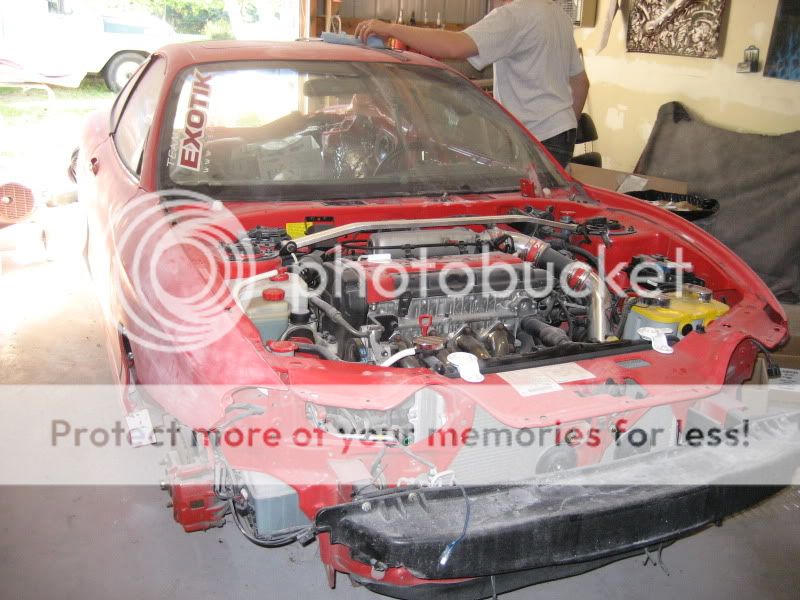
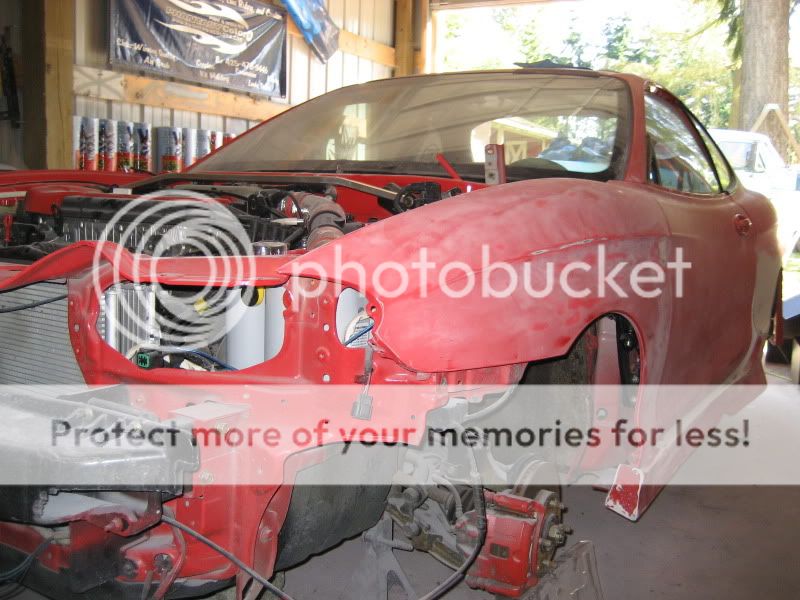
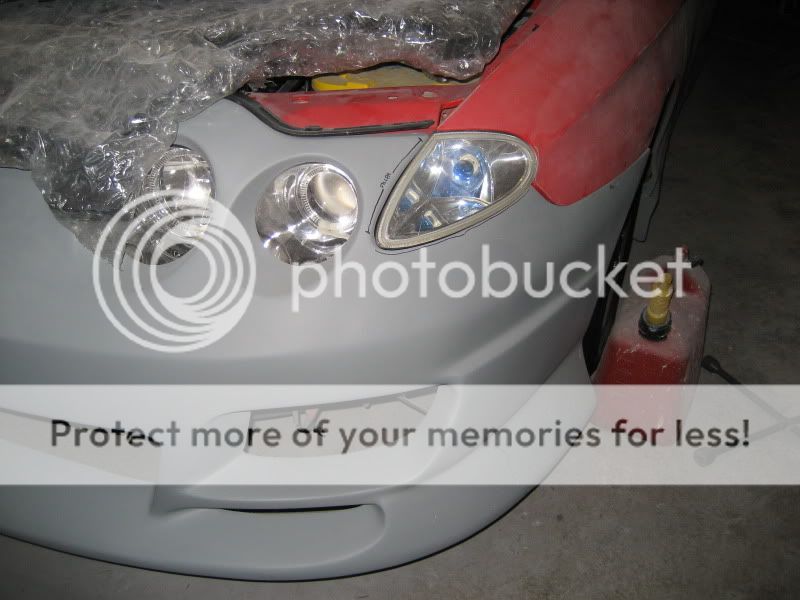
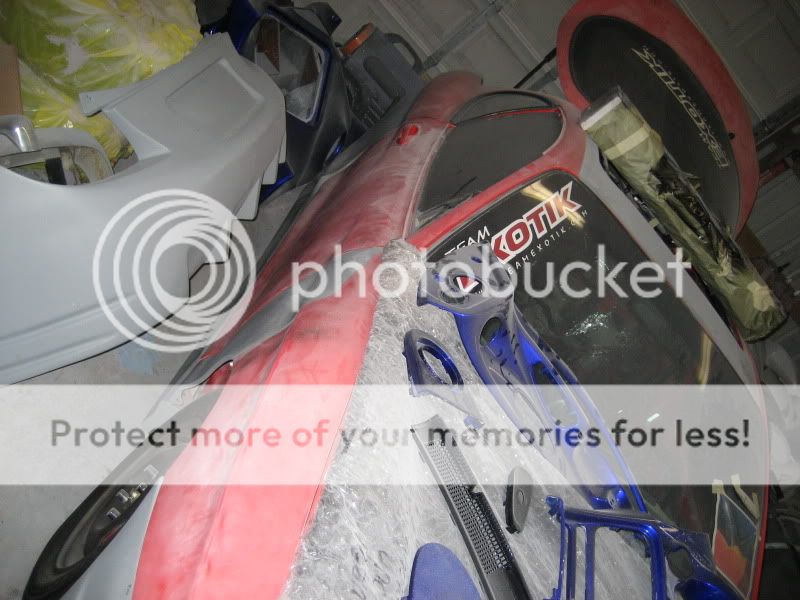
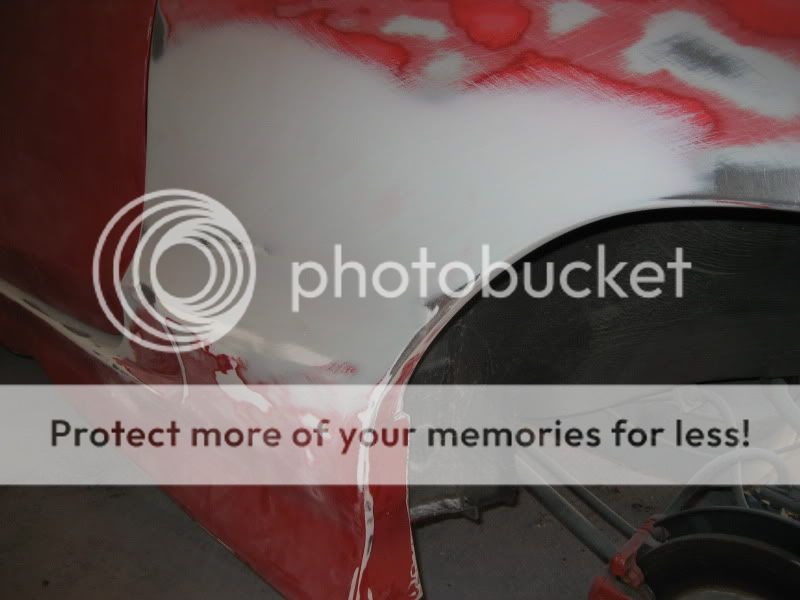
So here are a couple pre pictures
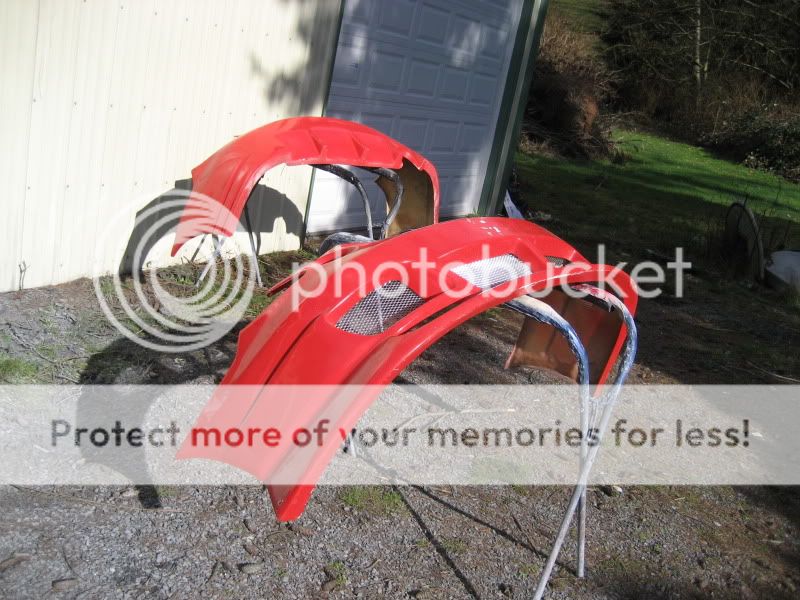
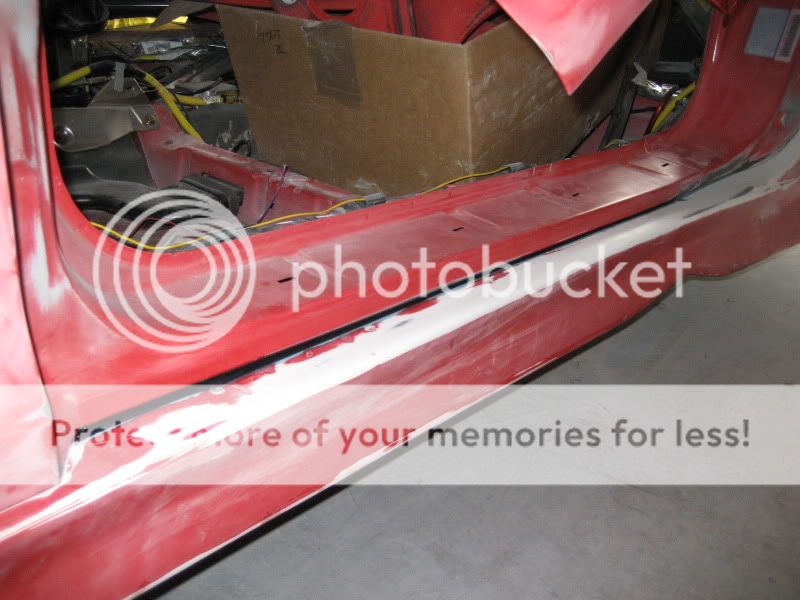
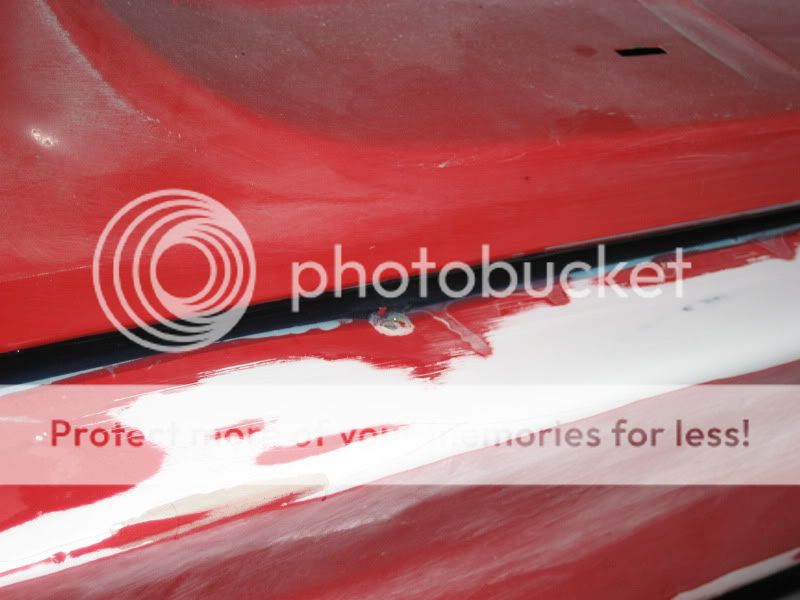
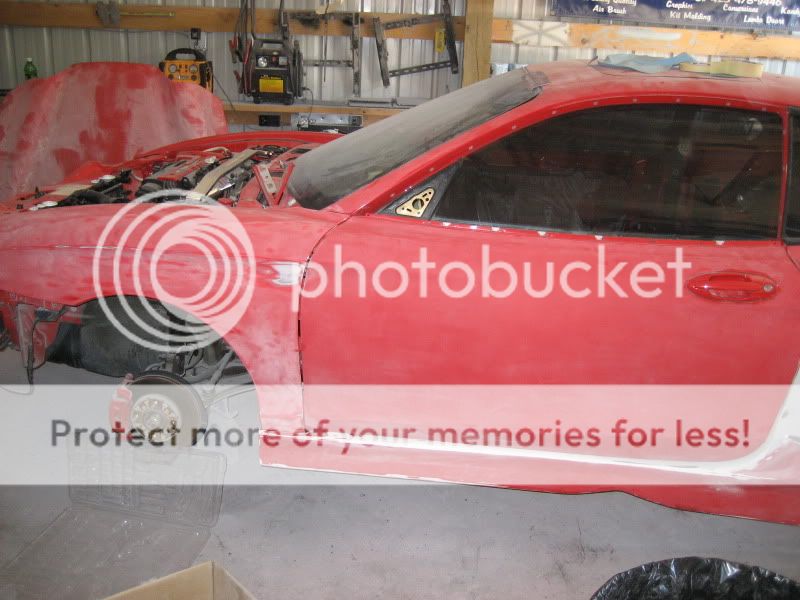
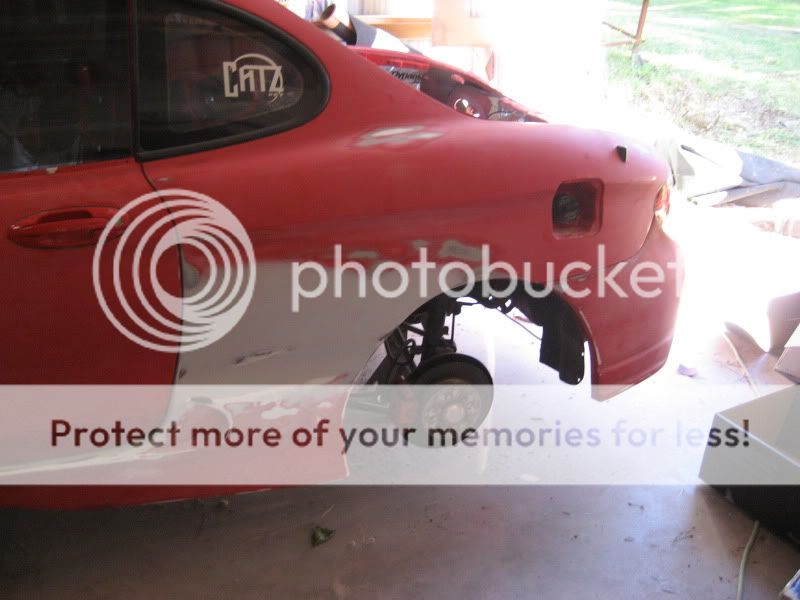
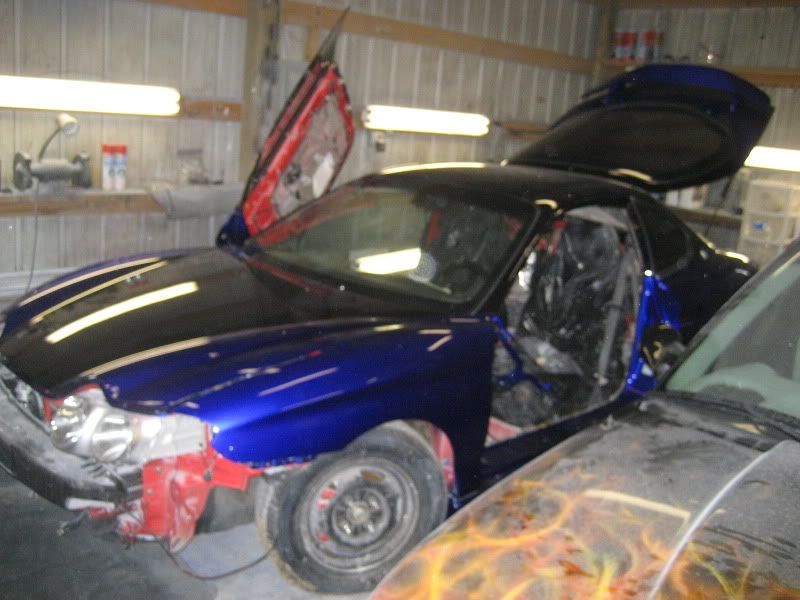
So as far as bodywork goes... My Cuda II kit alwasy sucked and never fit very good. On top of that someone backed into it while it was parked and left so i had a cracked front bumper. This started the whole thing so i took the car to a friend in Montana to do the body work and they let it sit outside for a year and then told me they where moving and to come get it with nothing done to it. So i had my parents store it for another few months and i went and got it in the spring. I had meanwhile worked out a deal with the guys who painted it to do the bodywok it so badly needed as well as the paint so we reworked parts of it shaved the rear license plate holes off and molded the side skirt rears so i could still get the fenders off for the vdi kit...sucks should of molded it but o'well. At the same time we added a ton of fiberglass to the kit making it 10 times heaver but its sturdy as hell now. It was so thin and had air pockets before. You could literally see through it. Its all good now though. Also my car went through a hellaish hail storm in Montana and i had major hail damage all over the car so we had to primer and fix dents etc...thus the reason it took so long and it was being done on the side alot of the time.

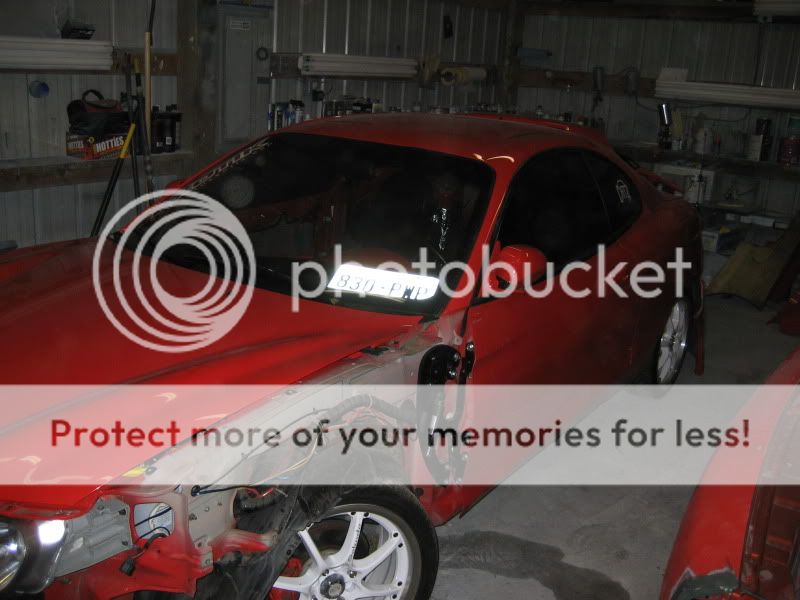


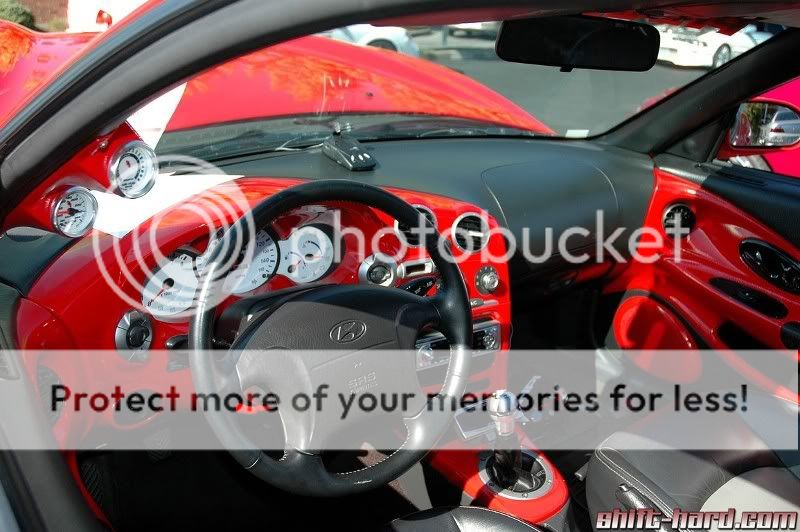
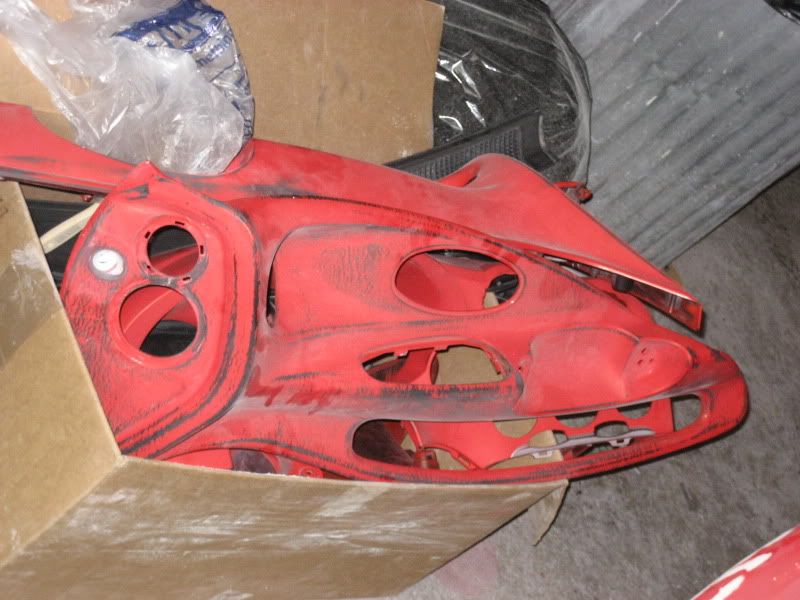
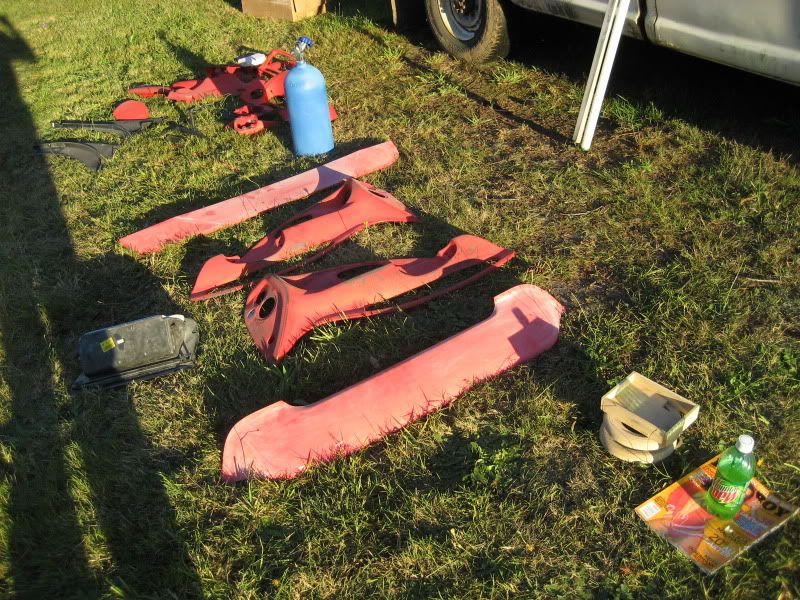
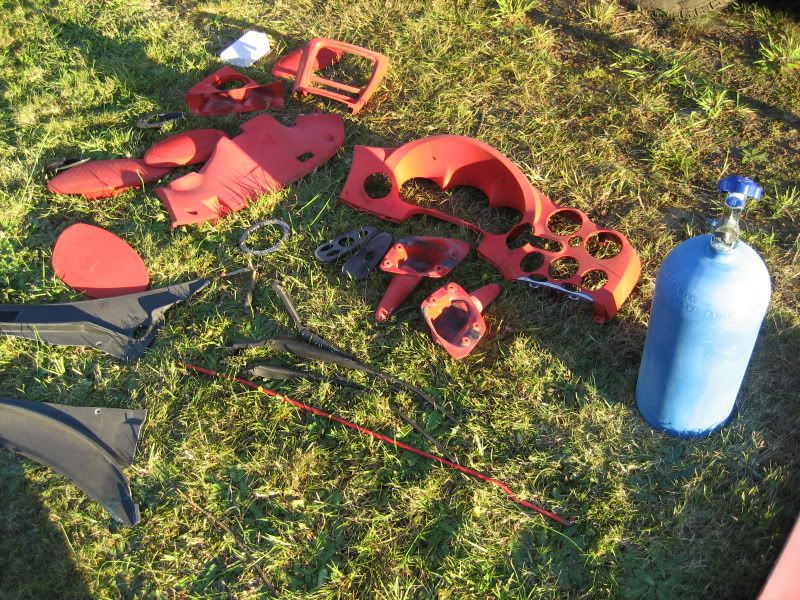
Here are some pics of how bad the interior was wow
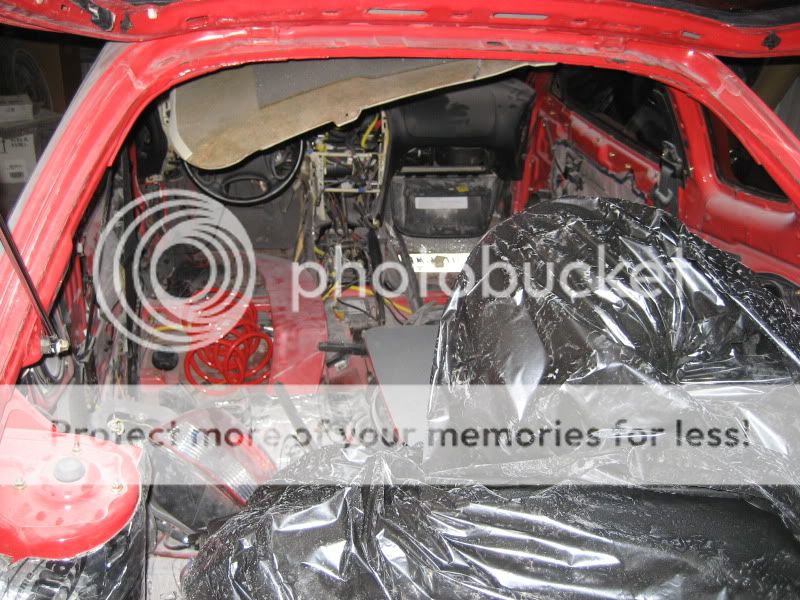
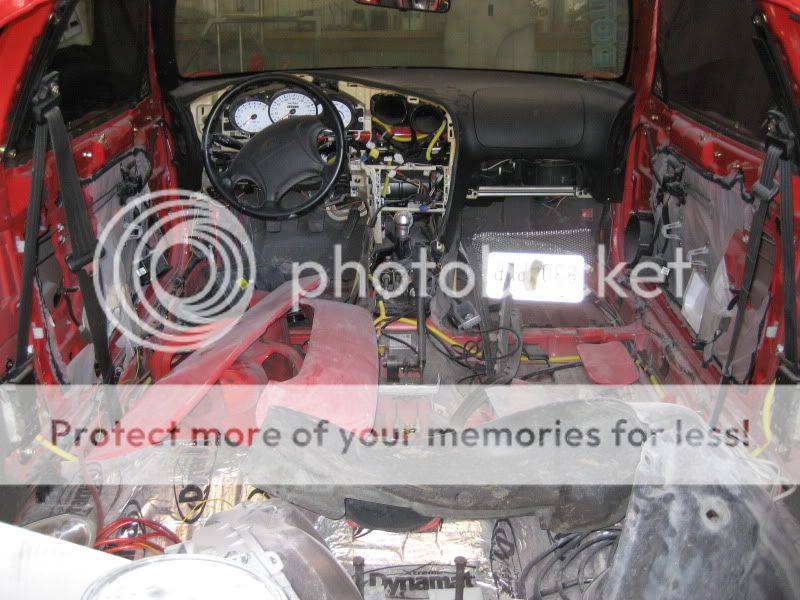
I don't know where my pics of it all/mostly in primer are but you get the idea.
Round 2 to come
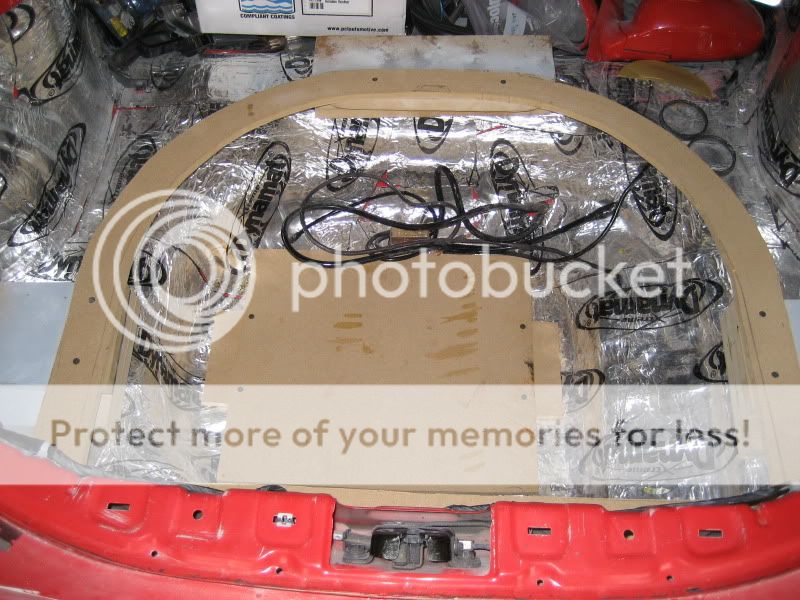
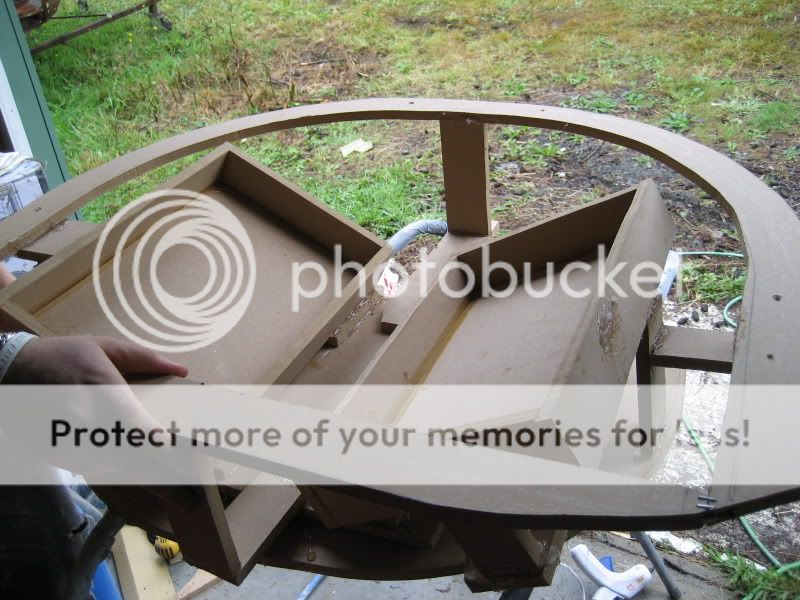
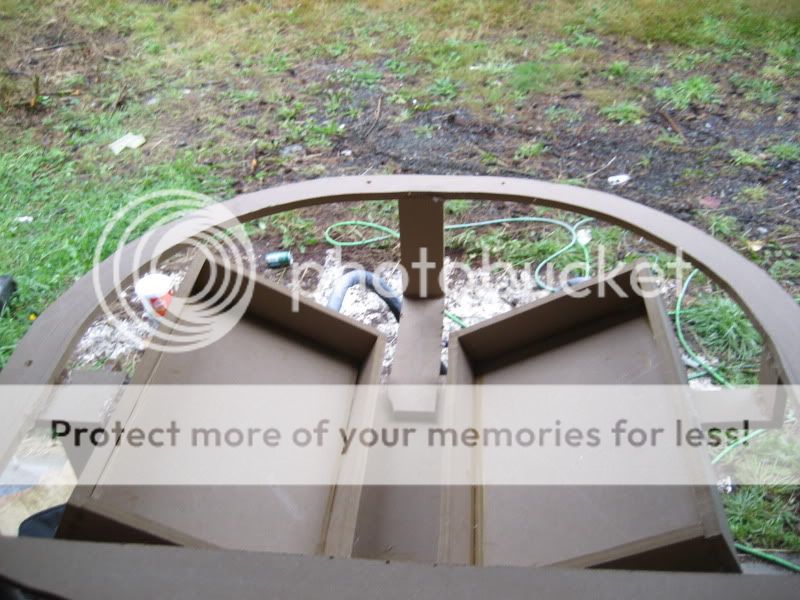
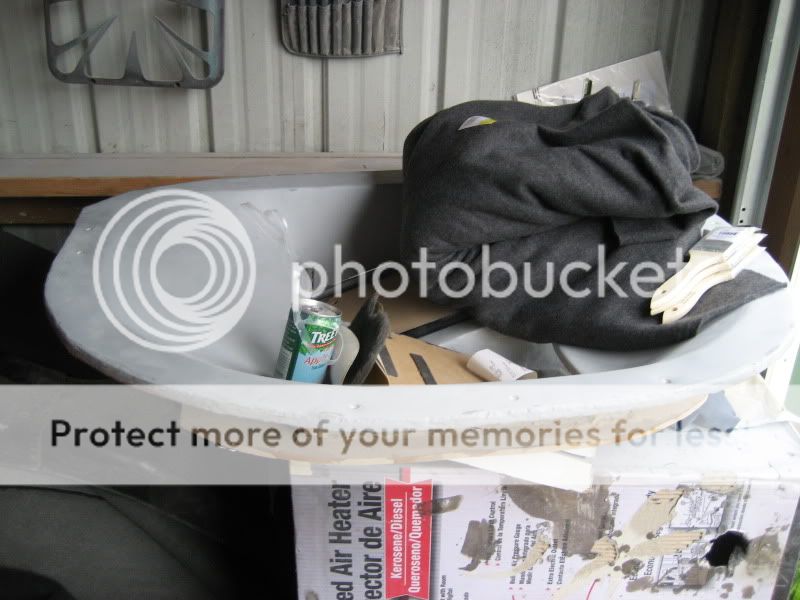
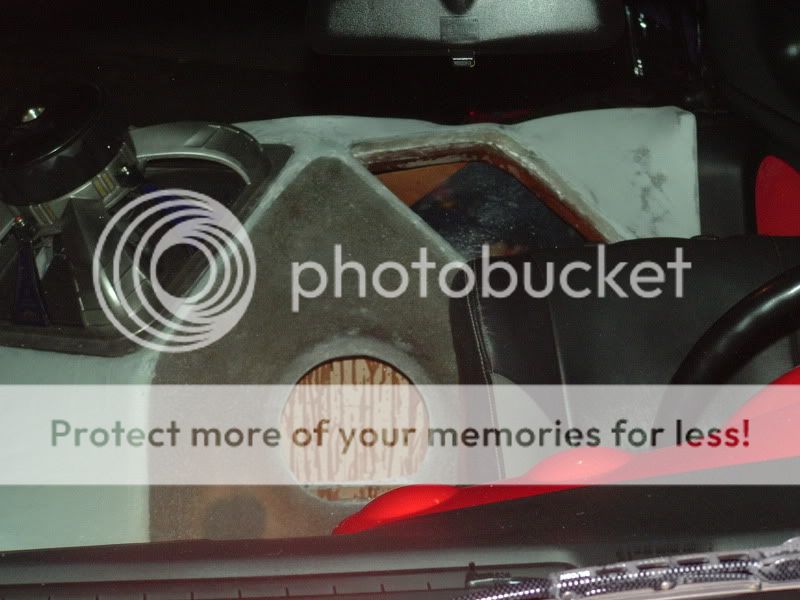
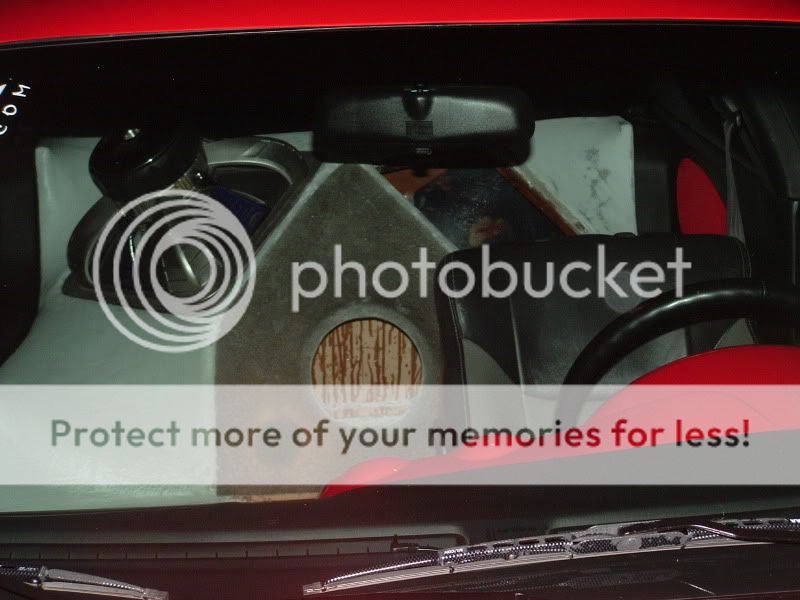
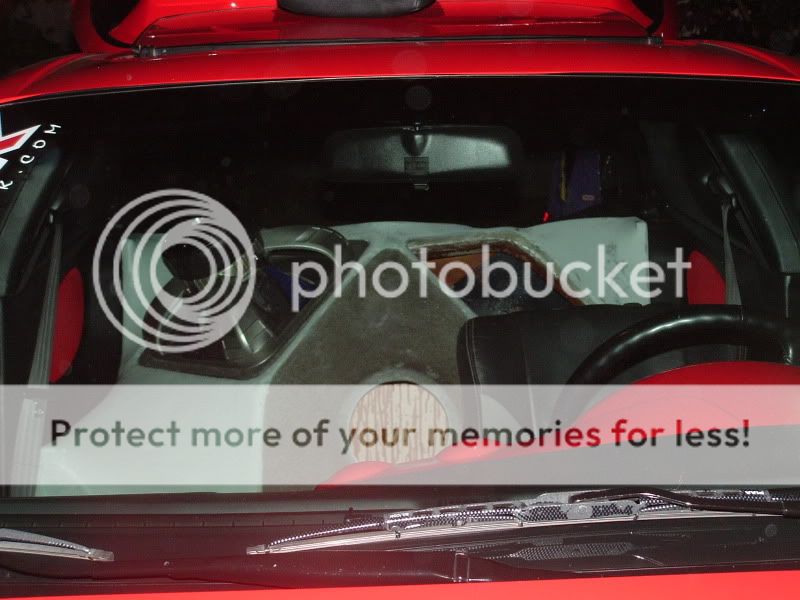
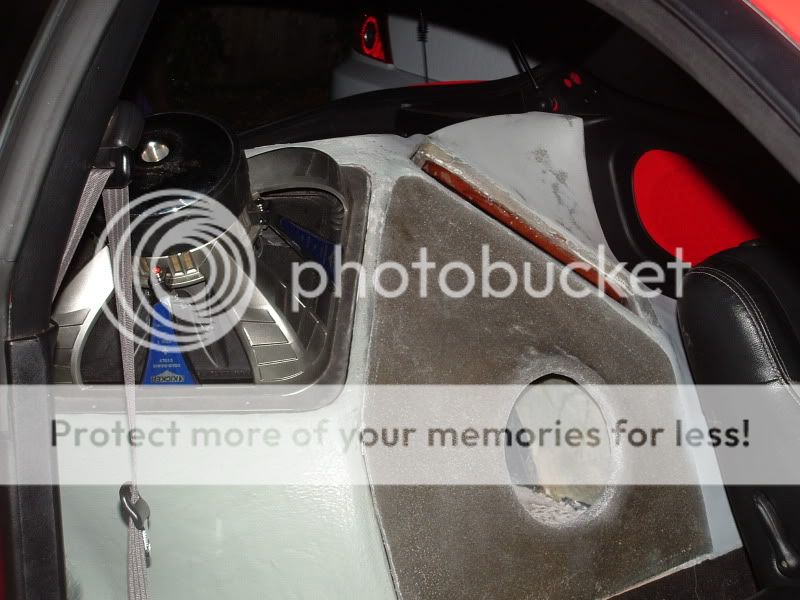
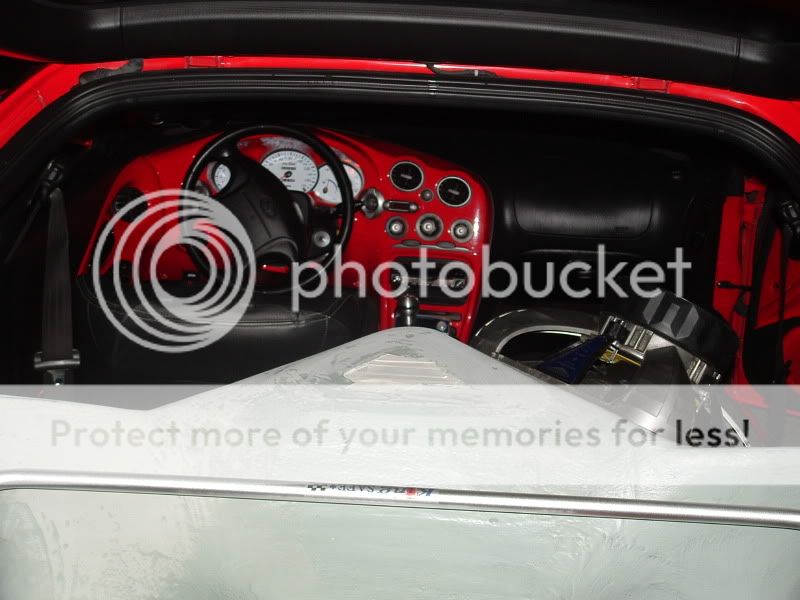
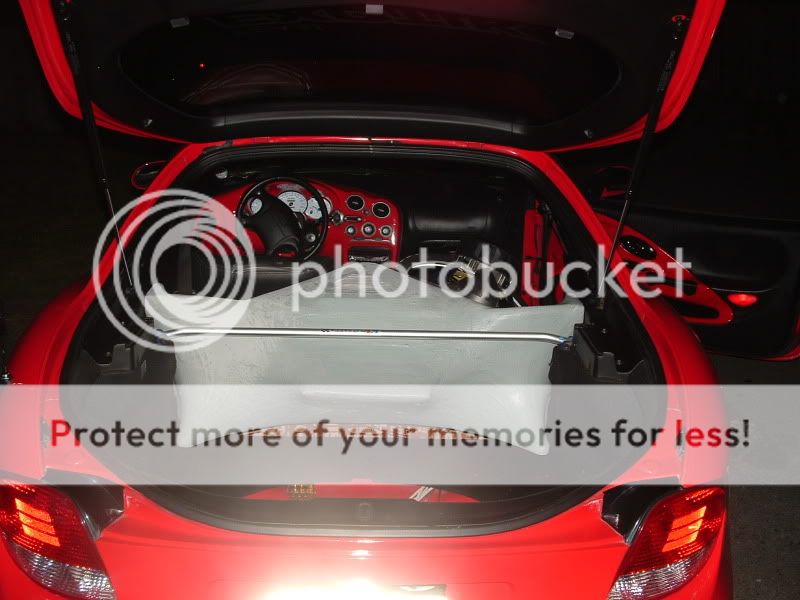
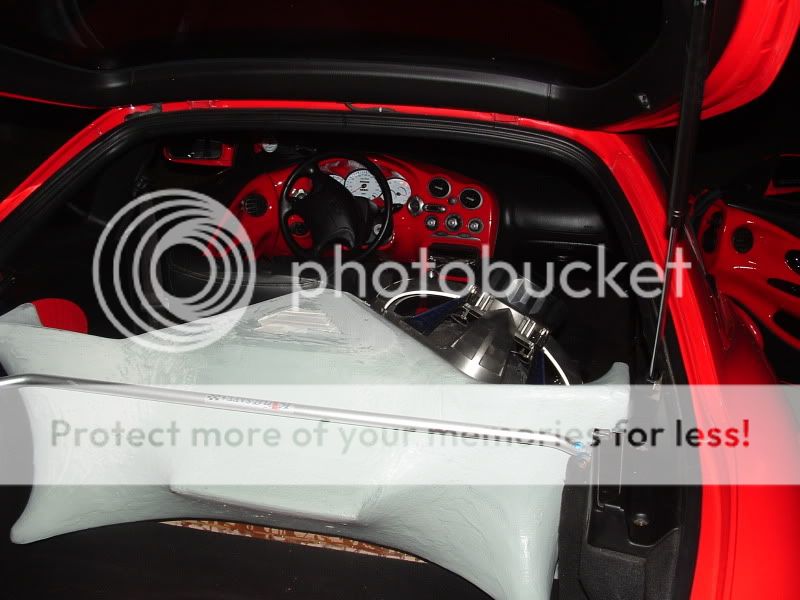
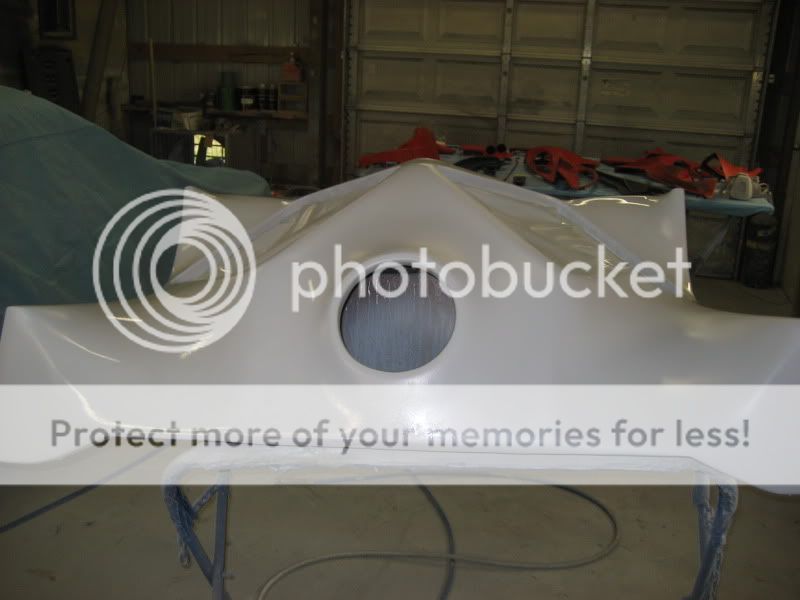
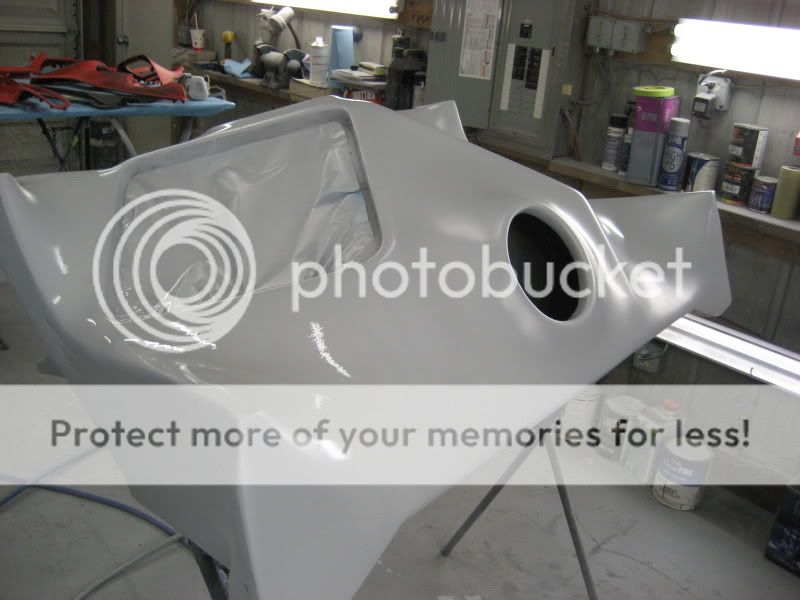
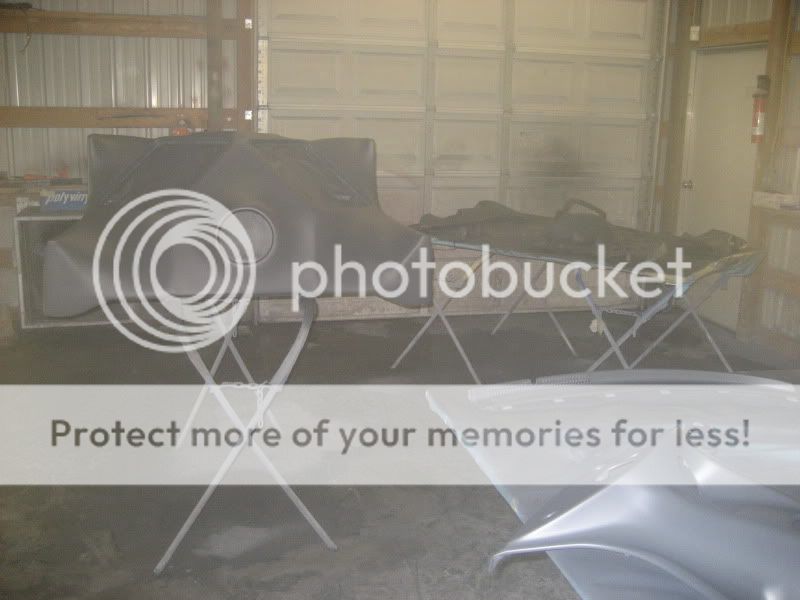
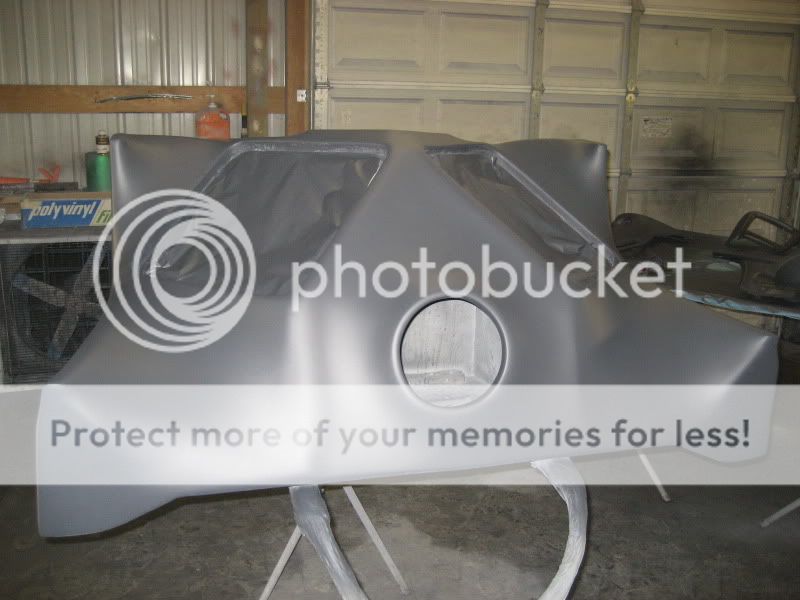
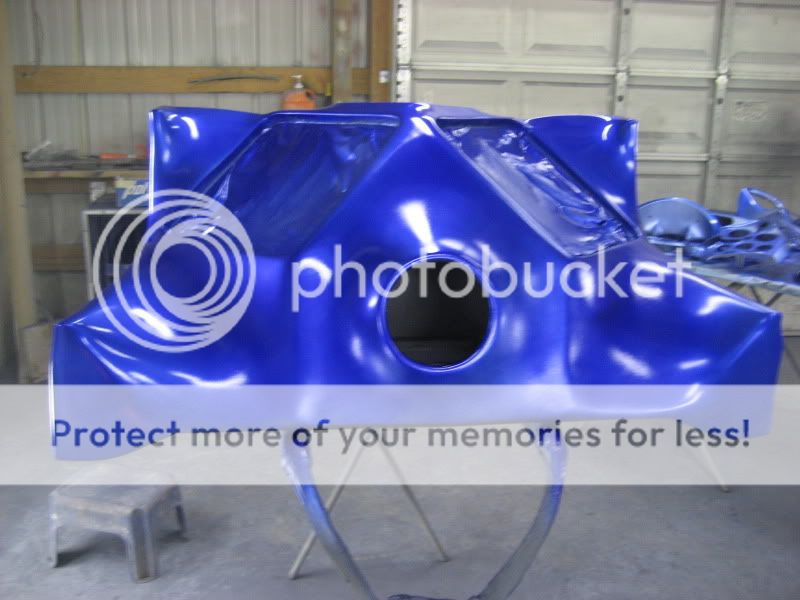
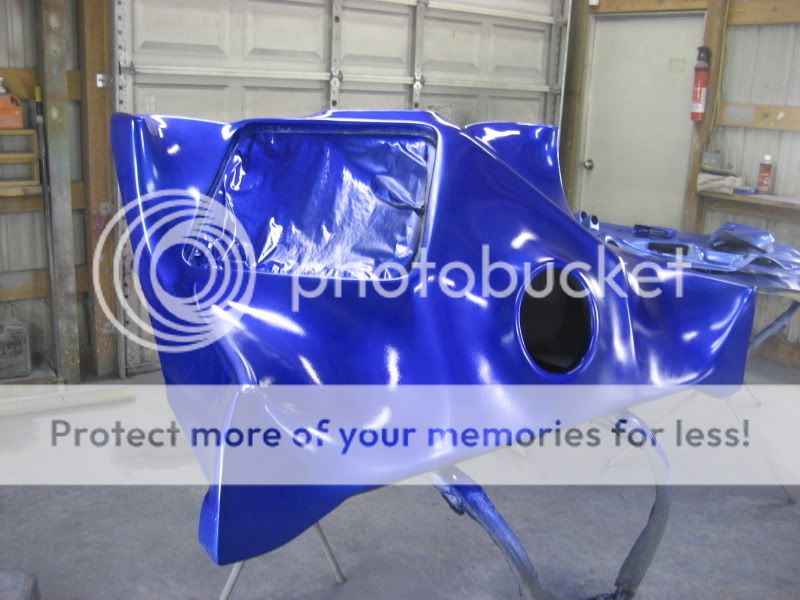
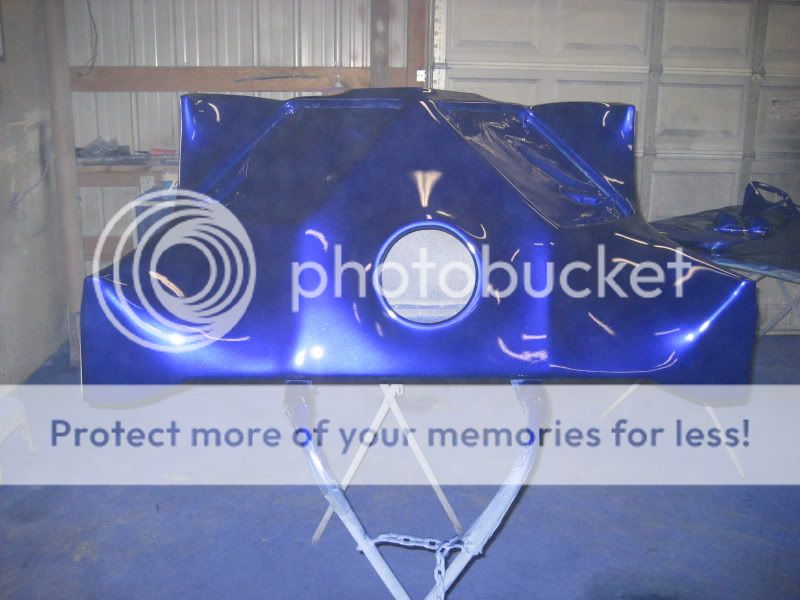
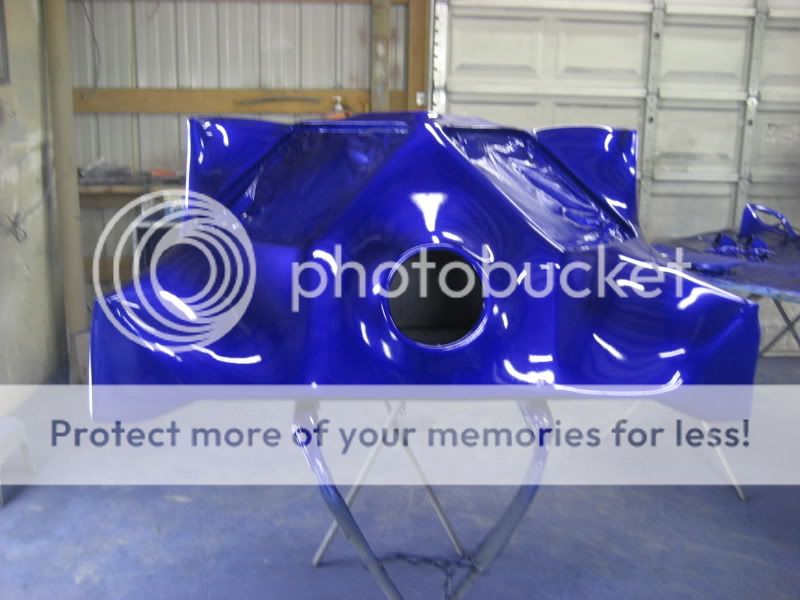
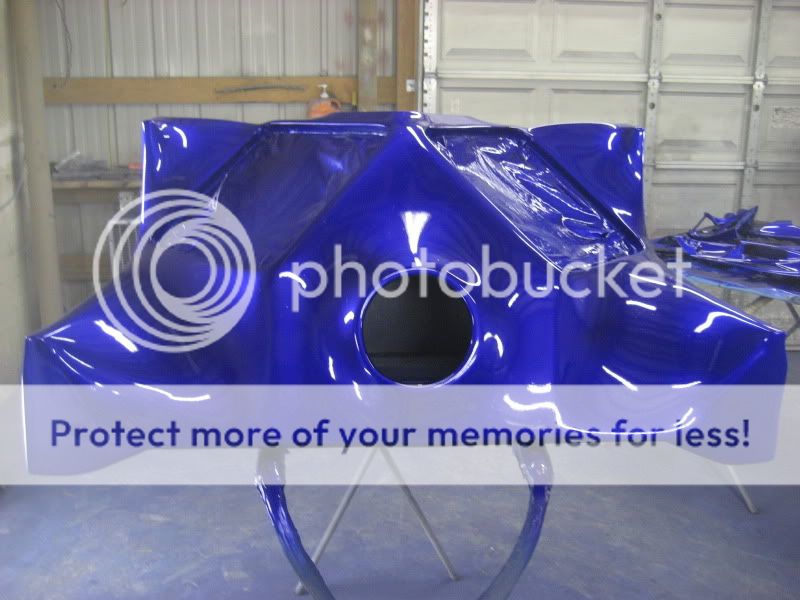
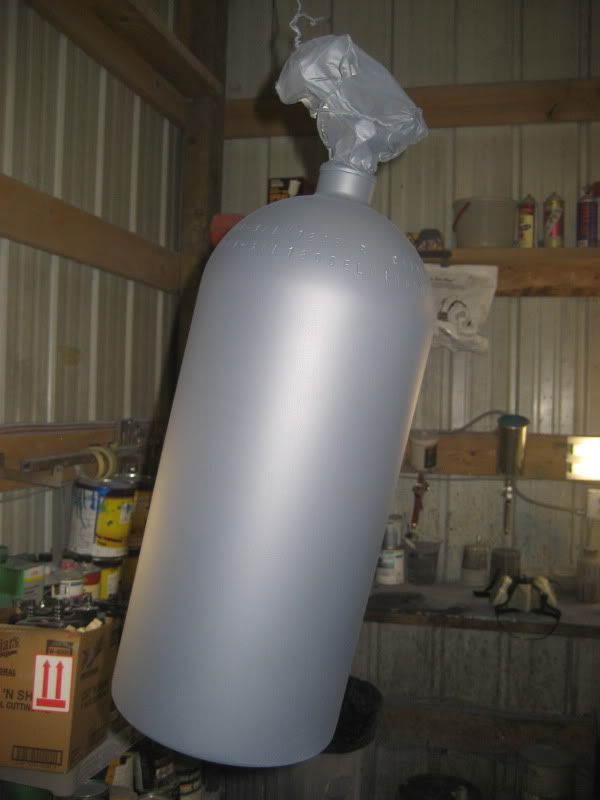
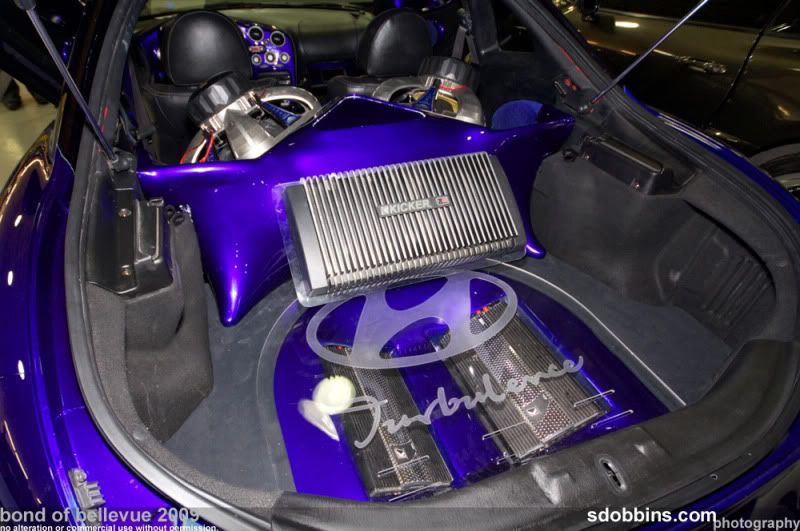
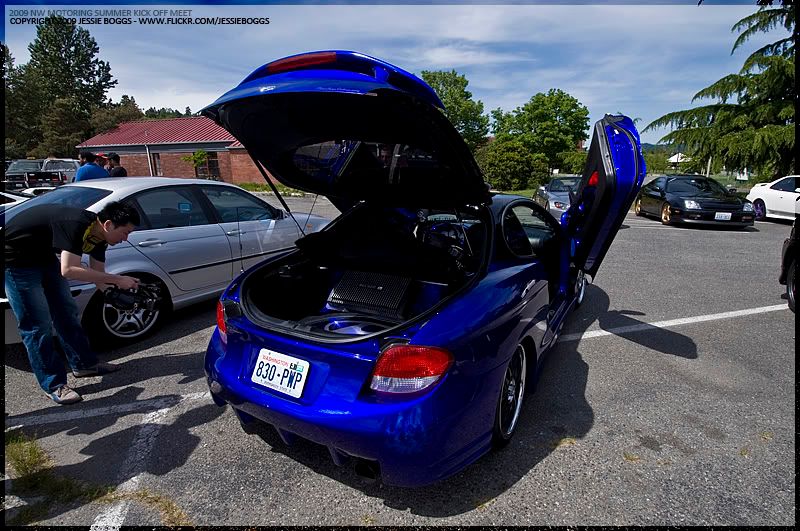
Now onto the system. I had a friend who worked for cartoys and was starting up on his own and needed some help doing fiberglass stereo systems so i helped him out and we started on my car as well doing a very large and over the top system..haha. Anyway the box holds two reverse mounted Kicker 15" squares and a nitrous bottle in the center. The back of the box has a floating amp rack for the subwoofer amplifier and a plexiglass insert that has led's underneath it to hightlight whichever painted plexiglass piece i put in( i have them with Hyundai, house of kolor, team exotik) logos. At the same time we built a amprack in the sparetire well around the plexiglass cover that i got from the group buy that was going on at the time, but in the end i wasn't happy with it so i redid it later on my own with help from another friend and made it more user friendly and visully appealing. It raises the floor a couple inches and holds the two midrange amplifiers and has 8 led's per amp for backlighting and the plexiglass piece has led's that shoot through the length of it hightlight the cnc'd logos. During this time we where traveling to car shows alot and my wife would complain how boring it was so i fiberglassed a screen so she could watch movies while we drove into the glovebox.(however the birth of our daughter has put an end to the traveling so its their now for looks...haha)
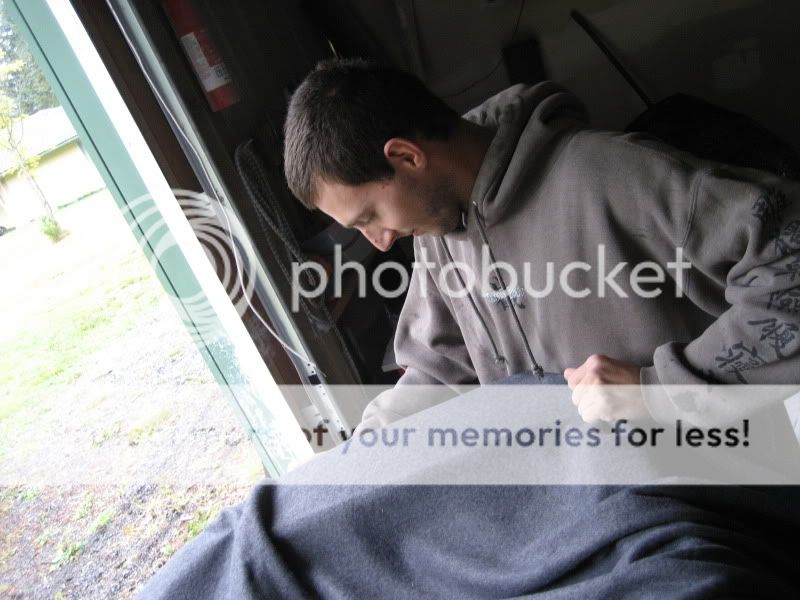
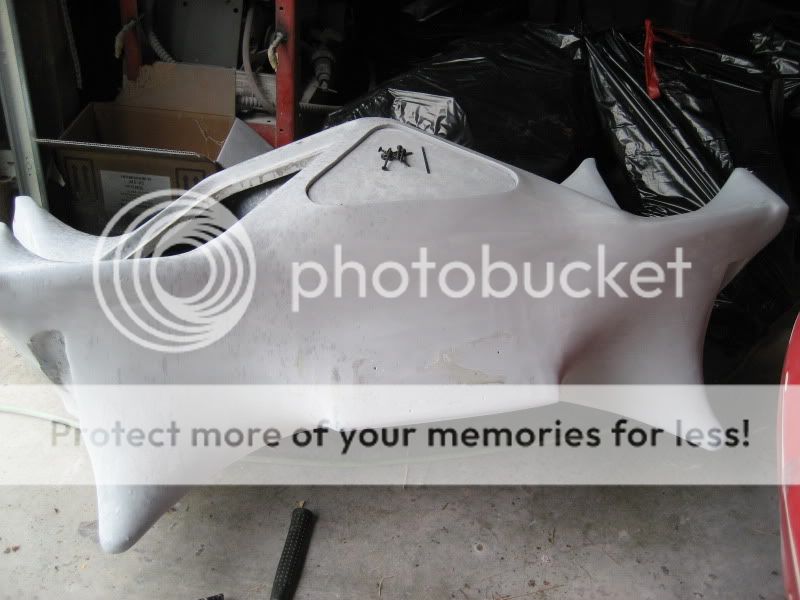
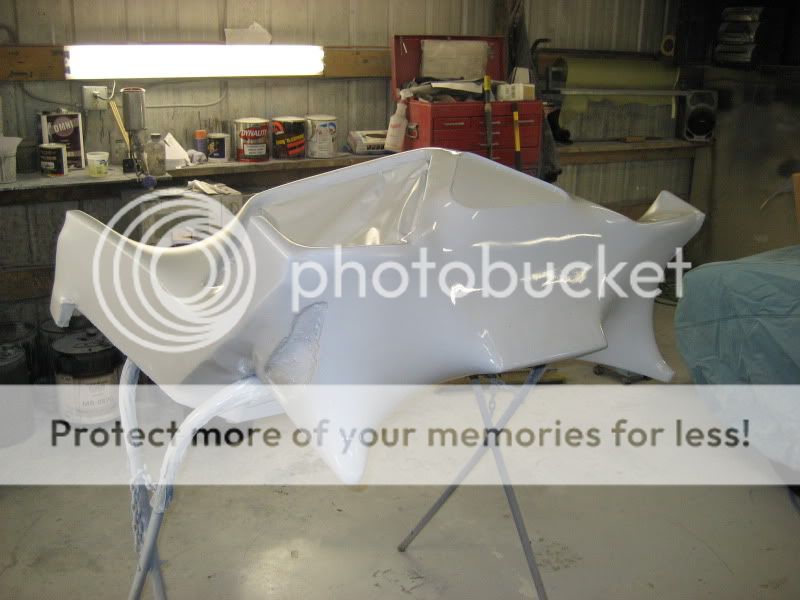
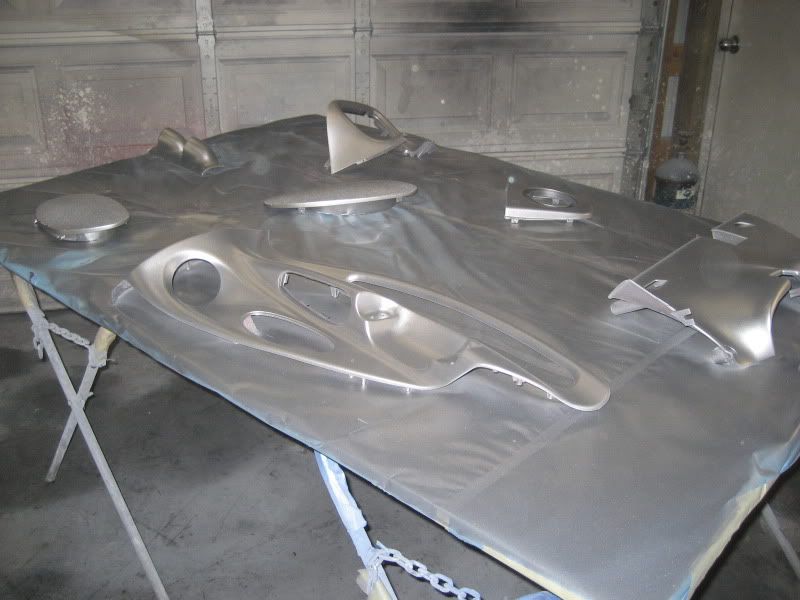
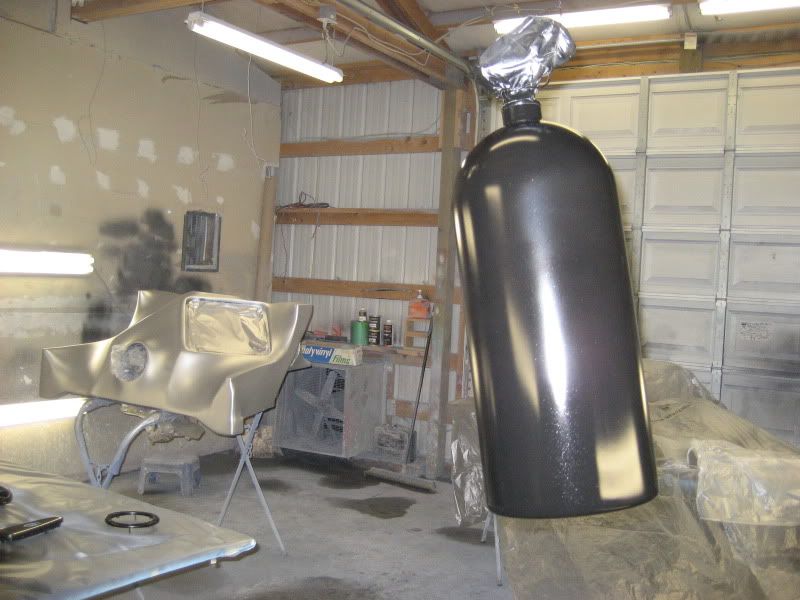
Heres some pics of the 2nd amprack build and the finished box going through stages of paint from primer-sealer-basecoat-kandy coats--like 14 coats of kandy and then multiple coats of clear.
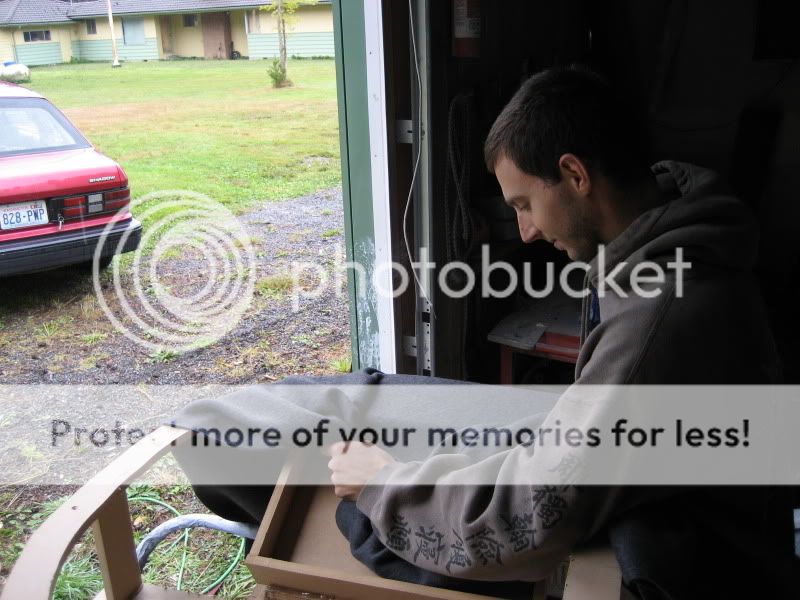
My dumbass stretching fleace
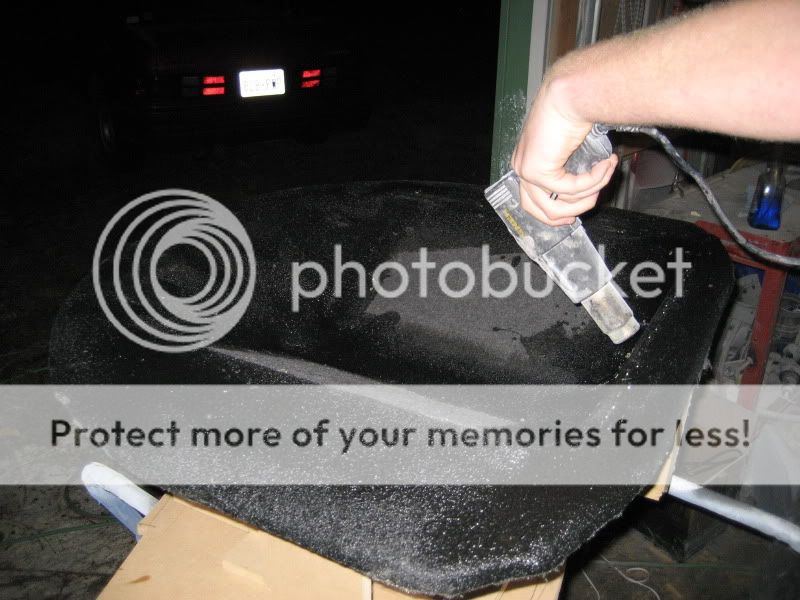
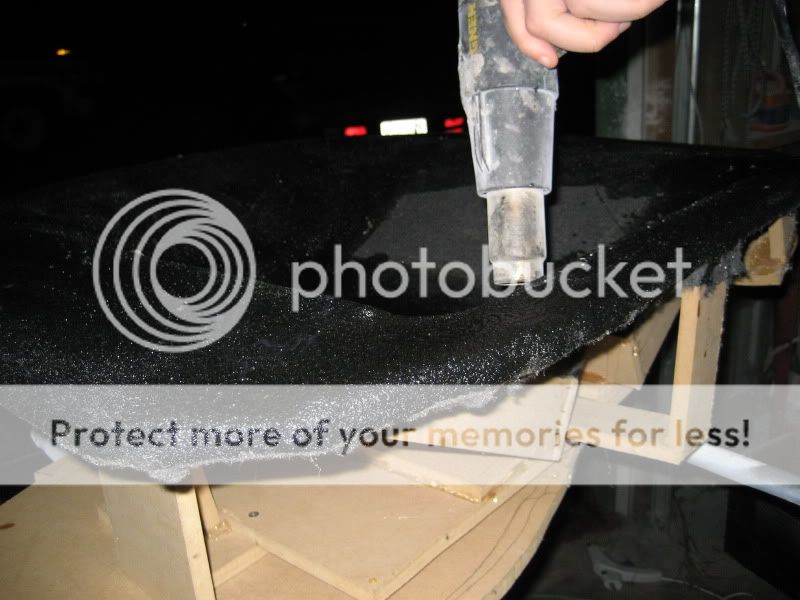
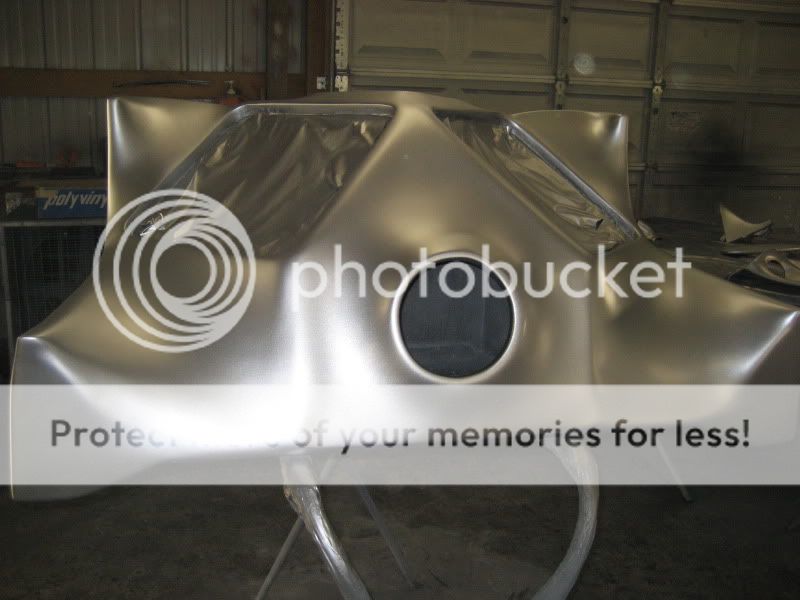
Subwoofer box early stages...it had a removable panel but it warped so bad we ended up molding it on permanetly

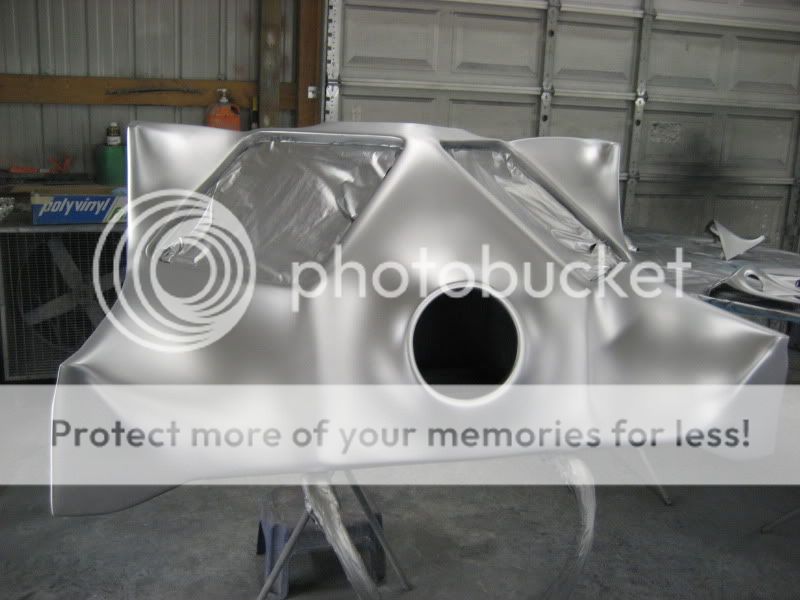
primer
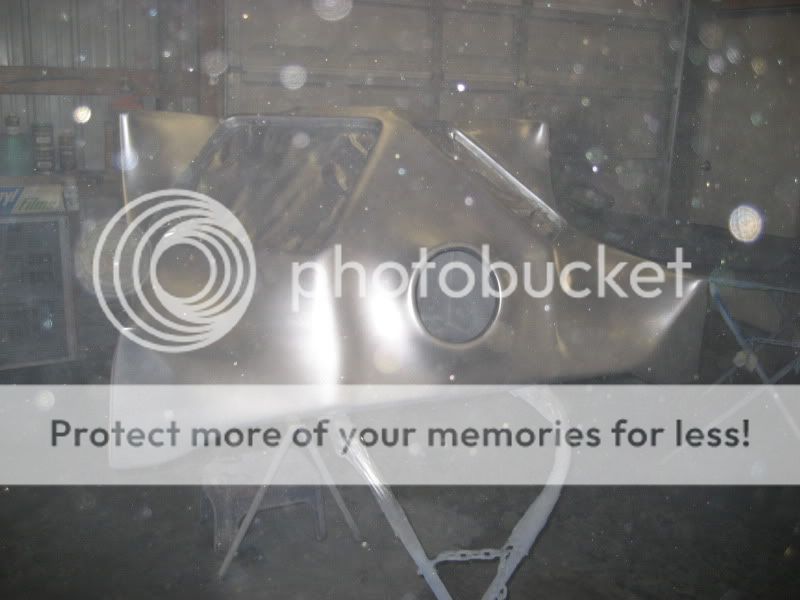
sealer
metalic basecoat
Check out the metalics hanging in the air
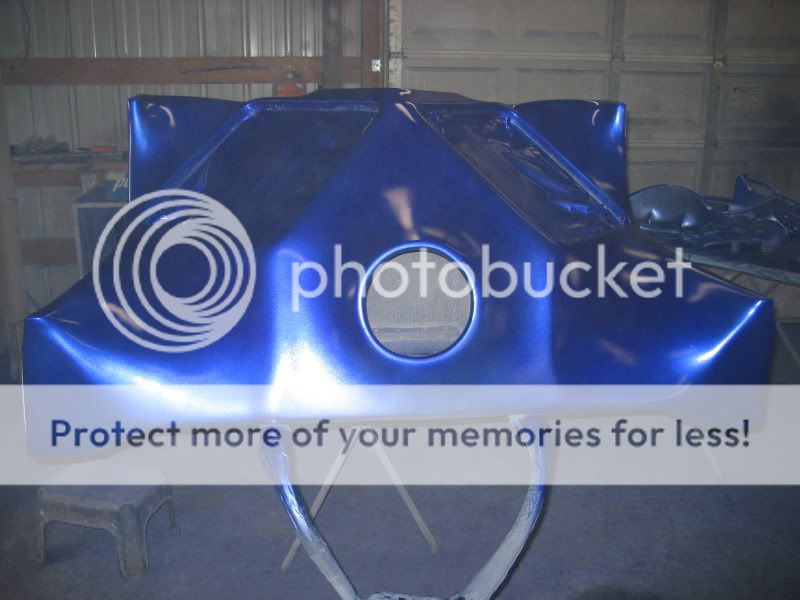
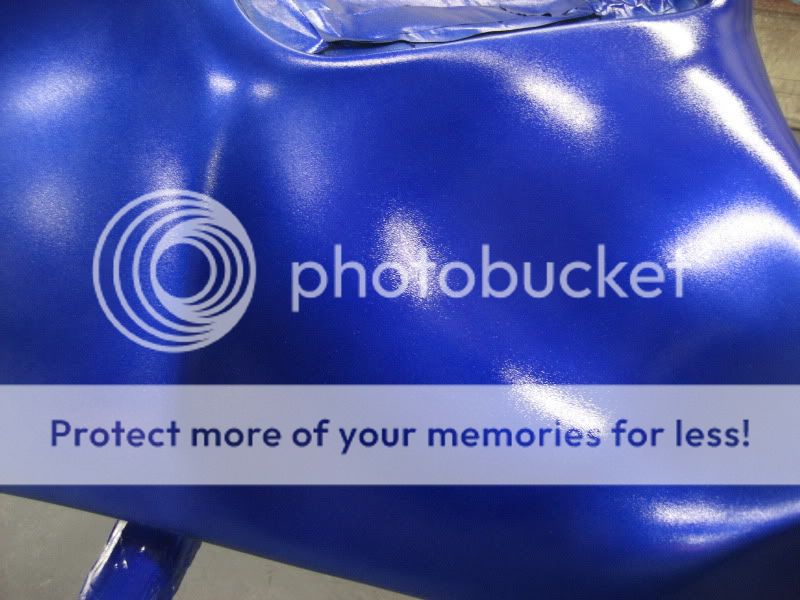
Kandy layers
This was the first layer of kandy...each one after it just gets deeper and brighter and at first it was really blue....towards the end it really flopped from blue to purple like it is supposed too cool stuff
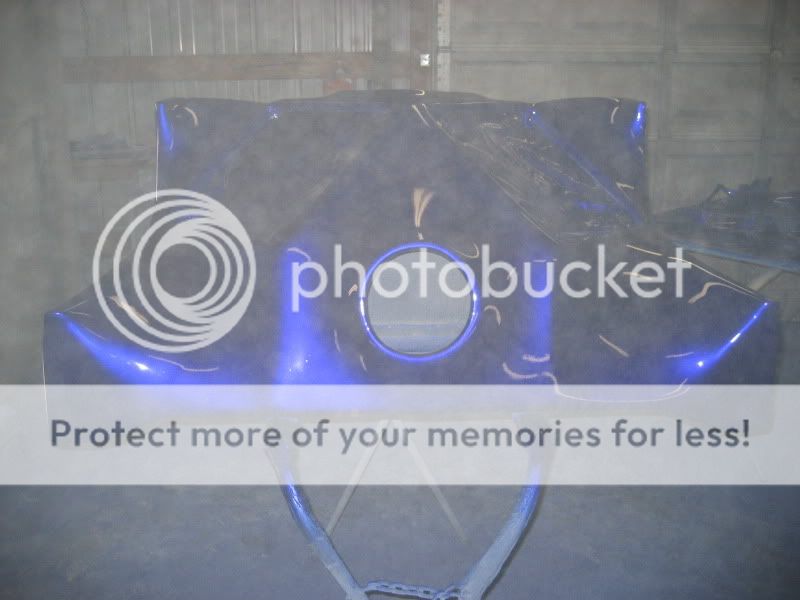
Kandy hangin in the air that the flash pics up
Final coat of kandy before clear
clear
So here are a couple pre pictures
So as far as bodywork goes... My Cuda II kit alwasy sucked and never fit very good. On top of that someone backed into it while it was parked and left so i had a cracked front bumper. This started the whole thing so i took the car to a friend in Montana to do the body work and they let it sit outside for a year and then told me they where moving and to come get it with nothing done to it. So i had my parents store it for another few months and i went and got it in the spring. I had meanwhile worked out a deal with the guys who painted it to do the bodywok it so badly needed as well as the paint so we reworked parts of it shaved the rear license plate holes off and molded the side skirt rears so i could still get the fenders off for the vdi kit...sucks should of molded it but o'well. At the same time we added a ton of fiberglass to the kit making it 10 times heaver but its sturdy as hell now. It was so thin and had air pockets before. You could literally see through it. Its all good now though. Also my car went through a hellaish hail storm in Montana and i had major hail damage all over the car so we had to primer and fix dents etc...thus the reason it took so long and it was being done on the side alot of the time.
Here are some pics of how bad the interior was wow
I don't know where my pics of it all/mostly in primer are but you get the idea.
Round 2 to come
Now onto the system. I had a friend who worked for cartoys and was starting up on his own and needed some help doing fiberglass stereo systems so i helped him out and we started on my car as well doing a very large and over the top system..haha. Anyway the box holds two reverse mounted Kicker 15" squares and a nitrous bottle in the center. The back of the box has a floating amp rack for the subwoofer amplifier and a plexiglass insert that has led's underneath it to hightlight whichever painted plexiglass piece i put in( i have them with Hyundai, house of kolor, team exotik) logos. At the same time we built a amprack in the sparetire well around the plexiglass cover that i got from the group buy that was going on at the time, but in the end i wasn't happy with it so i redid it later on my own with help from another friend and made it more user friendly and visully appealing. It raises the floor a couple inches and holds the two midrange amplifiers and has 8 led's per amp for backlighting and the plexiglass piece has led's that shoot through the length of it hightlight the cnc'd logos. During this time we where traveling to car shows alot and my wife would complain how boring it was so i fiberglassed a screen so she could watch movies while we drove into the glovebox.(however the birth of our daughter has put an end to the traveling so its their now for looks...haha)
Heres some pics of the 2nd amprack build and the finished box going through stages of paint from primer-sealer-basecoat-kandy coats--like 14 coats of kandy and then multiple coats of clear.
My dumbass stretching fleace
Subwoofer box early stages...it had a removable panel but it warped so bad we ended up molding it on permanetly
primer
sealer
metalic basecoat
Check out the metalics hanging in the air
Kandy layers
This was the first layer of kandy...each one after it just gets deeper and brighter and at first it was really blue....towards the end it really flopped from blue to purple like it is supposed too cool stuff
Kandy hangin in the air that the flash pics up
Final coat of kandy before clear
clear

Thread Starter
Senior Member
Joined: Aug 2001
Posts: 650
Likes: 0
From: Missoula,MT
Vehicle: 2001 Hyundai tiburon
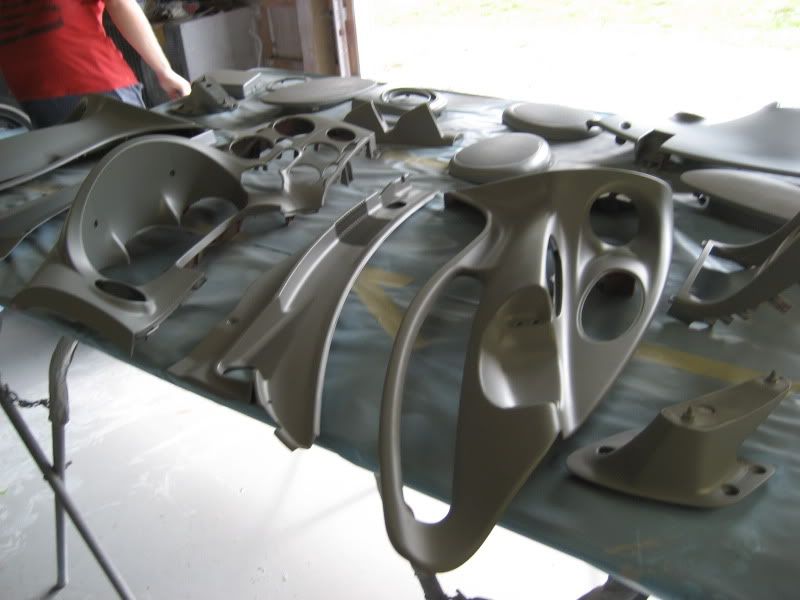
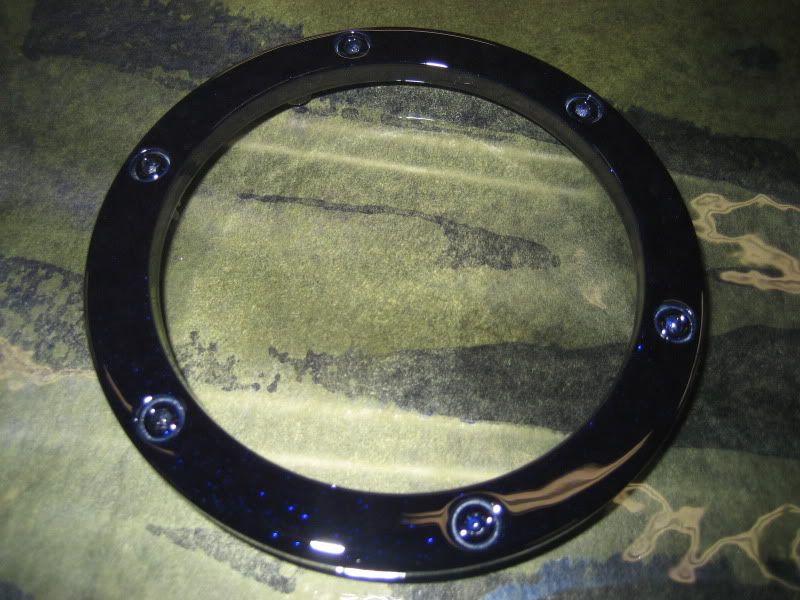
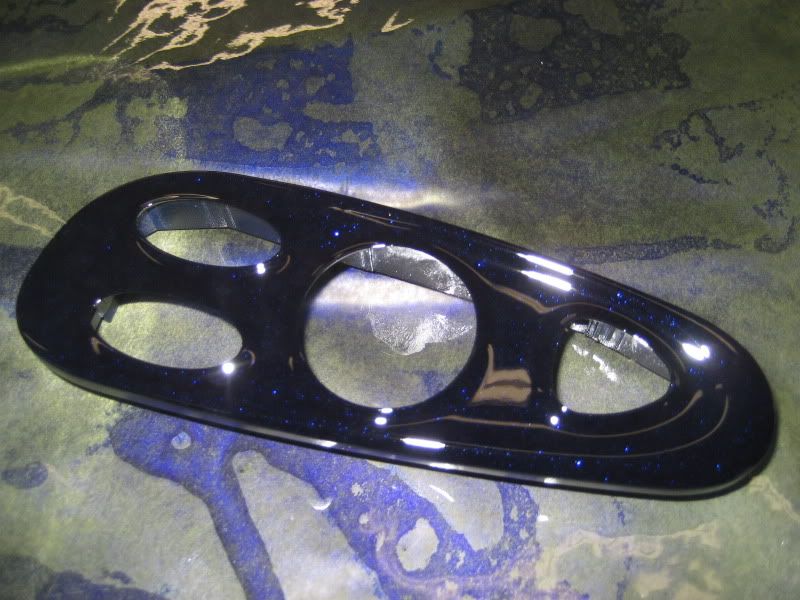
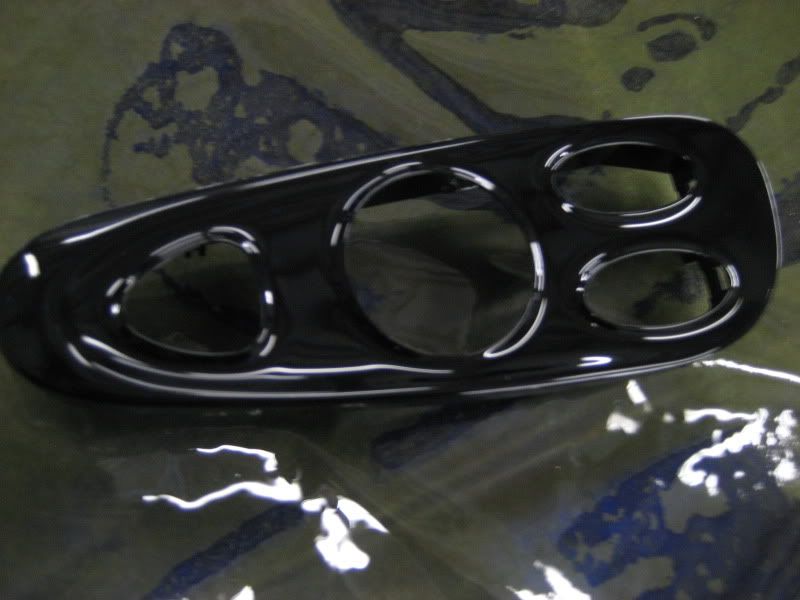
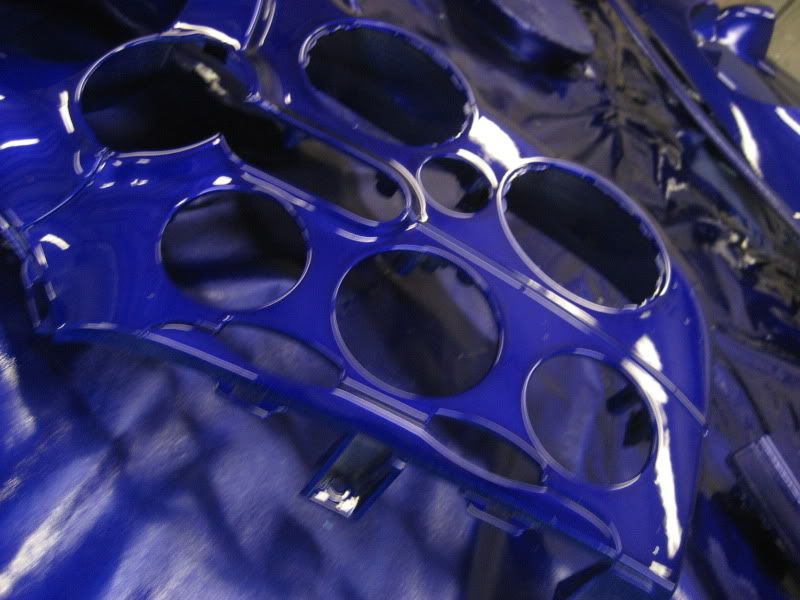
Here is a slight progression of the interior on the tiburon ranging from saning the old red paint and repairing some cracks to the same primer, sealer, base, kandy(multiple),clear

Ready to be painted finally after tons of time sanding especially on the passanger door to get rid of the texture that it had stock that i had painted the red over

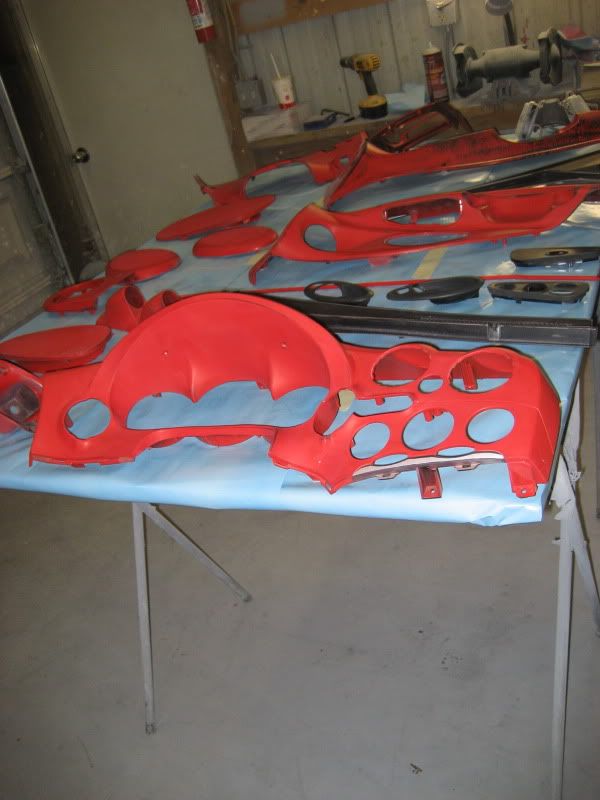
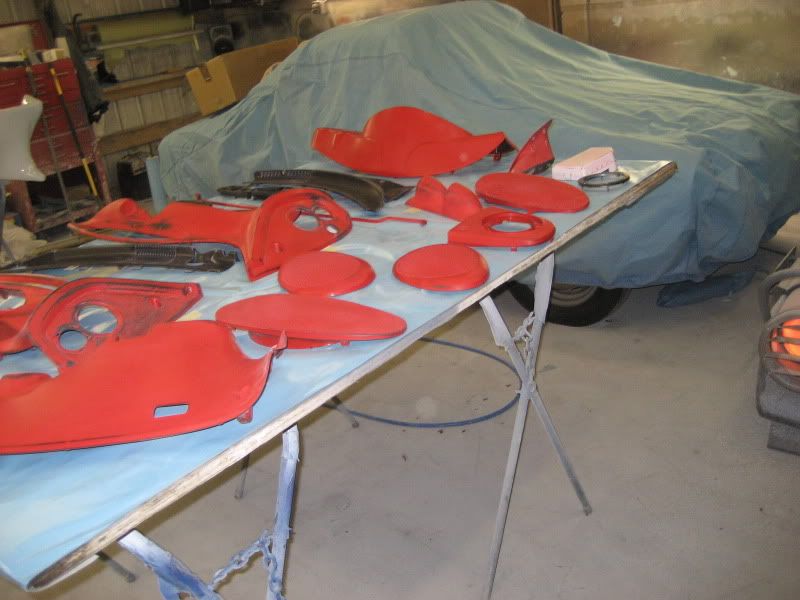
Let the long process begin

All primerd out time to be blocked out and prep for paint
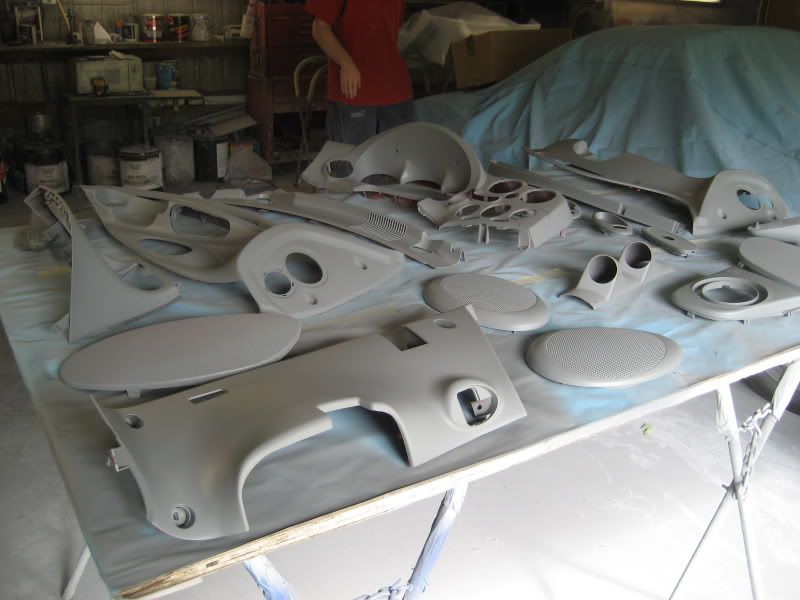
Sealer
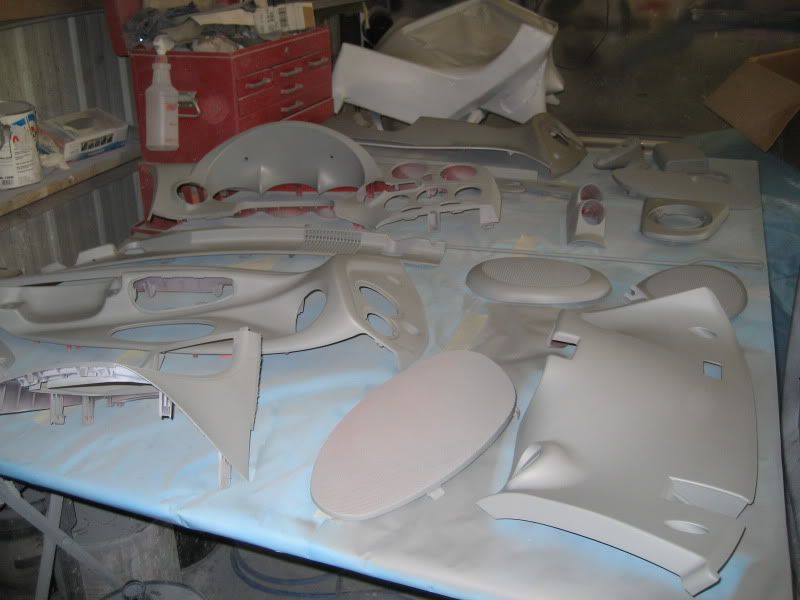
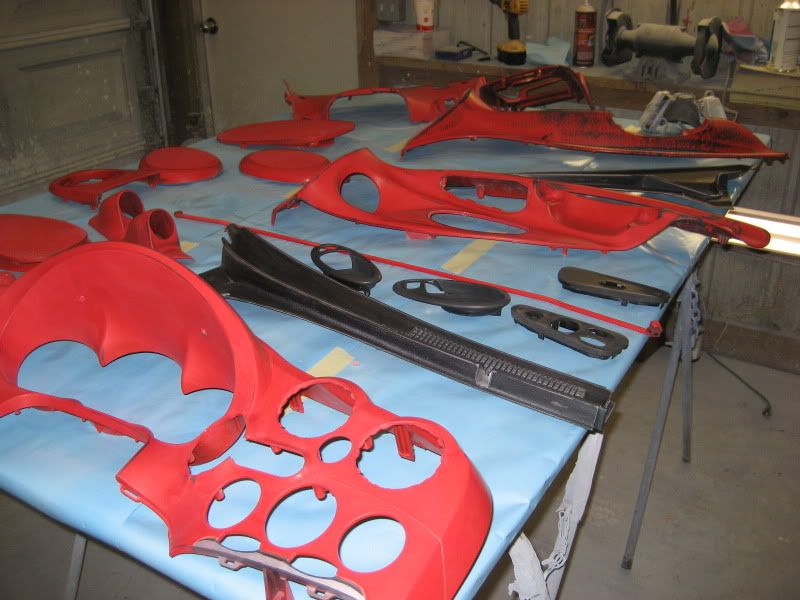
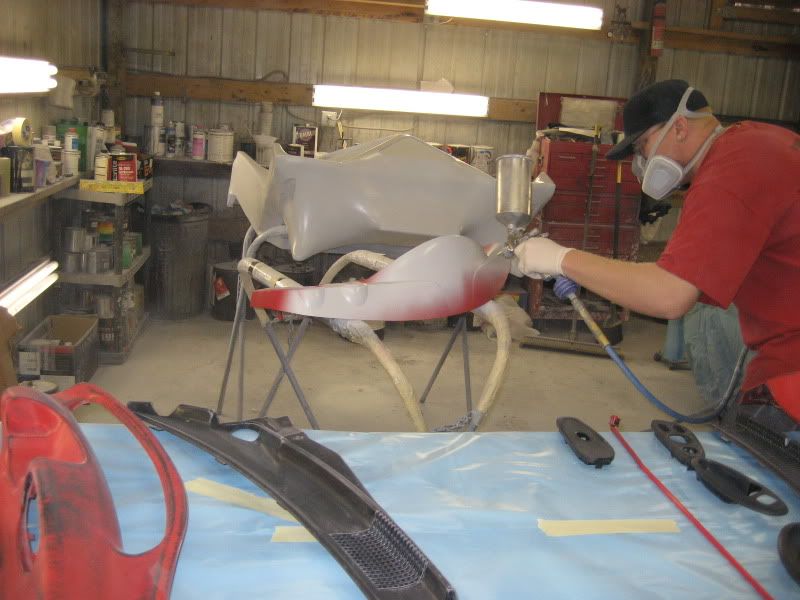
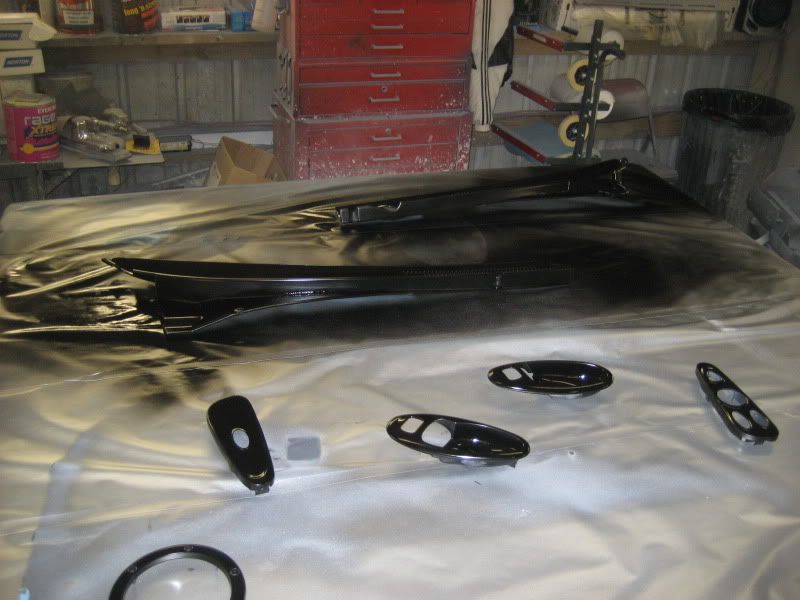
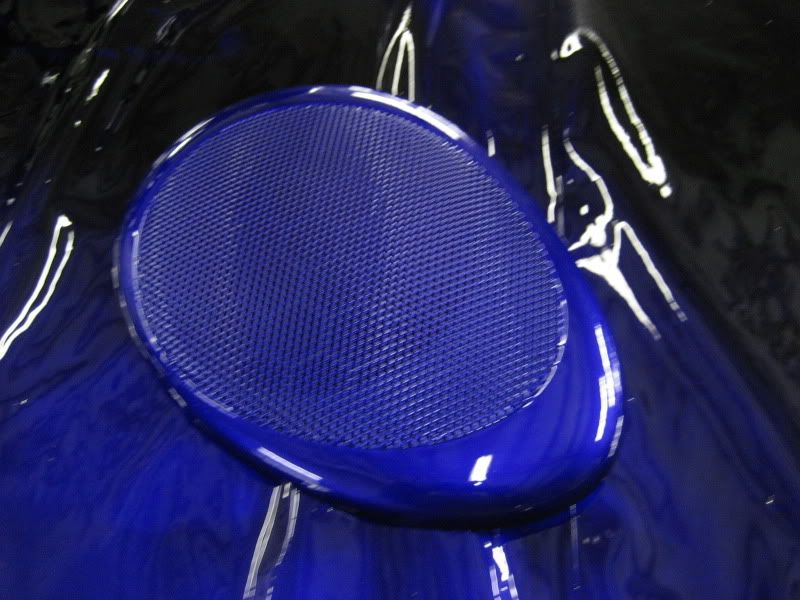
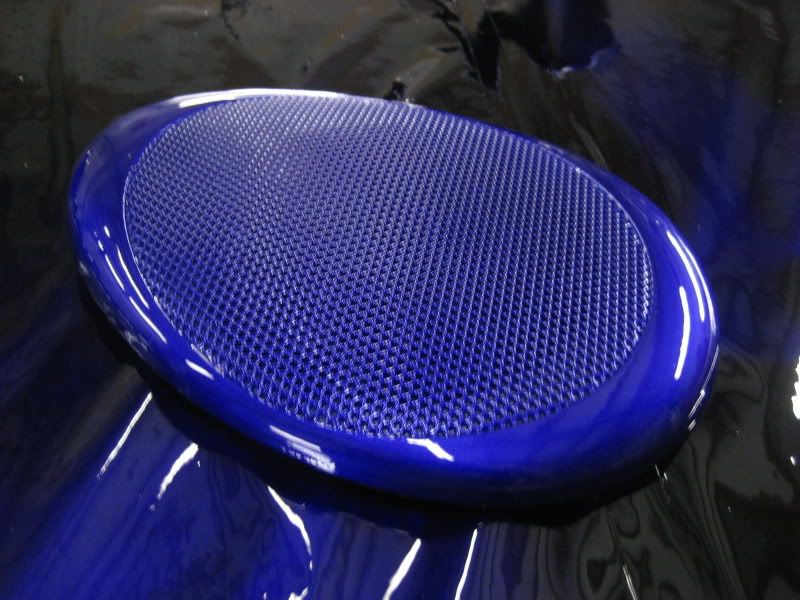
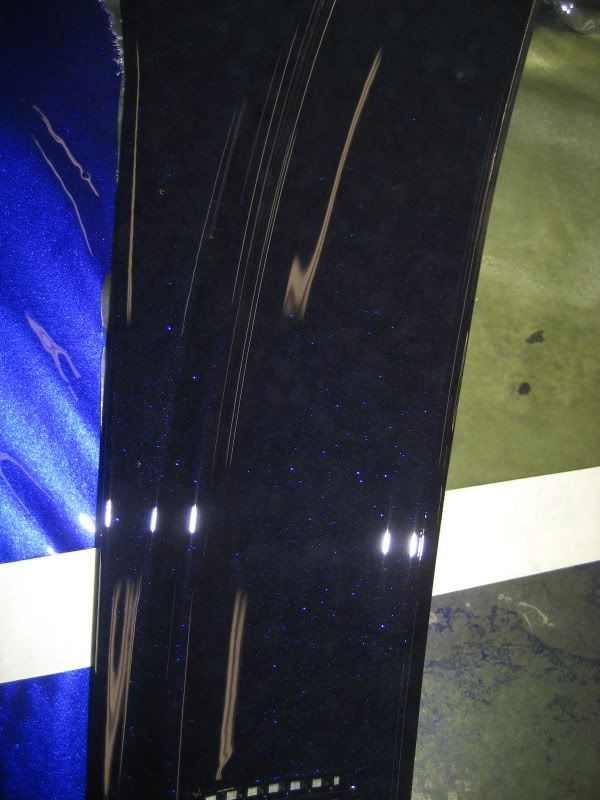
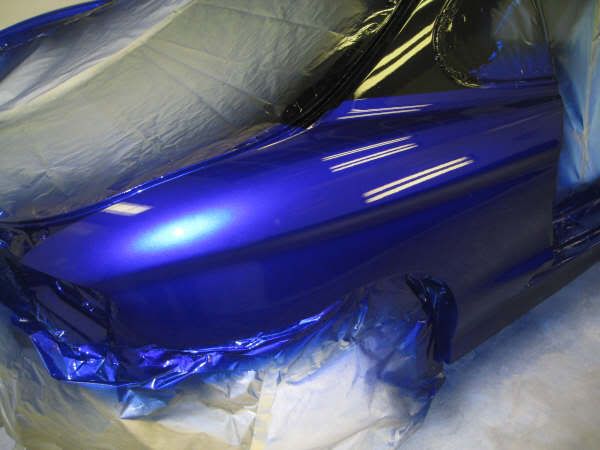
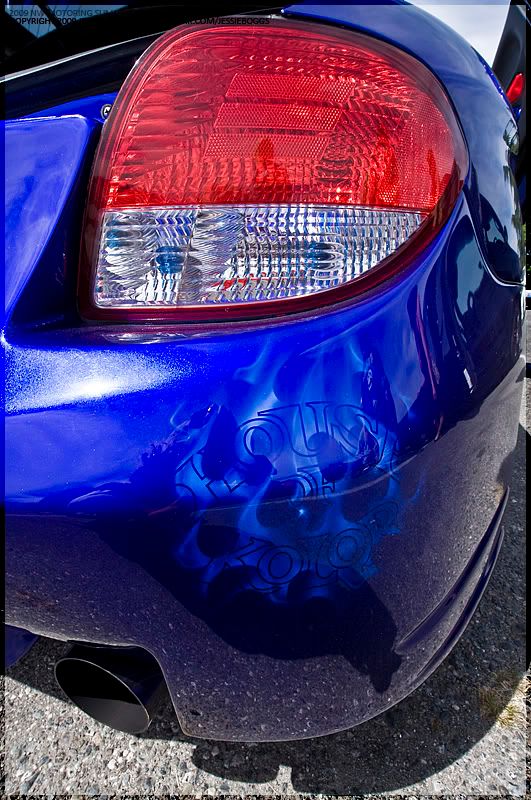
Now came the seperation of black parts and kandy burple parts....We did all the black parts first and then all the burple parts second and then had to bring them all into the same room and lay the kandy cause the ones that are burple have a silver base coat and the black parts have the same kandy over them so it lights up the flake in the black a blue/purple color...you can't see this on the roof of my car very well in the pics to come but you can really see it in person and in some of these close up shots.
Black parts with mini flake
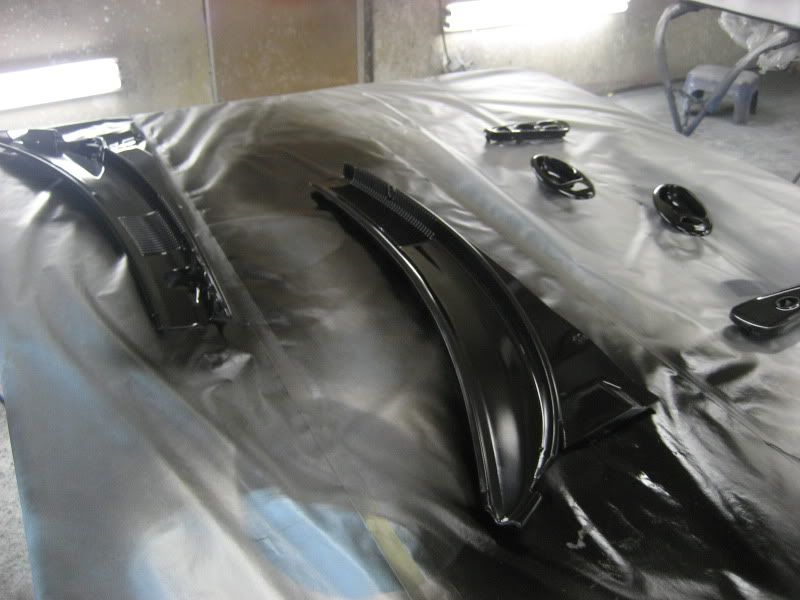
Silver base parts
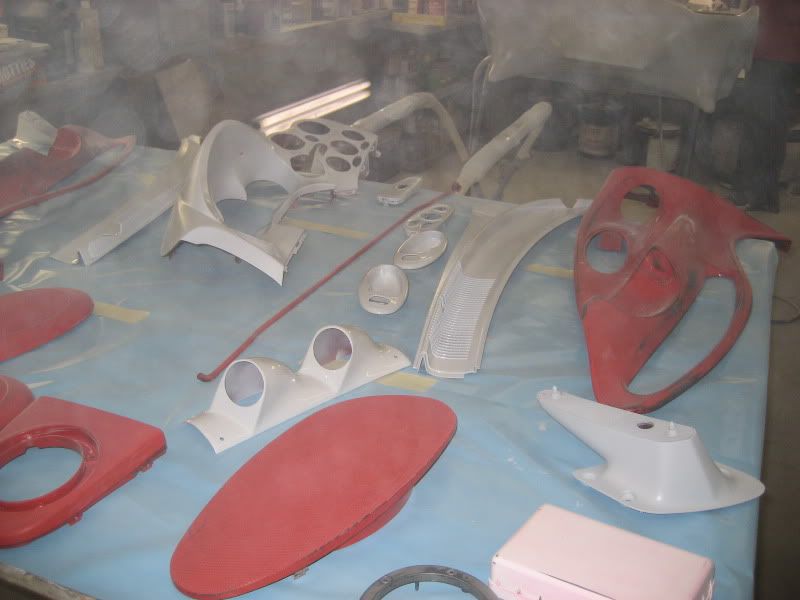
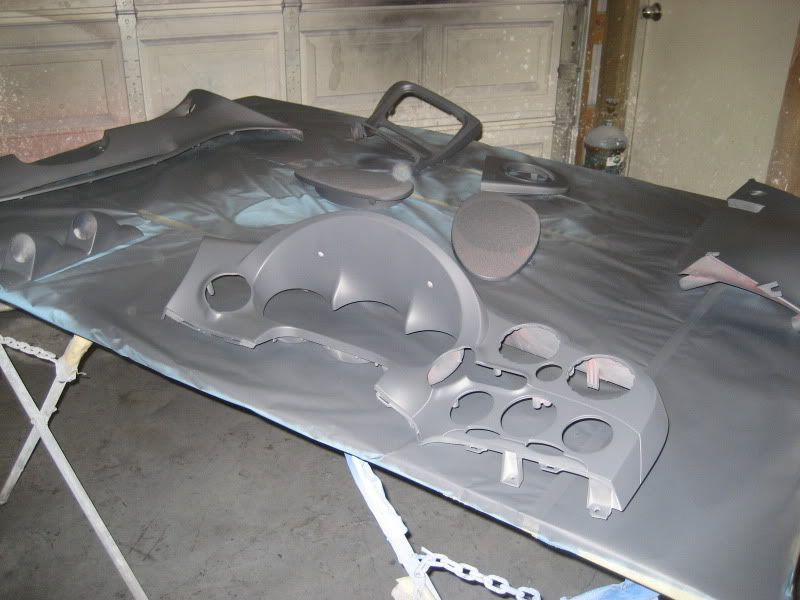
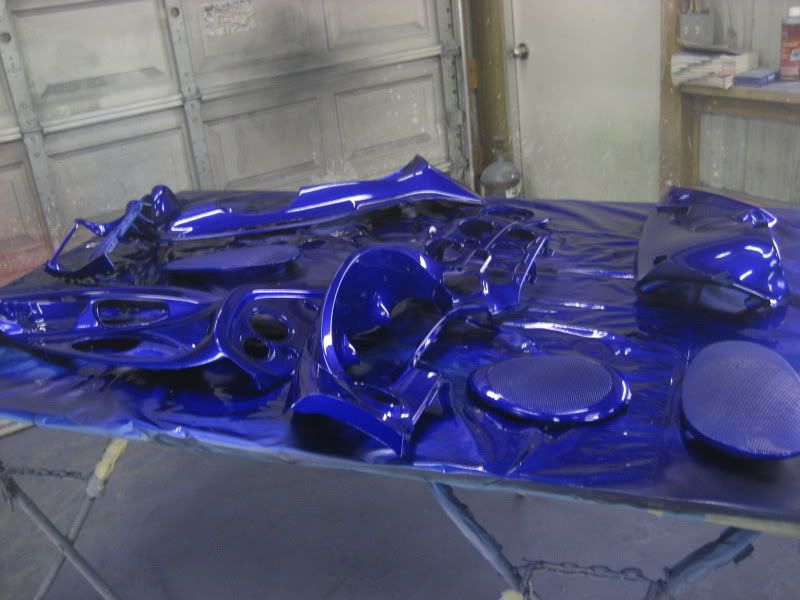
Now after all the kandy on both black and silver bases


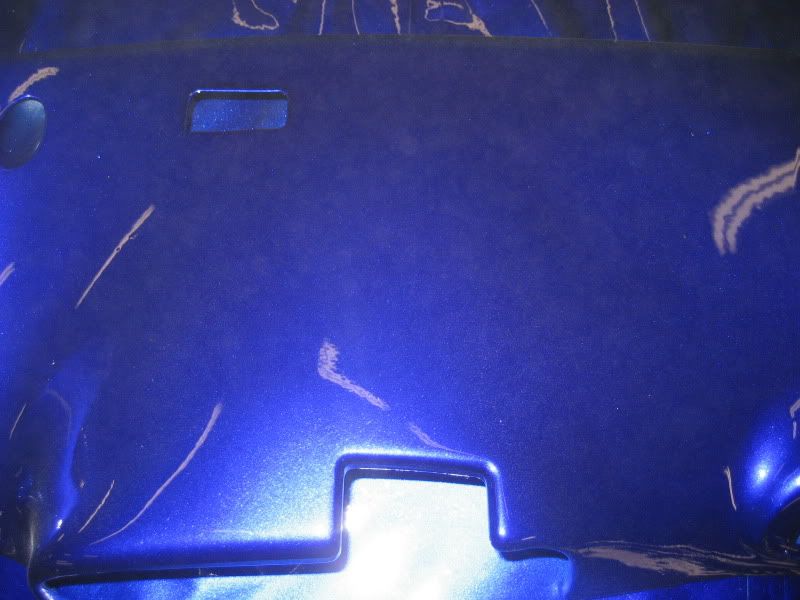
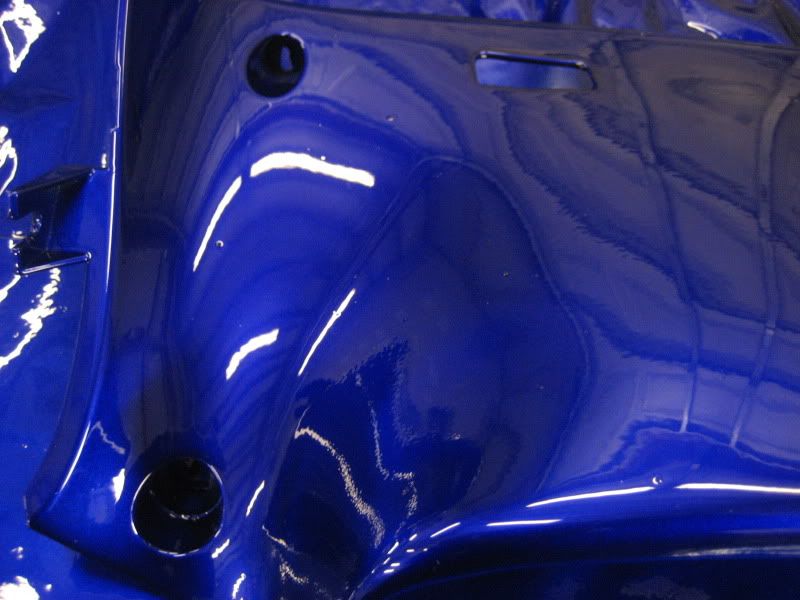
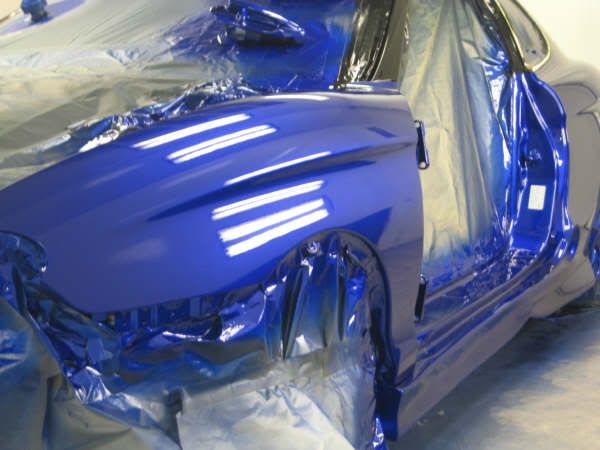
Then came all the wetsanding omg
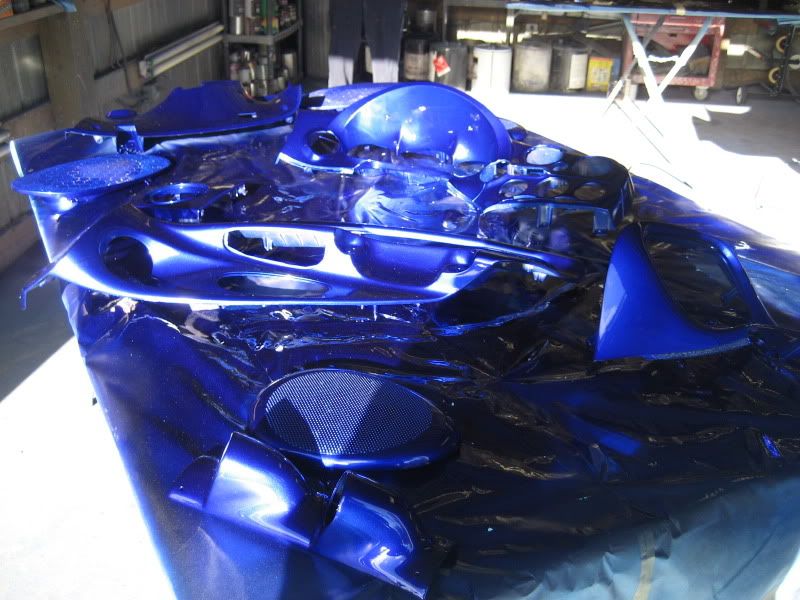
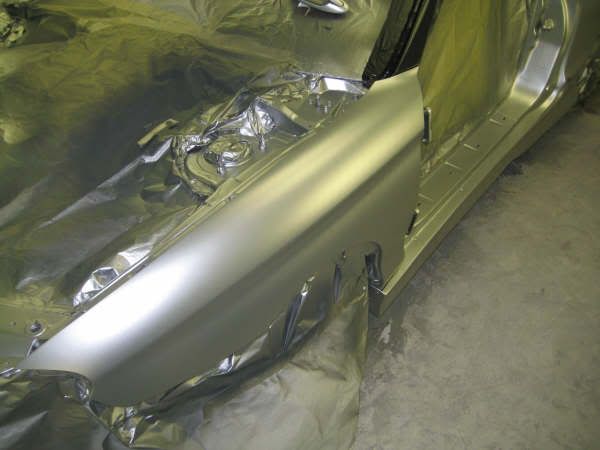
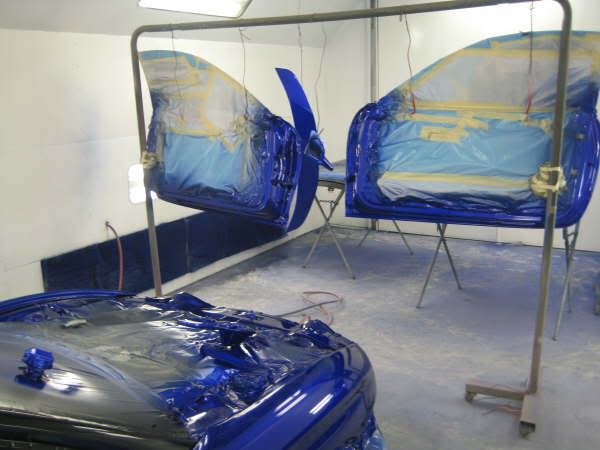
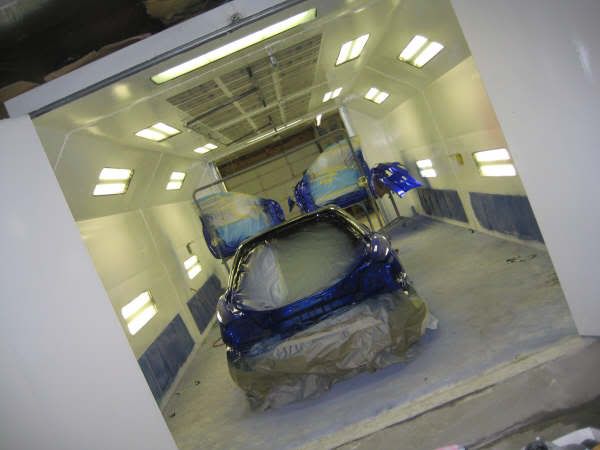
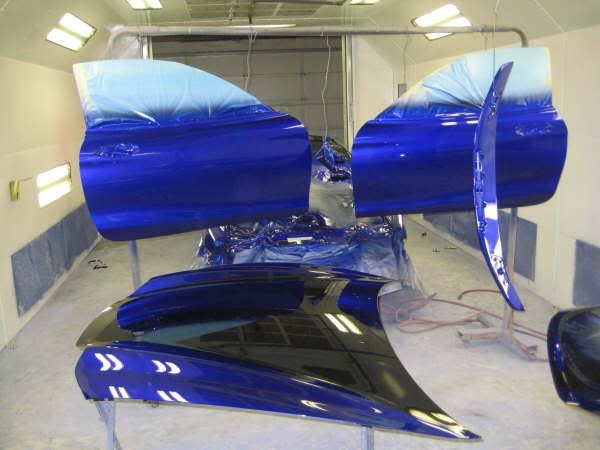
Paintbooth time
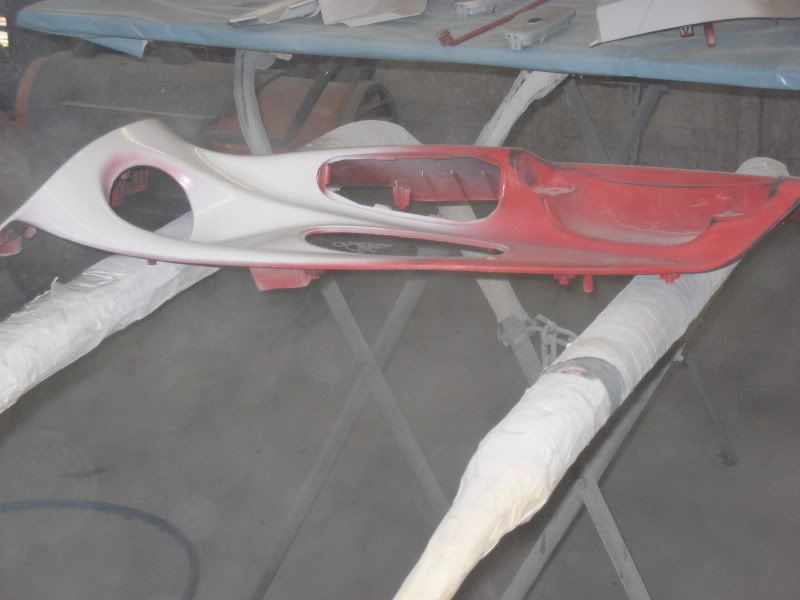
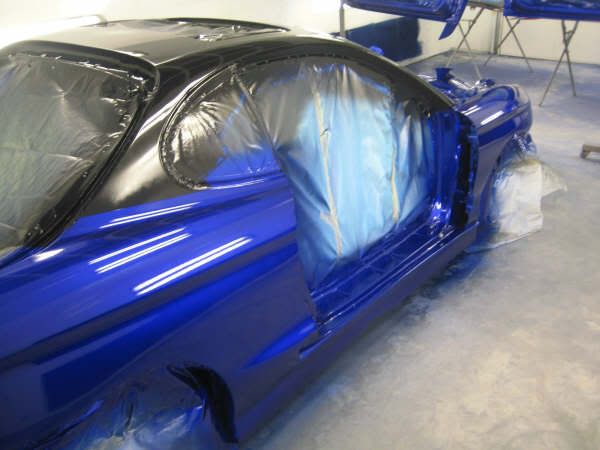
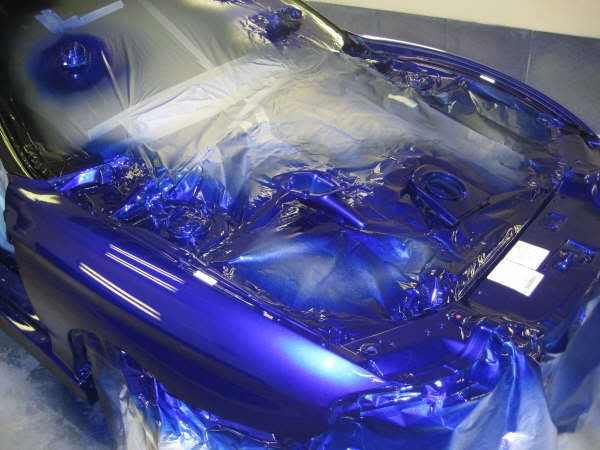
Here is the car in the paintbooth...and you can see the two different bases and howeverything was laid out...all the parts off the car took up almost the whole booth
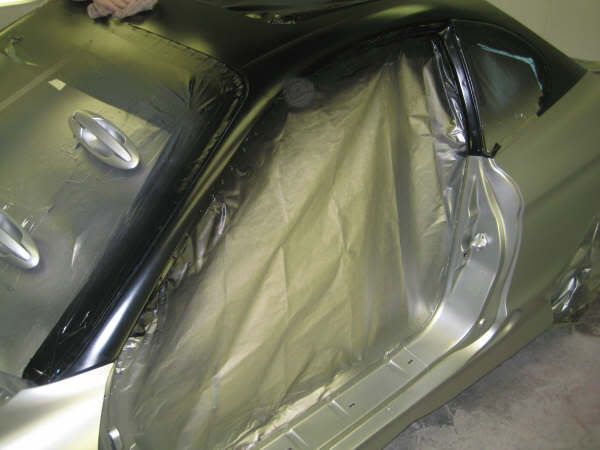
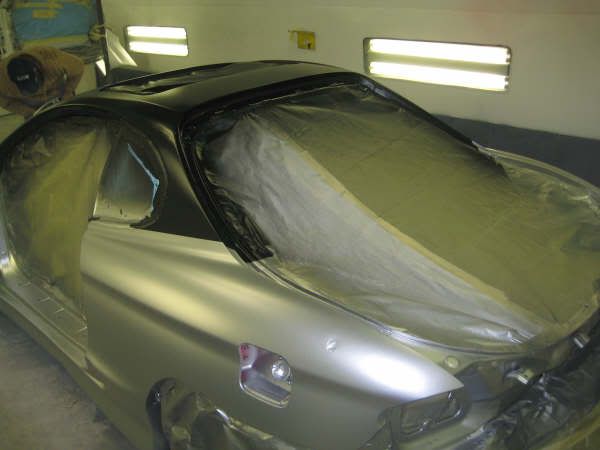
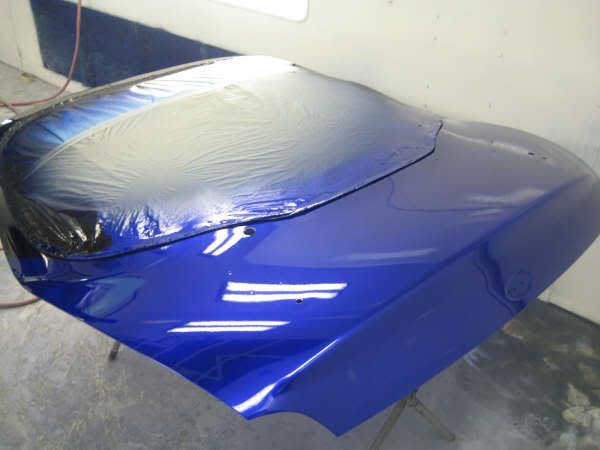
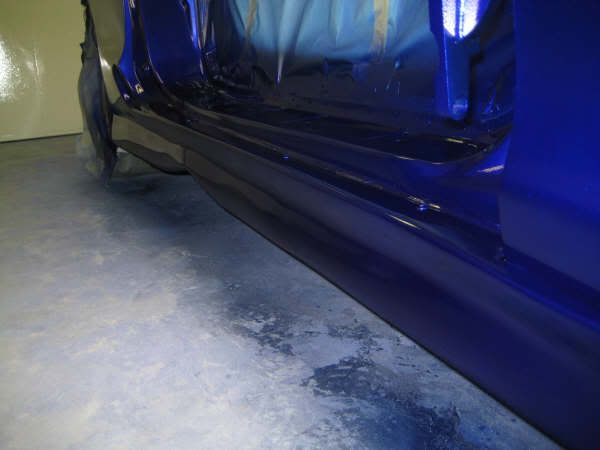
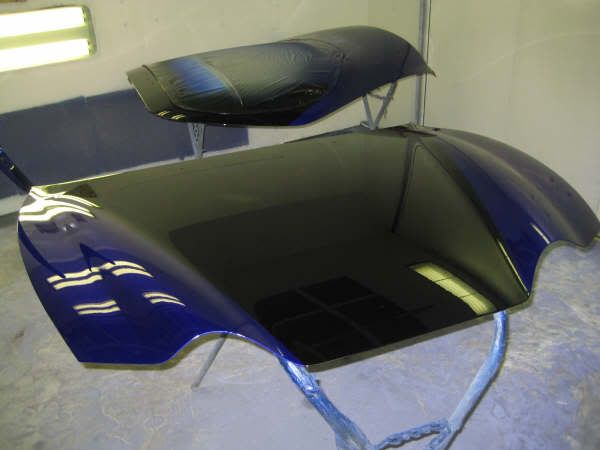
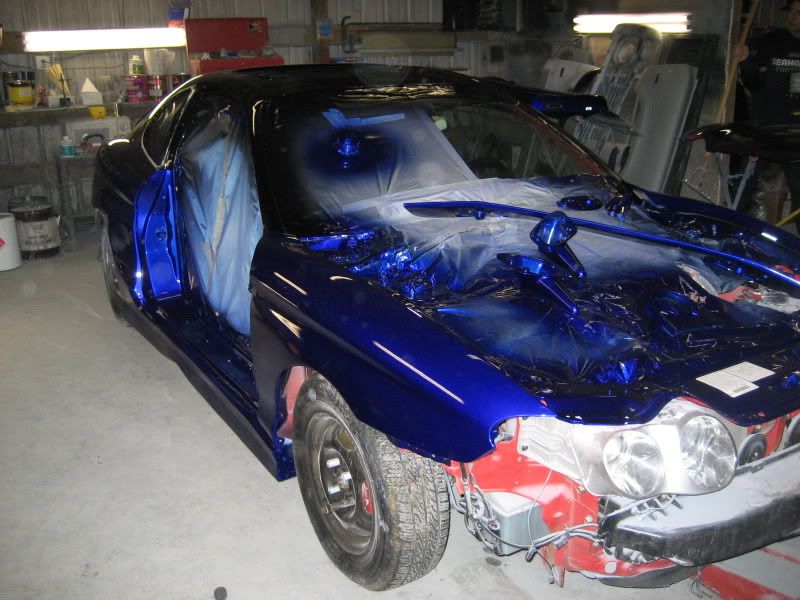
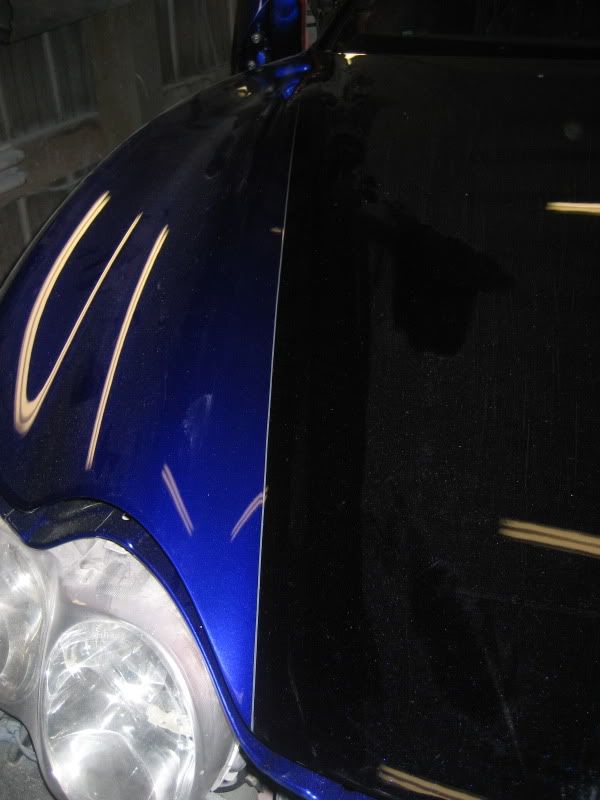
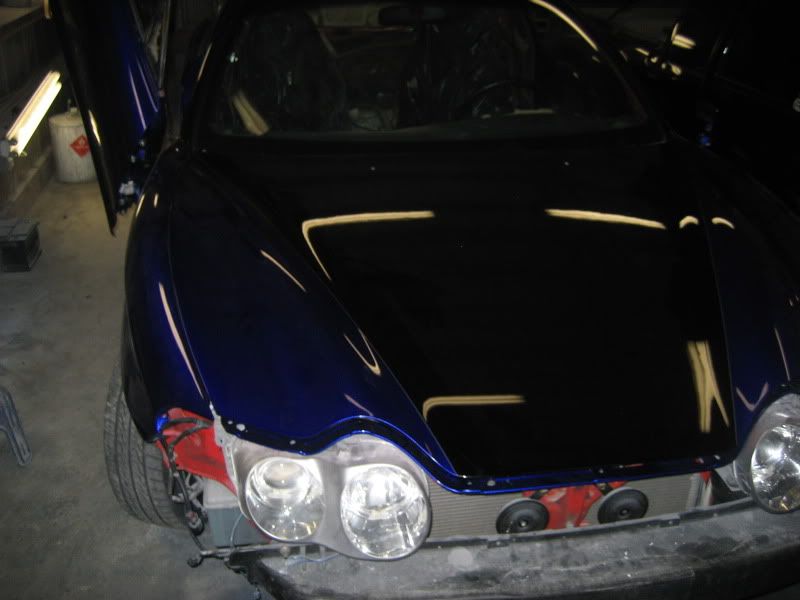
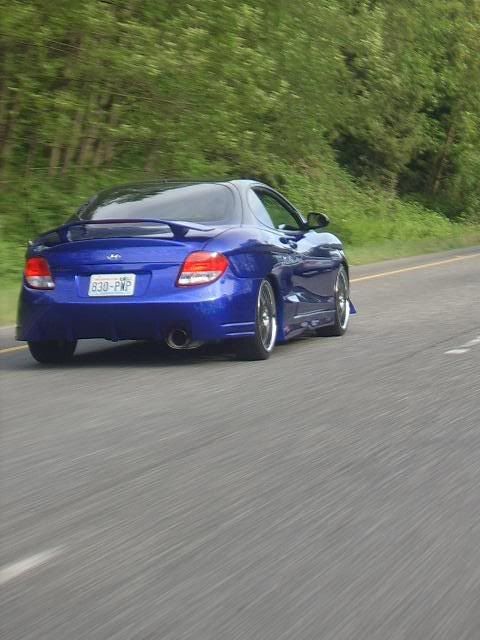
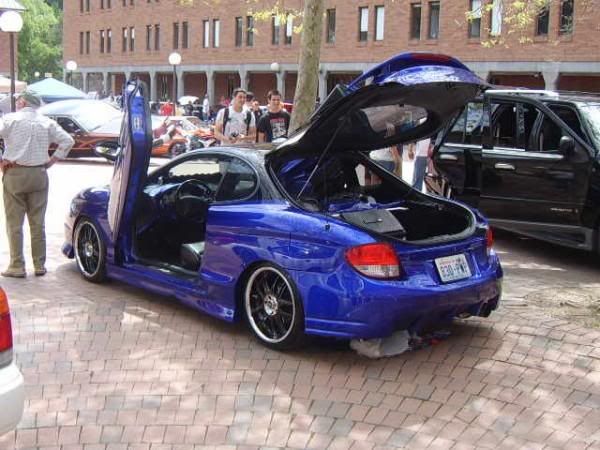
As you can kinda see i did the whole two tone thing but i did mine different than others had done. I had this idea for a while and obviously other people did too. I soon started seeing other peoples tibbys coming out with similar paint jobs...while bummed i did it m own way anyway and it turned out good. I left the hatch mostly burple and had the line roll right into the back glass area so it looked kinda like a old Nissan 240 or Acura NSX that cam oem with the black cab portions and i took the rest of the line down the hood like most everyone else. We also carried the line into the hatch jam on both sides...what a pain that was.
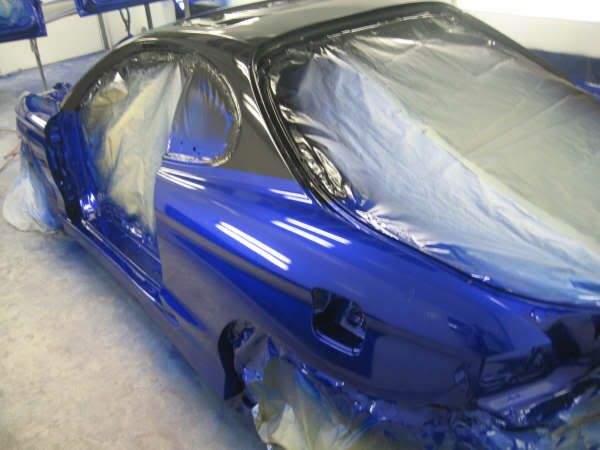

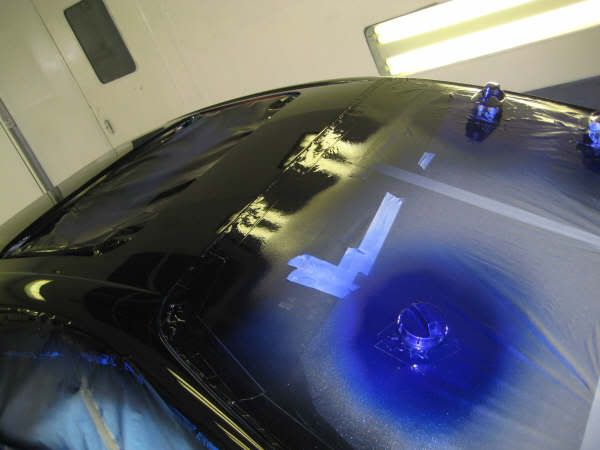
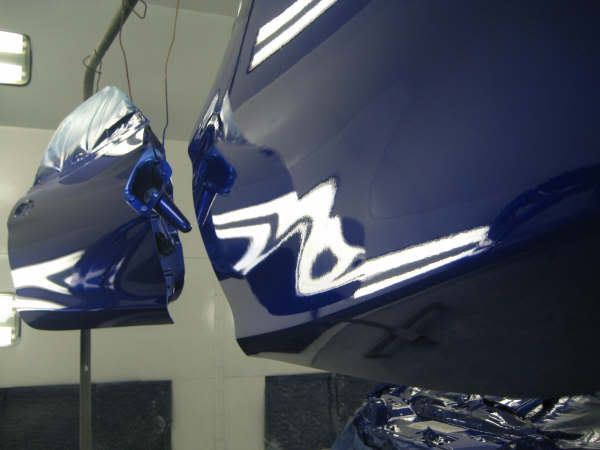
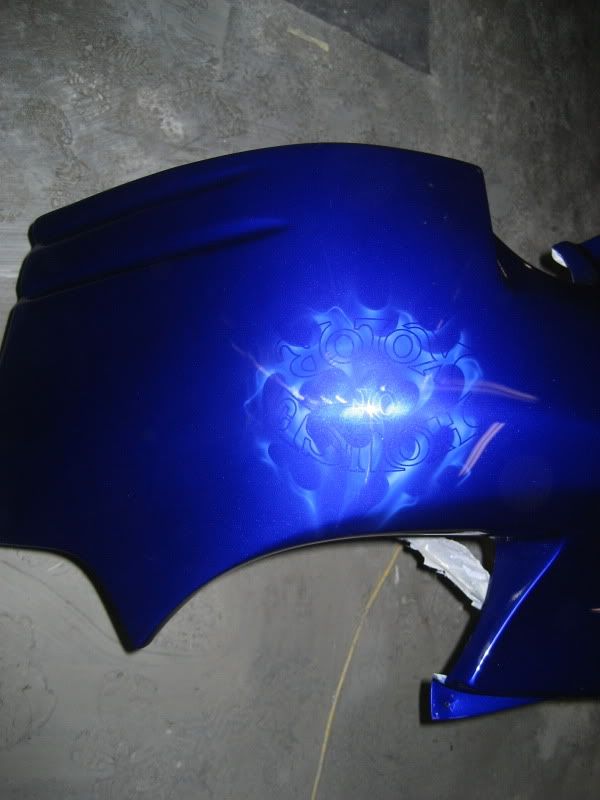
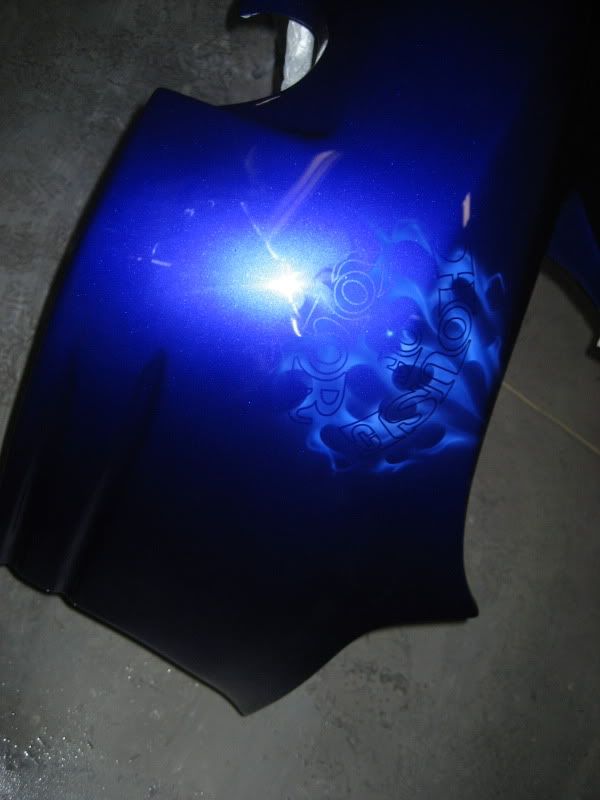
Here are some final wet shots during the whole wetsand, airbrushing, pinstriping time. The car was airbrushed with true fire ghosting in the house of kolor logo and we had the pinstripper mimich the oem tiburon logo by hand it was insane how good he was.

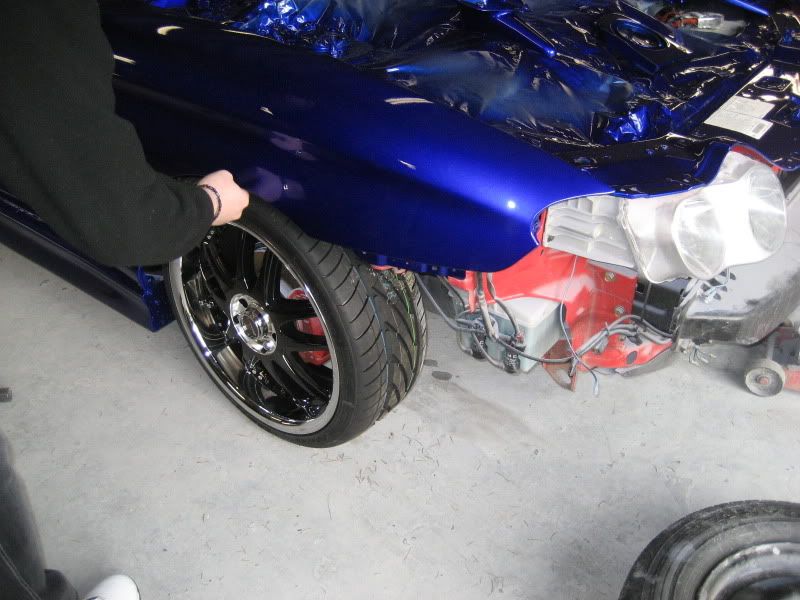
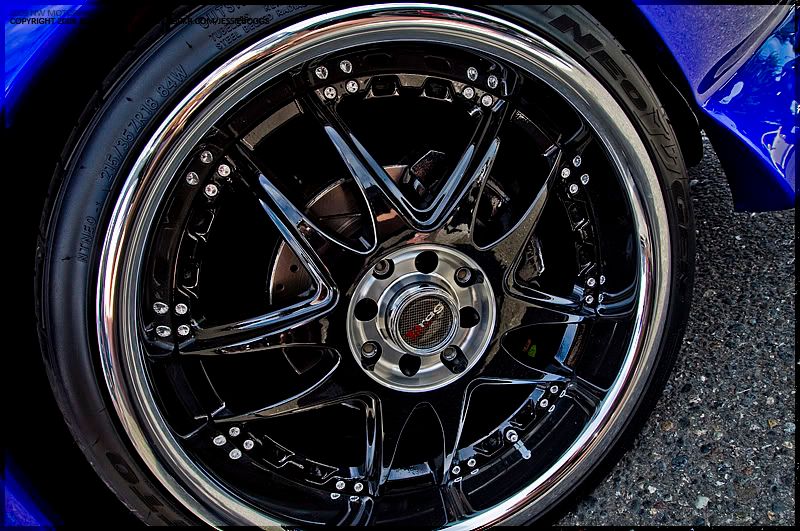
A wheel test fit as i was worried that the 18's weren't going to fit and they barely do especially with the weight in the back with the stereo...it tucks the rear pretty good you can't fit a finger in their barely
Pinstripping
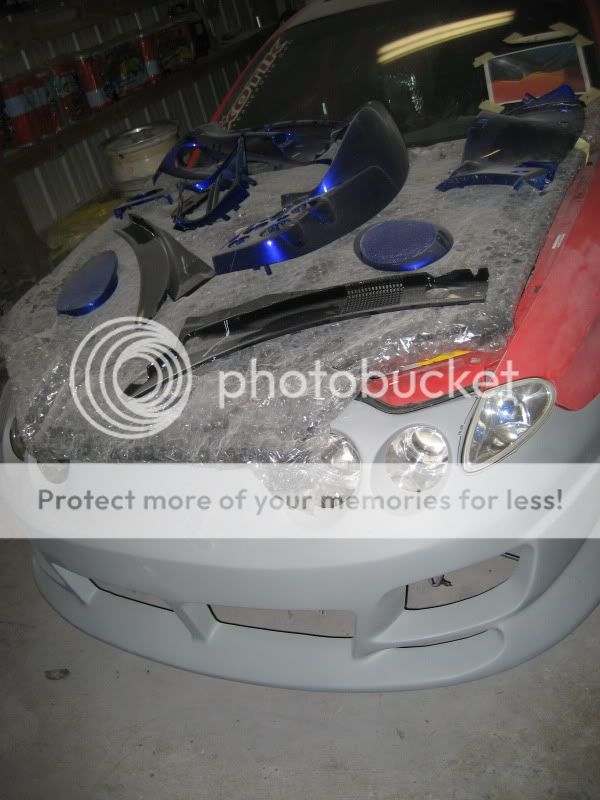
Airbrushing - bummed i didn't get any during pics but o'well
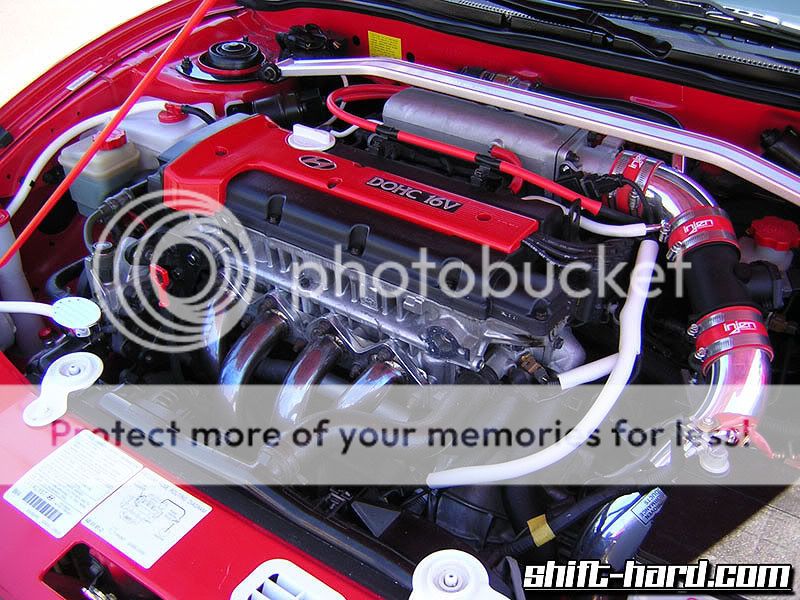
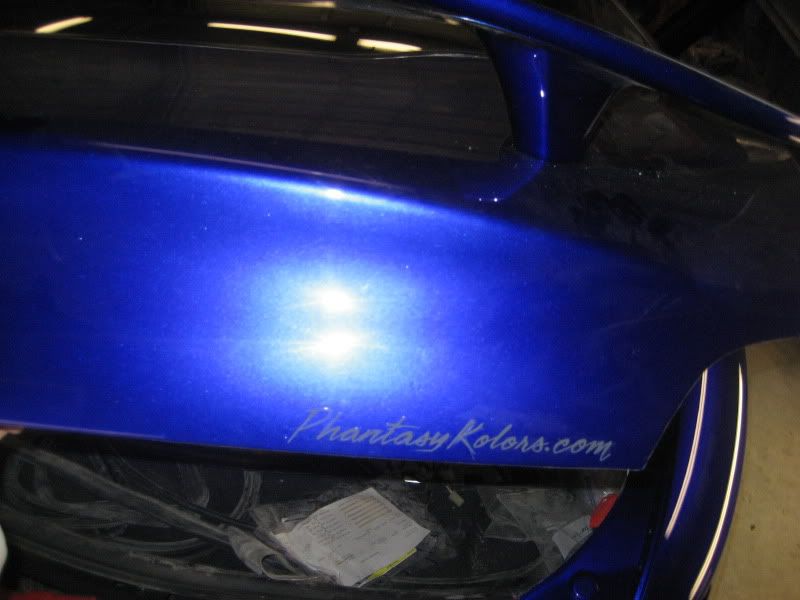
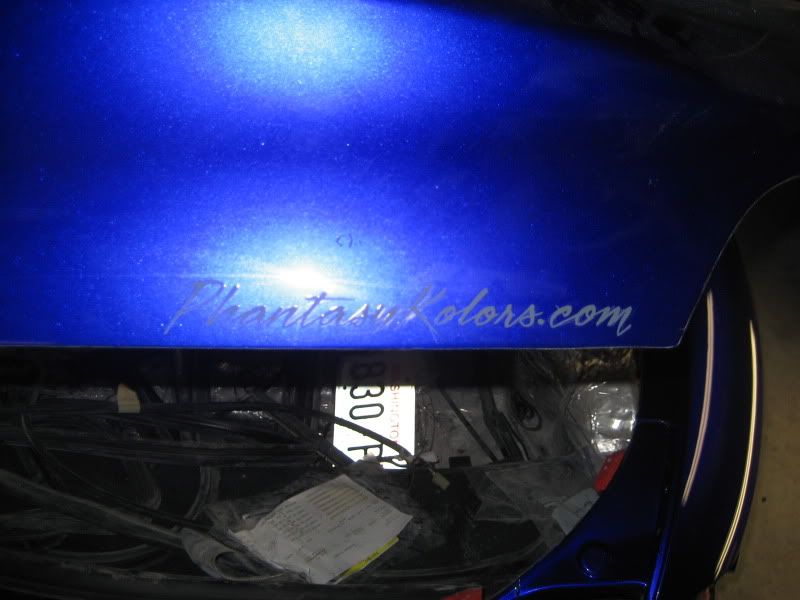
And here is the finished product with the pics i have taken so far...i will uptate periodically with new pics whenever i get off my lazy butt and do something with it. Now everyone is wondering where the engine bay pics are and well i haven't finished blacking out the engine bay so it is still red so i didn't post any
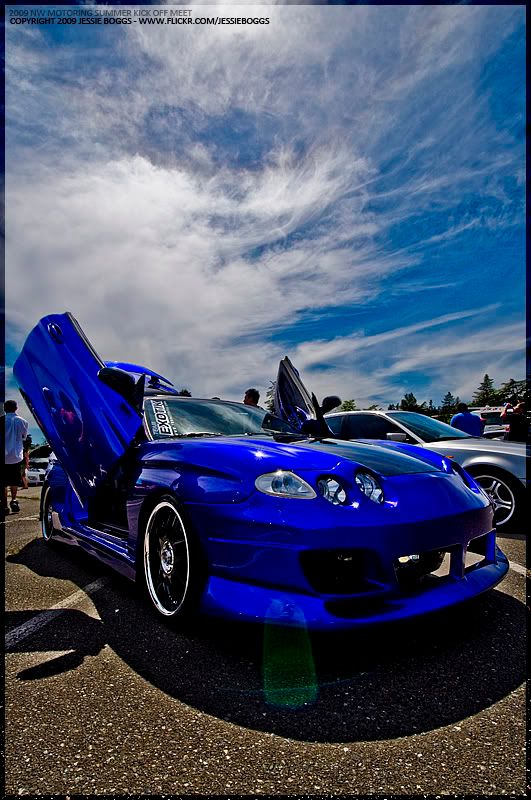
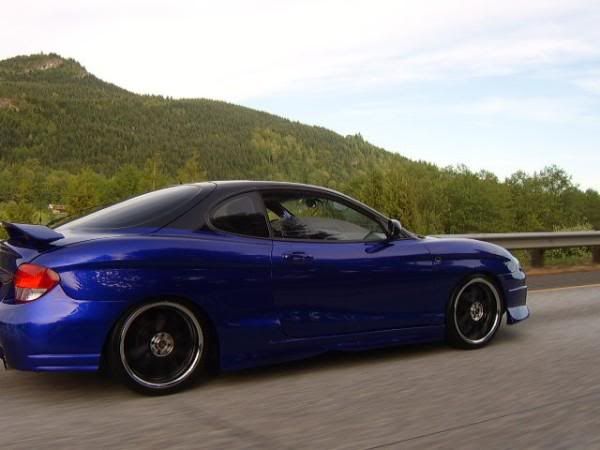
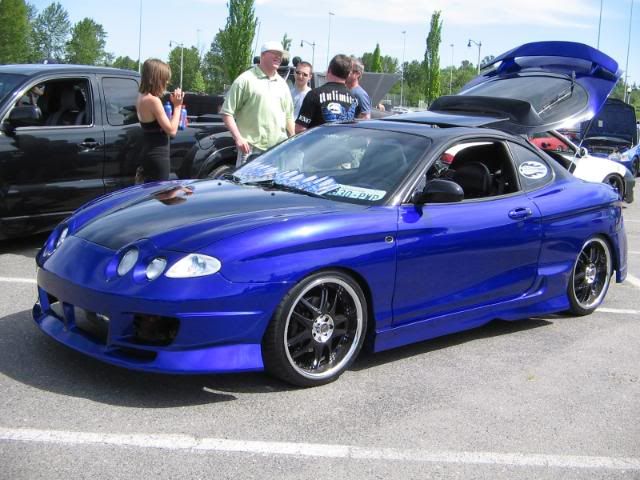

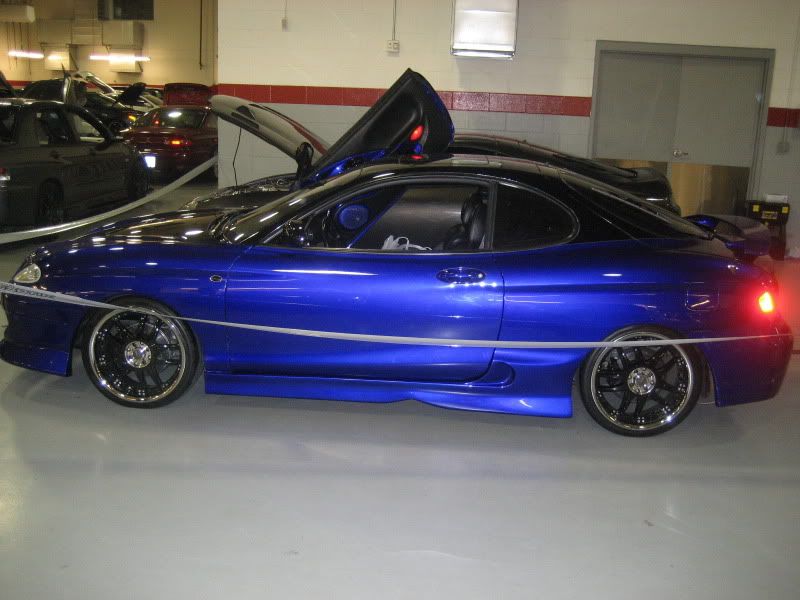
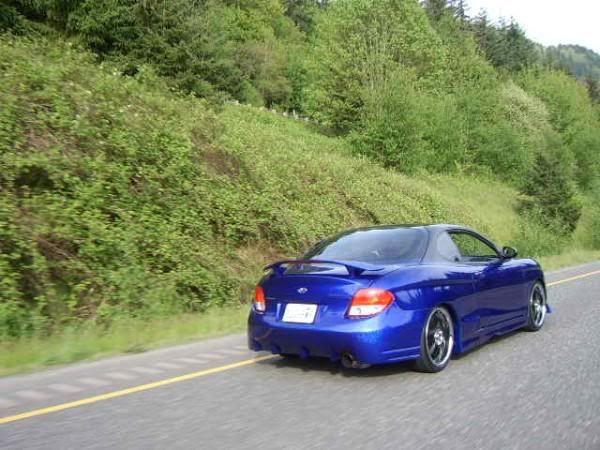
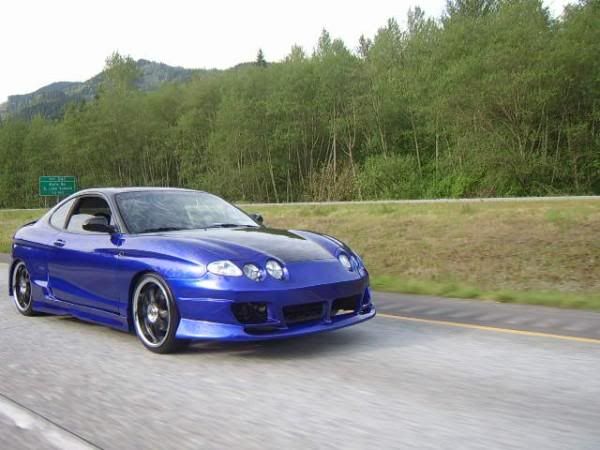
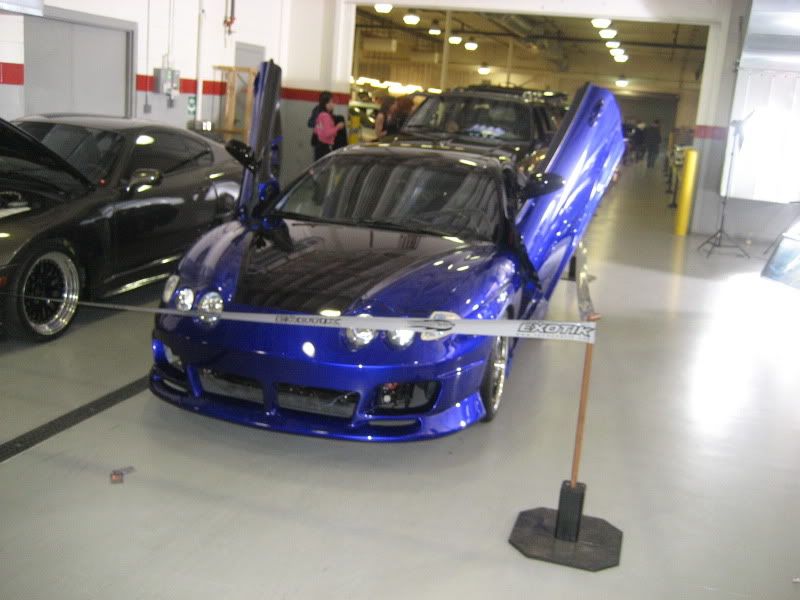
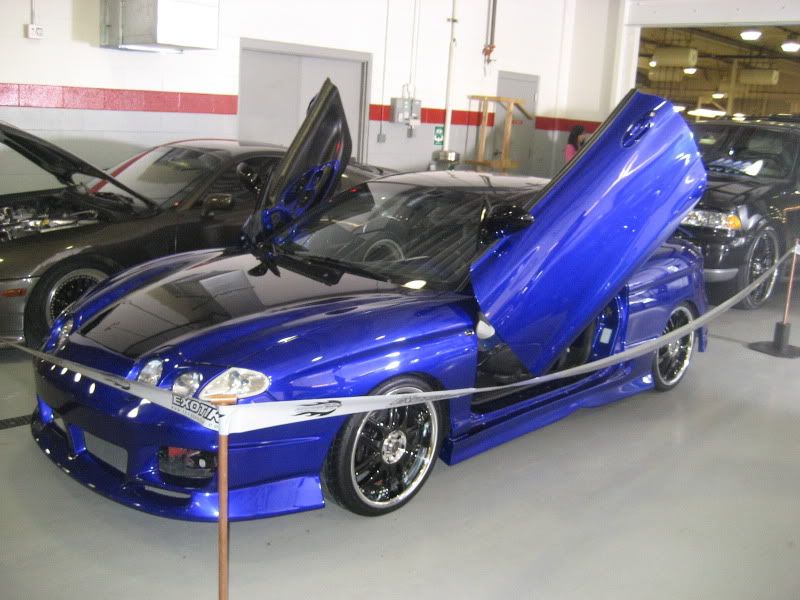
Well there you go....enjoy...please leave me some comments as i love to hear what people think of it as most people don't get to see it as i rarely drive it...its almost a trailer queen...a gutless one but it looks pretty.....haha
Thanks
JD
Ready to be painted finally after tons of time sanding especially on the passanger door to get rid of the texture that it had stock that i had painted the red over
Let the long process begin
All primerd out time to be blocked out and prep for paint
Sealer
Now came the seperation of black parts and kandy burple parts....We did all the black parts first and then all the burple parts second and then had to bring them all into the same room and lay the kandy cause the ones that are burple have a silver base coat and the black parts have the same kandy over them so it lights up the flake in the black a blue/purple color...you can't see this on the roof of my car very well in the pics to come but you can really see it in person and in some of these close up shots.
Black parts with mini flake
Silver base parts
Now after all the kandy on both black and silver bases
Then came all the wetsanding omg
Paintbooth time
Here is the car in the paintbooth...and you can see the two different bases and howeverything was laid out...all the parts off the car took up almost the whole booth
As you can kinda see i did the whole two tone thing but i did mine different than others had done. I had this idea for a while and obviously other people did too. I soon started seeing other peoples tibbys coming out with similar paint jobs...while bummed i did it m own way anyway and it turned out good. I left the hatch mostly burple and had the line roll right into the back glass area so it looked kinda like a old Nissan 240 or Acura NSX that cam oem with the black cab portions and i took the rest of the line down the hood like most everyone else. We also carried the line into the hatch jam on both sides...what a pain that was.
Here are some final wet shots during the whole wetsand, airbrushing, pinstriping time. The car was airbrushed with true fire ghosting in the house of kolor logo and we had the pinstripper mimich the oem tiburon logo by hand it was insane how good he was.
A wheel test fit as i was worried that the 18's weren't going to fit and they barely do especially with the weight in the back with the stereo...it tucks the rear pretty good you can't fit a finger in their barely
Pinstripping
Airbrushing - bummed i didn't get any during pics but o'well
And here is the finished product with the pics i have taken so far...i will uptate periodically with new pics whenever i get off my lazy butt and do something with it. Now everyone is wondering where the engine bay pics are and well i haven't finished blacking out the engine bay so it is still red so i didn't post any
Well there you go....enjoy...please leave me some comments as i love to hear what people think of it as most people don't get to see it as i rarely drive it...its almost a trailer queen...a gutless one but it looks pretty.....haha
Thanks
JD


