Chapp's F2 Evo
 08-18-2010, 03:40 PM
#1
Senior Member
Thread Starter

Join Date: May 2010
Posts: 102
Likes: 0
Received 0 Likes
on
0 Posts
Vehicle: '99 Coupe/Tiburon F2 Evolution
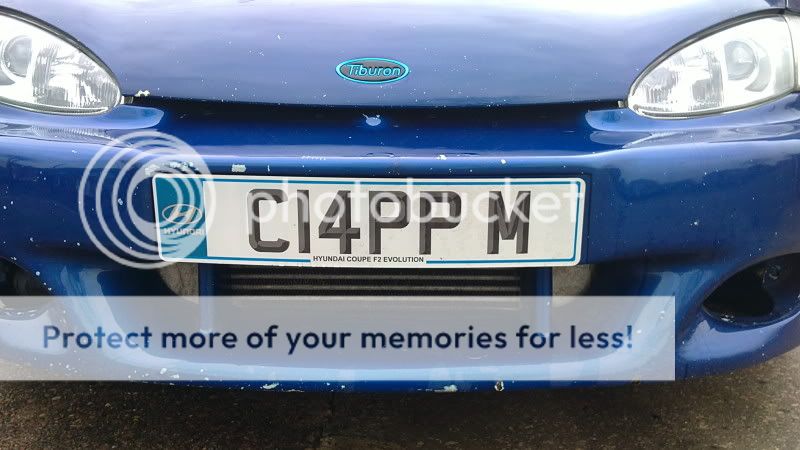
Here she is when i first bought her.
Gave her a quick clean and put my new plates on
<div align='center'>

 </div>
I then decided that i wanted a little audio system
<div align='center'>
 </div>
Then decided on abit of exterior styling:
New boots
<div align='center'>

 </div>
Just to prove the F2 Evo status:
<div align='center'> </div>
Then got a CAI:
<div align='center'> </div>
and decided on a new 4-2-1 manifold and exhaust
<div align='center'>
 </div>
Sports Cat
<div align='center'> </div>
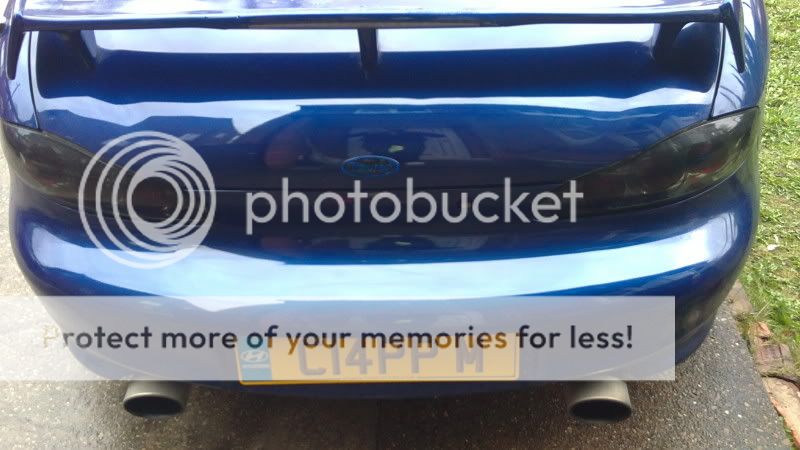
Twin rear pipes and new taillights
<div align='center'> </div>
Kept it like that for a while, loved the sound of the manifold and exhaust system but wants a little bit more power, so....
<div align='center'>


 </div>
New Clutch & flywheel
<div align='center'>
 </div>
some new stoppers to go with all the new power:
<div align='center'>


 </div>
back together:
<div align='center'>
 </div>
My Favourite pic i think
<div align='center'> </div>
And a slightly changed interior:
<div align='center'>


 </div>
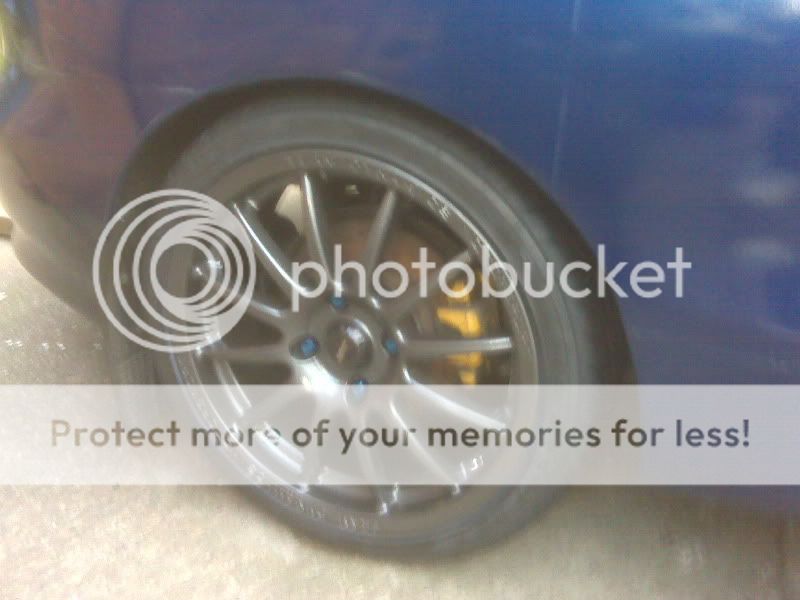
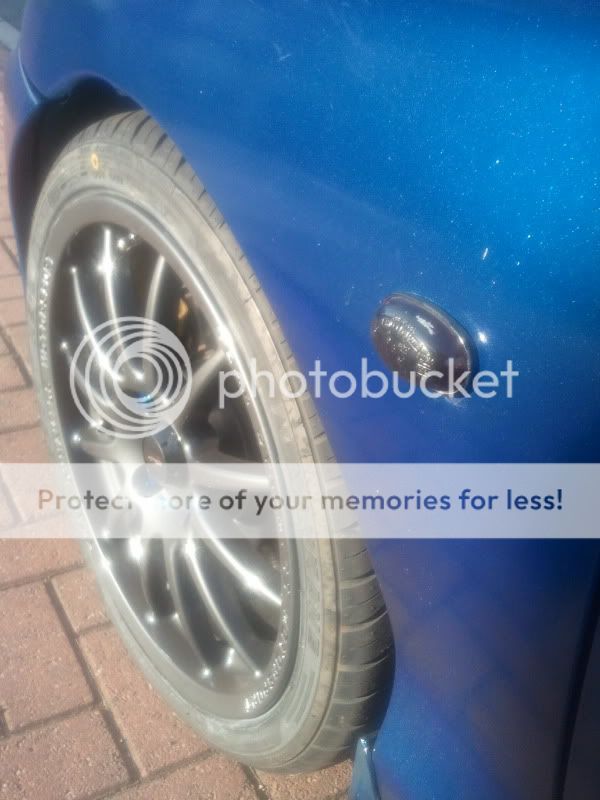
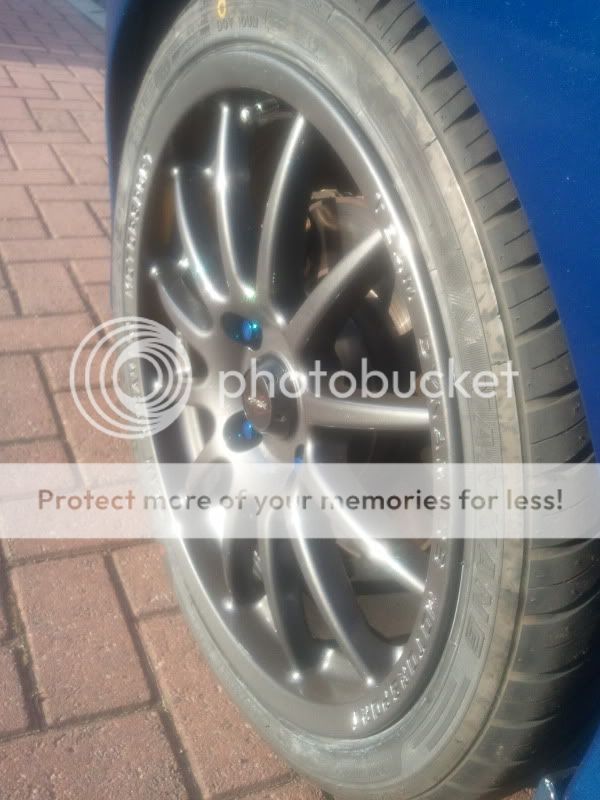
Found out at the weekend that i had a knackered tyre, so rather than buying a set of new front tyres i got some new wheels, also painted the rear calipers before it started to get dark.
Team Dynamics Pro Race 1.2s
<div align='center'>


 </div>
There was a competition run on UKHCS just before it closed.... and here are the results
<div align='center'>

 </div>
all badges are now removed, and have been replaced with:
ignore the stonechips and unclean car
Smoked the side repeaters too now, nice easy mod.
<div align='center'>

 </div>
Gave her a quick clean and put my new plates on
<div align='center'>
</div>I then decided that i wanted a little audio system
<div align='center'>
</div>Then decided on abit of exterior styling:
New boots
<div align='center'>
</div>Just to prove the F2 Evo status:
<div align='center'>
</div>Then got a CAI:
<div align='center'>
</div>and decided on a new 4-2-1 manifold and exhaust
<div align='center'>
</div>Sports Cat
<div align='center'>
</div>Twin rear pipes and new taillights
<div align='center'>
</div>Kept it like that for a while, loved the sound of the manifold and exhaust system but wants a little bit more power, so....
<div align='center'>
</div>New Clutch & flywheel
<div align='center'>
</div>some new stoppers to go with all the new power:
<div align='center'>
</div>back together:
<div align='center'>
</div>My Favourite pic i think
<div align='center'>
</div>And a slightly changed interior:
<div align='center'>
</div>Found out at the weekend that i had a knackered tyre, so rather than buying a set of new front tyres i got some new wheels, also painted the rear calipers before it started to get dark.
Team Dynamics Pro Race 1.2s
<div align='center'>
</div>There was a competition run on UKHCS just before it closed.... and here are the results
<div align='center'>
</div>all badges are now removed, and have been replaced with:
ignore the stonechips and unclean car
Smoked the side repeaters too now, nice easy mod.
<div align='center'>
</div>
 08-18-2010, 03:42 PM
#2
Senior Member
Thread Starter
Join Date: May 2010
Posts: 102
Likes: 0
Received 0 Likes
on
0 Posts
Vehicle: '99 Coupe/Tiburon F2 Evolution
Then had the morning off work, so thought id put the Sokie Tech bonnet struts on that i dug out of my shed (bought these over a year ago but never fitted them).
Took about 25 minutes to do the first side, then about 10 minutes to do the other side.
One strut would be enough to hold the bonnet up but i decided to install both of them so prolong their life and to ease my job.
<div align='center'>


 </div>
The bonnet will lift itself from just over halfway, but will hold still at half way
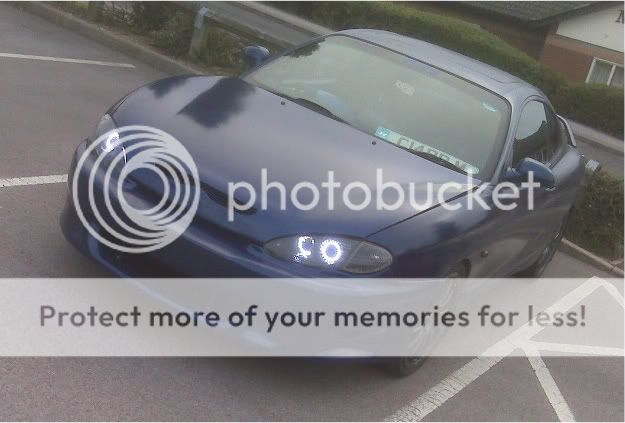
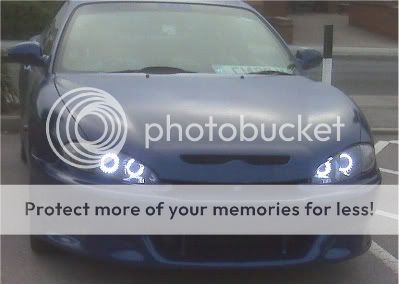
Today in the rain Me and Bez had abit of fun doing the headlights.
Now the internals of the headlights and indicators are Black, Angel eyes have replaced the sidelights and 6000k HIDs have replaced the dipped beam.
<div align='center'> </div>
<div align='center'> </div>
<div align='center'> </div>
apologies for the crap pics but they were taken in the rain with my mobile
Taken afew new pics today, Angels look miles better out of the rain strangely enough
Black headlights
<div align='center'> </div>
<div align='center'> </div>
Angels on
<div align='center'> </div>
<div align='center'> </div>
<div align='center'> </div>
<div align='center'> </div>
<div align='center'> </div>
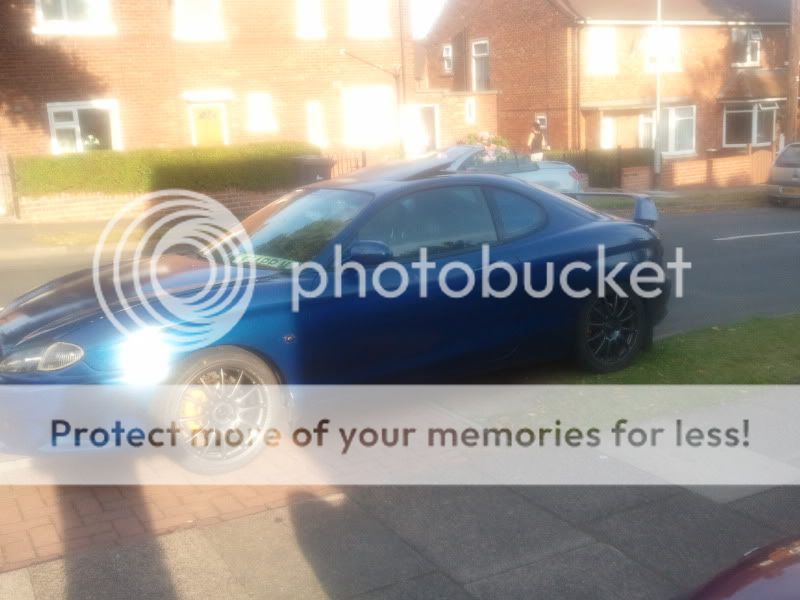
As she stands
<div align='center'> </div>
Dashboard as it looks with the gauges on
<div align='center'> </div>
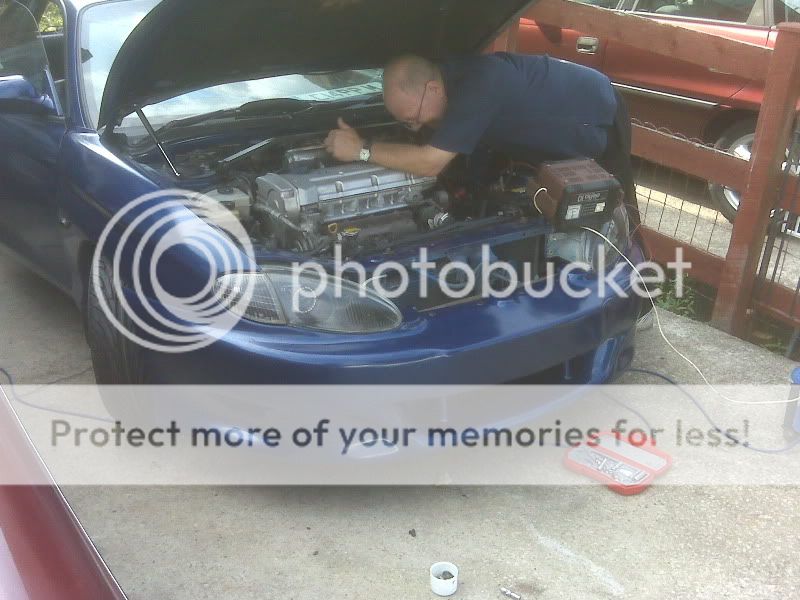
Afew engine bay pics with androoooooooooooooooooooooooooooooooo7's intake manifold now on.
<div align='center'> </div>
<div align='center'> </div>
<div align='center'> </div>
<div align='center'> </div>
Had abit of work done while I've been getting leathered in South Africa, just no mention of Robert Green please wink.gif
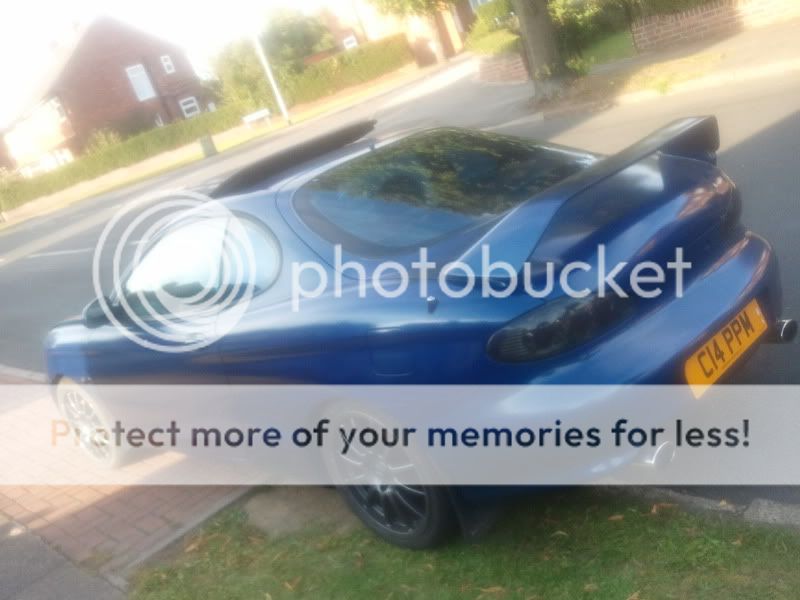
Spoiler removed, badge removed and all holes filled.


Arches sorted out


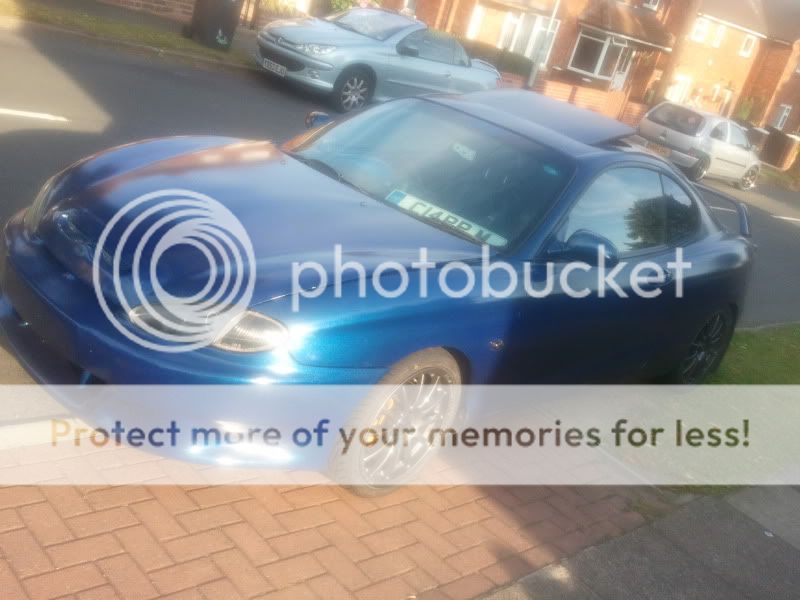
Abit of work done on the bumper, plate recess smoothed and foglights filled in


Then onto the bonnet vent


New Spoiler


Side shot with smoothed in side skirts

Then the first levels of paint


The wheels:
Afew of the car as she stands

Took about 25 minutes to do the first side, then about 10 minutes to do the other side.
One strut would be enough to hold the bonnet up but i decided to install both of them so prolong their life and to ease my job.
<div align='center'>
</div>The bonnet will lift itself from just over halfway, but will hold still at half way
Today in the rain Me and Bez had abit of fun doing the headlights.
Now the internals of the headlights and indicators are Black, Angel eyes have replaced the sidelights and 6000k HIDs have replaced the dipped beam.
<div align='center'>
</div><div align='center'>
</div><div align='center'>
</div>apologies for the crap pics but they were taken in the rain with my mobile
Taken afew new pics today, Angels look miles better out of the rain strangely enough
Black headlights
<div align='center'>
</div><div align='center'>
</div>Angels on
<div align='center'>
</div><div align='center'>
</div><div align='center'>
</div><div align='center'>
</div><div align='center'>
</div>As she stands
<div align='center'>
</div>Dashboard as it looks with the gauges on
<div align='center'>
</div>Afew engine bay pics with androoooooooooooooooooooooooooooooooo7's intake manifold now on.
<div align='center'>
</div><div align='center'>
</div><div align='center'>
</div><div align='center'>
</div>Had abit of work done while I've been getting leathered in South Africa, just no mention of Robert Green please wink.gif
Spoiler removed, badge removed and all holes filled.
Arches sorted out
Abit of work done on the bumper, plate recess smoothed and foglights filled in
Then onto the bonnet vent
New Spoiler
Side shot with smoothed in side skirts
Then the first levels of paint
The wheels:
Afew of the car as she stands
 08-18-2010, 05:16 PM
#4
Senior Member

Join Date: Nov 2007
Location: Albany,NY
Posts: 1,139
Likes: 0
Received 0 Likes
on
0 Posts
Vehicle: 2011 Tuscon
Love it, looks awesome. I just have never really liked the look of the "lifted hood" or hood spacers, whatever they are
Nice and clean either way.
Nice and clean either way.
 08-18-2010, 10:11 PM
#7
Senior Member

Join Date: Aug 2009
Location: Washington D.C.
Posts: 11,992
Likes: 0
Received 0 Likes
on
0 Posts
Vehicle: Hyundai Tiburon FX
i like that you're trying something never before done. the commitment (especially on the rusted part) is amazing.
i must say the original spoiler was great. i think the front vent was about an inch lower on the rally car and it stick out. but i see you're going for something totally new.
it must be a really fun car to drive! you don't have a check engine light, correct?! how can you tell if the tuning is good?
i must say the original spoiler was great. i think the front vent was about an inch lower on the rally car and it stick out. but i see you're going for something totally new.
it must be a really fun car to drive! you don't have a check engine light, correct?! how can you tell if the tuning is good?
08-19-2010, 01:48 PM
#8
Senior Member
Thread Starter
Join Date: May 2010
Posts: 102
Likes: 0
Received 0 Likes
on
0 Posts
Vehicle: '99 Coupe/Tiburon F2 Evolution
Cheers guys.
The vent is normally mounted and stands out, i wanted something different and something that suits the curves of the car, so I smoothed that in and filled and smoothed the fog light recesses over too.
The rear of the hood is lifted to allow the air to escape, this will be lowered in time now that I have the vent in there to cool things down anyway.
As for the spoiler, I like it but again wanted something slightly more curvy and something a little bigger. and this was only $30 for the spoiler pre-primed so not hurt anything.
We dont have an engine check light, I do run gauges and have a friend who keeps plugging the car in to see if it has thrown any codes, not really had anything major apart from a faulty lambda sensor overall. Will be getting remapped soon when I add new manifold and turn the boost up.
08-23-2010, 02:16 PM
#10
Administrator

Looks great! thumbup.gif I would just say that car needs to be lowered a little bit to get rid of the wheel gap, but otherwise everything else is perfect! smile.gif