
Radu's Turbo Downpipe


Thread Starter
Moderator

Joined: Mar 2009
Posts: 5,280
Likes: 0
From: wamego, kansas
Vehicle: 2001 hyundai tiburon
Radu commisioned me to make his downpipe for the turbo kit he is getting from SOCKS. so far i have roughly 6 hours in this including all the teardown and cutting to length of all the pipe. I probably have about 1.5 hours left in terms of fitting tomorrow and then about a hour of TIG work, shouldn't be bad. I will give this to Radu, he doesn't skimp on cheapo material, this was some nice material to work with.
pics of work so far....
wanted to make sure the PS bracket would fit with manifold, it does.
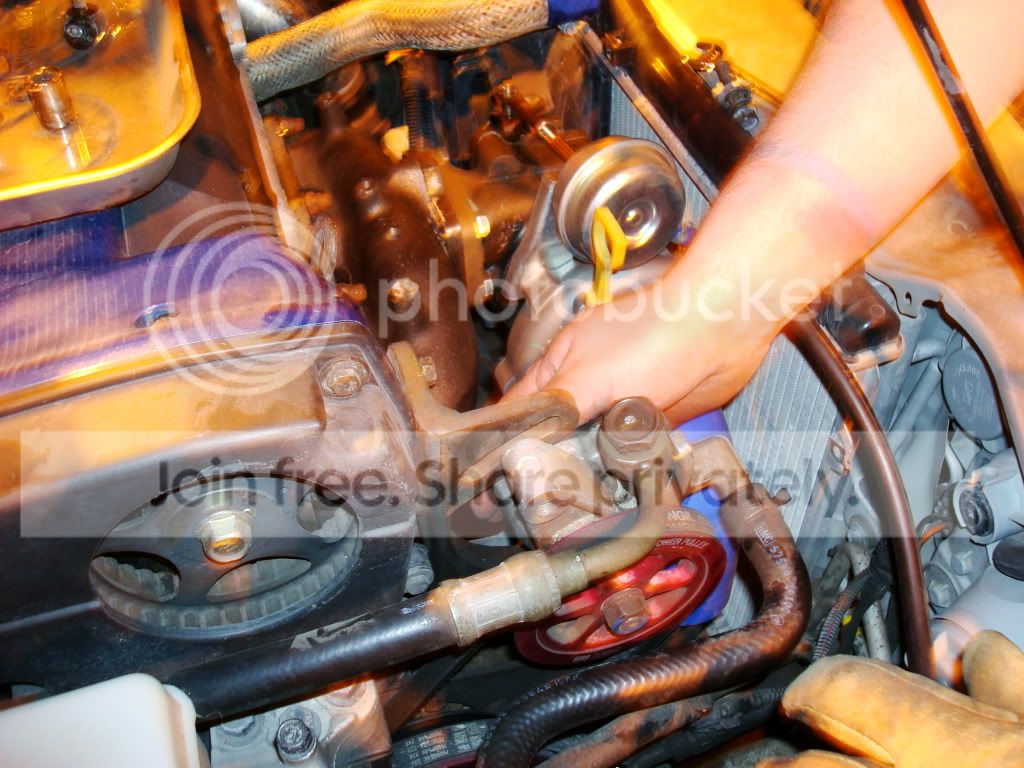
view from driver's side showing the amount of room you don't have,lol. good to know he has slimline fans.
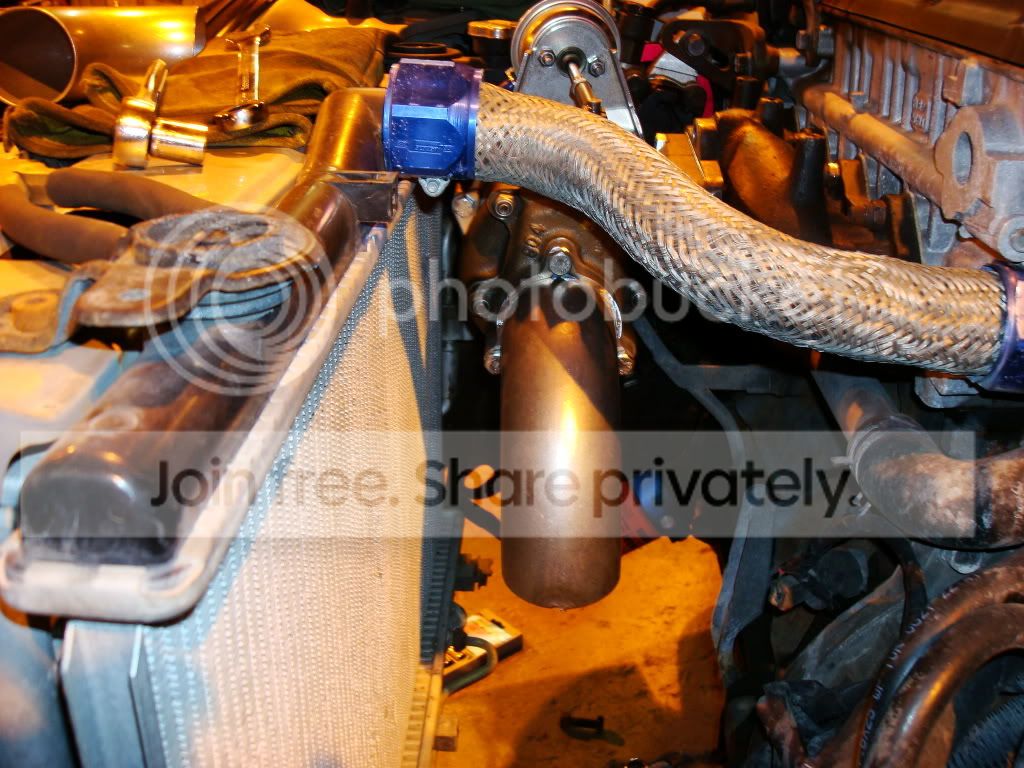
90 degree angle attached with 2 inch straight then another 90 bend cut in half to make a 45 angling towards exhaust bracket on the engine.
pic showing the angle down to the exhaust bracket

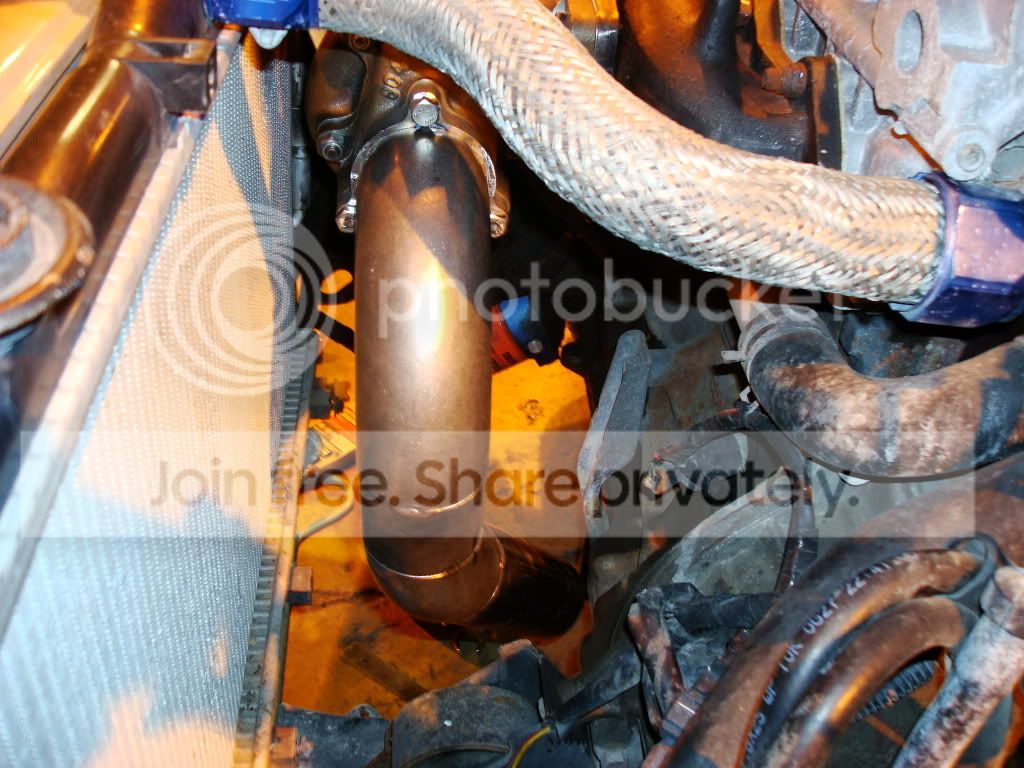
used the other 45 bend to make the transition to straight to the flex. I have to grind off about 5 degrees to make it a true 90 to make sure it fits up properly.

downpipe as it sits right now

that is all for now, completed pics of downpipe tomorrow. sorry for the weird lighting pics but we have tungsten lighting in the shop i work at and my digicam has very little control over the white balance.
pics of work so far....
wanted to make sure the PS bracket would fit with manifold, it does.
view from driver's side showing the amount of room you don't have,lol. good to know he has slimline fans.
90 degree angle attached with 2 inch straight then another 90 bend cut in half to make a 45 angling towards exhaust bracket on the engine.
pic showing the angle down to the exhaust bracket
used the other 45 bend to make the transition to straight to the flex. I have to grind off about 5 degrees to make it a true 90 to make sure it fits up properly.
downpipe as it sits right now
that is all for now, completed pics of downpipe tomorrow. sorry for the weird lighting pics but we have tungsten lighting in the shop i work at and my digicam has very little control over the white balance.


Thread Starter
Moderator
Joined: Mar 2009
Posts: 5,280
Likes: 0
From: wamego, kansas
Vehicle: 2001 hyundai tiburon
got the rest of the DP tacked up today, only have the flange to put on. then, full weld up.
Radu, when you get home and see this thread, let me know by the pics where you want both O2 sensor bungs at.
Radu, when you get home and see this thread, let me know by the pics where you want both O2 sensor bungs at.
Thread Starter
Moderator
Joined: Mar 2009
Posts: 5,280
Likes: 0
From: wamego, kansas
Vehicle: 2001 hyundai tiburon
I will have pics up tonight after i get home from work. my digicam's batteries were losing charge when i took the pic of how much slack was in the oil feed line.

Senior Member
Joined: Feb 2009
Posts: 1,932
Likes: 0
From: Boston
Vehicle: 2006 Pontiac GTO
Woot looking good!! fing02.gif
I'm still not home (in an icafe for a few minutes right now), so I don't have much time!
Just don't forget, I need it all the way to the cat (don't make it bolt on to the stock 2" flexpipe), sorry if I sound like a broken record smile.gif
The O2 bungs are for stock front sensor and a UEGO wideband, I think they need to be like 8"-10" or more from the turbo, other than that just put them wherever it's easier for you.. Nate, do you have any more advice on this?
Thread Starter
Moderator
Joined: Mar 2009
Posts: 5,280
Likes: 0
From: wamego, kansas
Vehicle: 2001 hyundai tiburon
what is not shown is what i did yesterday cause my digicam died. after that 1/2 bend on the bottom is a 6 inch straight, then the flex, followed by another 6" straight. then finally the last 90 cut in half and made into a s bend, then the flange.