
I made a mount for my android


Thread Starter
Moderator


Joined: Feb 2009
Posts: 11,732
Likes: 5
From: Leesville, Louisiana
Vehicle: 2001 Hyundai Tiburon
I couldn't find a mount for my otterbox. I built a car mount and painted it black. I ended up making it from the belt clip on my otterbox and an old garmin window-mounted GPS. Here's some pictures of the build process.
My first attempt was to try to fiberglass the outside of the otterbox to make a mount....
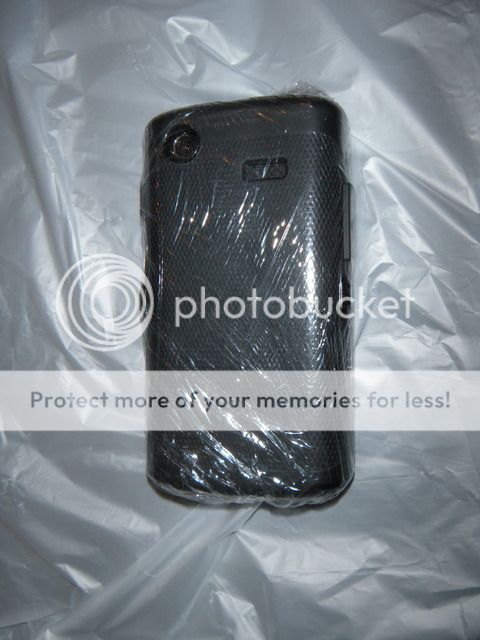
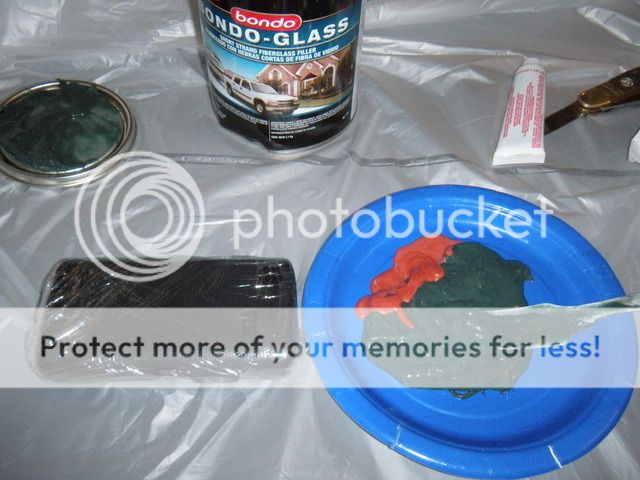

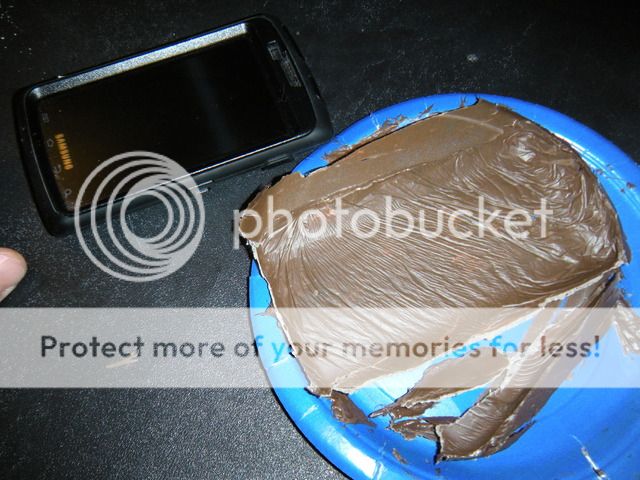
This ended up being too much work and I came up with a better idea.
1 remove belt clip portion from otterbox
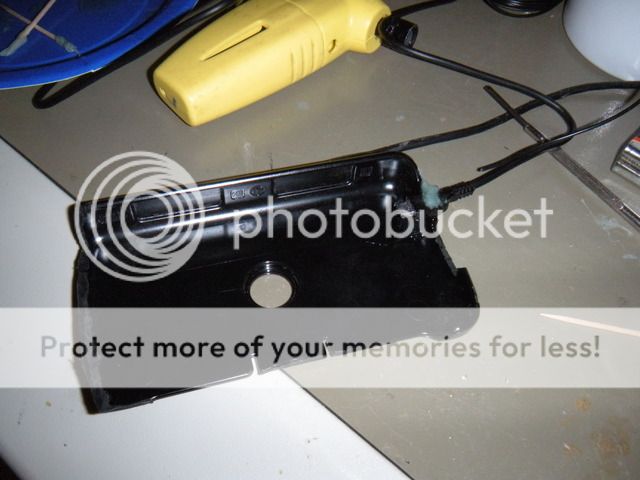
2. Saw down Otterbox beltclip so that the unit can be slid into place with USB cable
3. slide phone into otterbox case and insert USB.
4. first superglue USB in proper position, then epoxy for extra hard durability
5. saw back part off of old window mounted unit
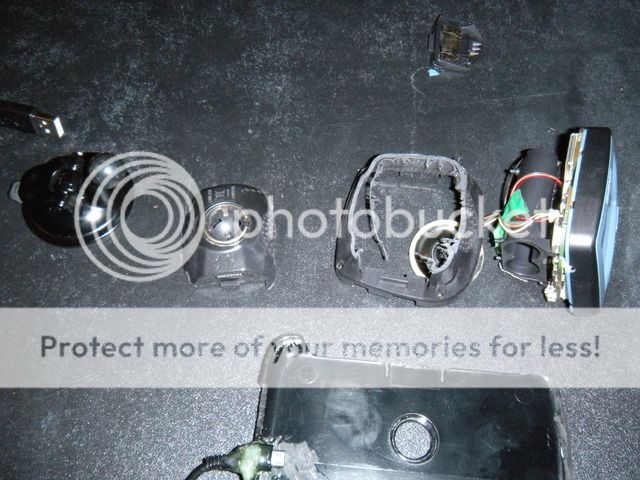
6. superglue back plate in place
7. epoxy backplate in place
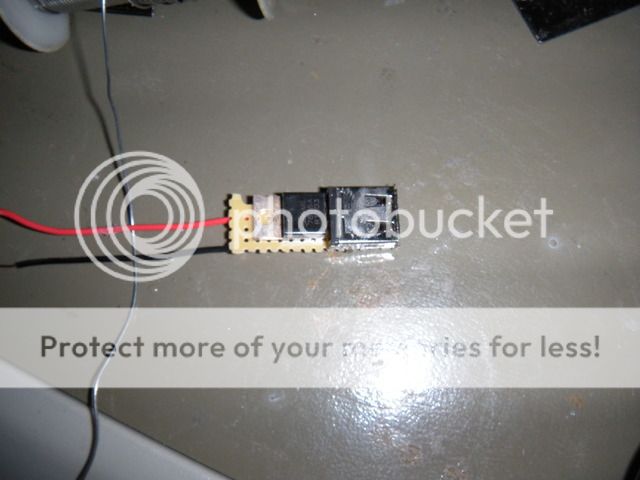
Ok... so now for power... I used a USB port and a regulator... This was an epic failure because pins 2 and 3 on the USB port should have been pulled HIGH to represent this is a charging device. I left them open and the unit appeared to go into USB Powered device mode where my phone was supplying 5V to the charger..... Anyways... this would have worked if I had read up on USB standards first but I ended up going with a 12V adapter stuck into a 12V socket in my ceiling.
Circuit made (should have added a resistor from 5V to the middle two pins)
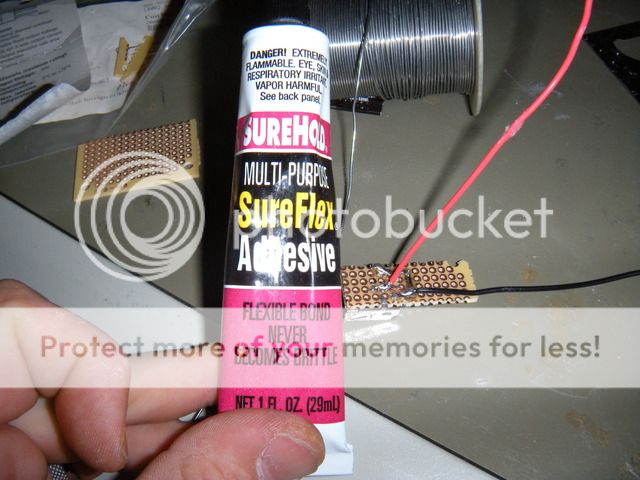
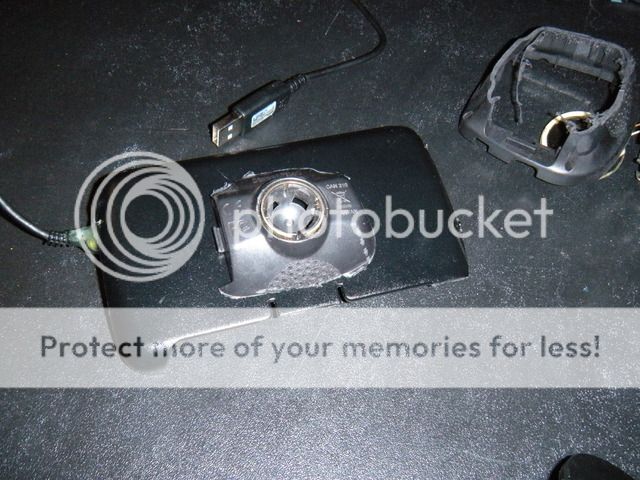
Covered with non-conductive, flexible glue to keep everything in place and make sure it would not be able to short circuit.
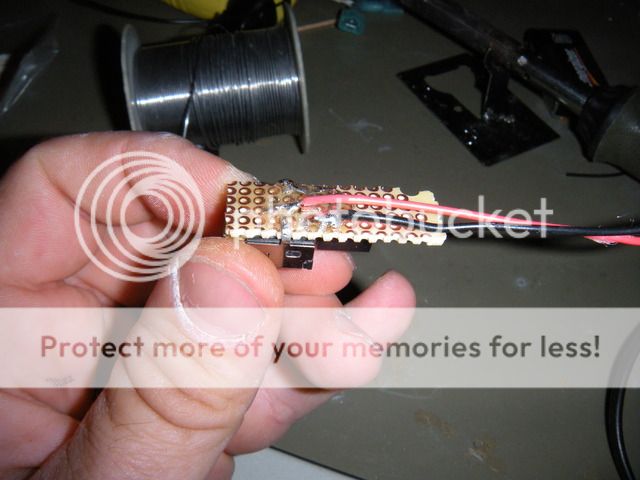
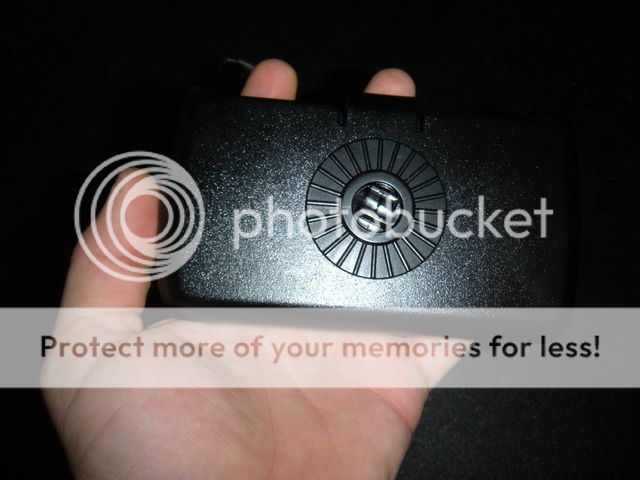
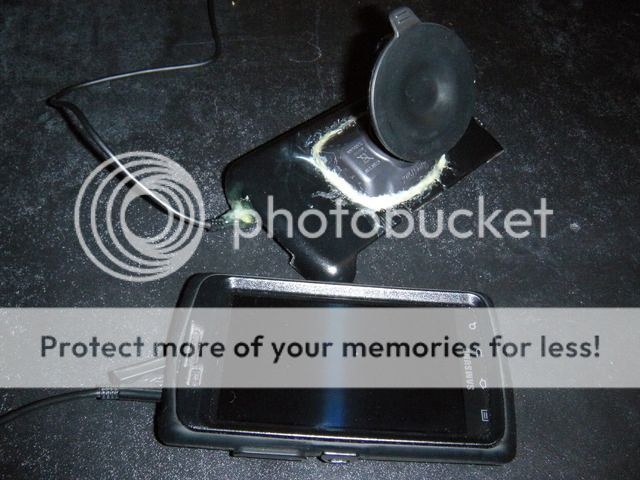
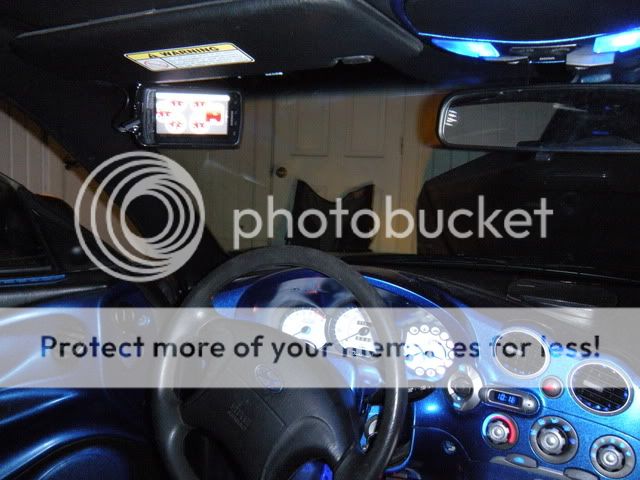
Finally I painted the entire thing black. It looks great now. Everything is wonderful. After 3 days of drying it was able to be used.
The unit separates so the suction cup mount can be adjusted easily.
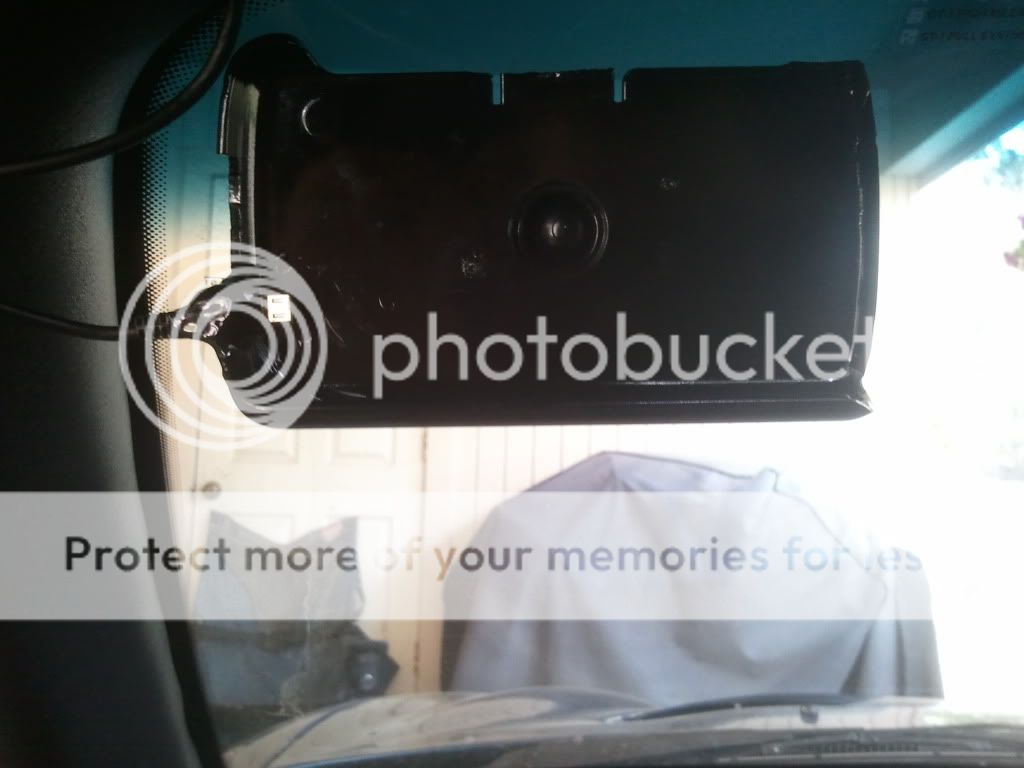
You can see on the back, it's not too bad once it's painted
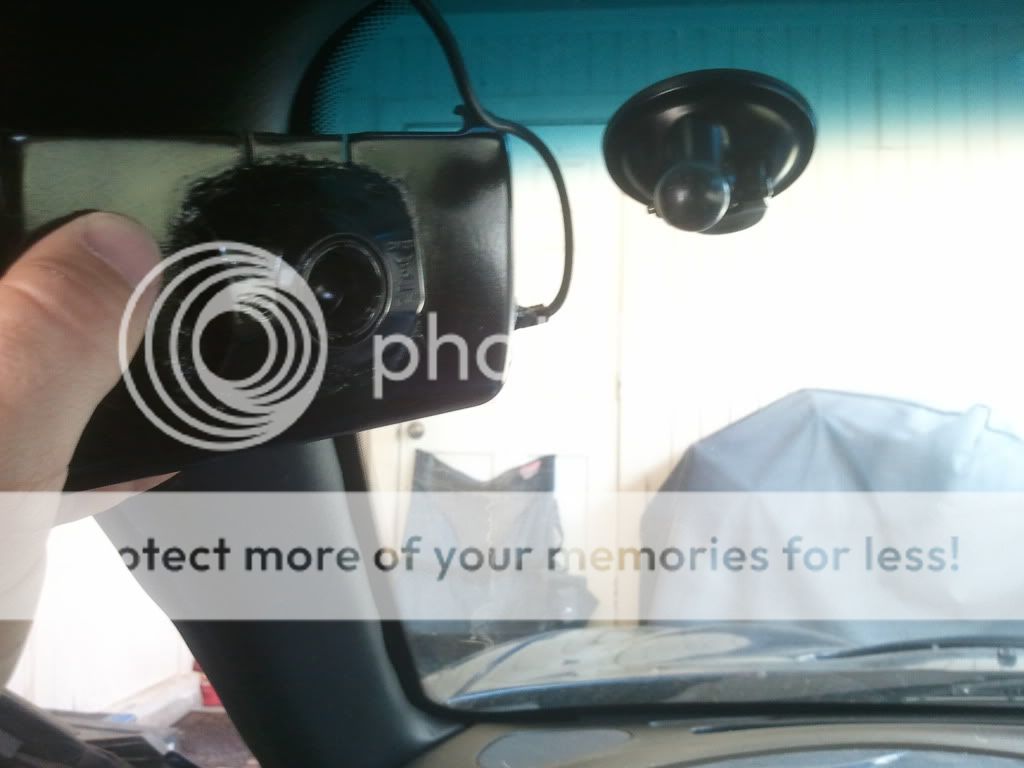
This large cutout allows the otterbox cable cover to be opened and just slide right in.

Now, if I had this to do over again, I would have applied a 619Kohm resistor between pins 4 and 5 on the mini-usb. This would have enabled car mode. Car mode automatically brings up car home. As it is, this is simply a car-charger circuit.
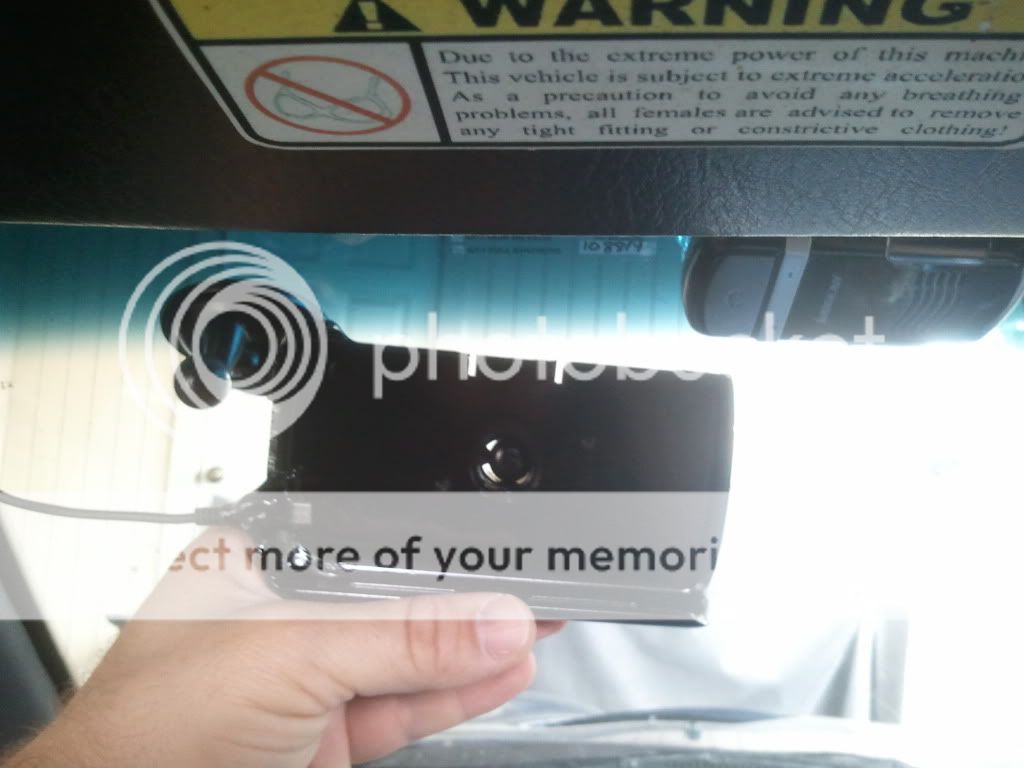
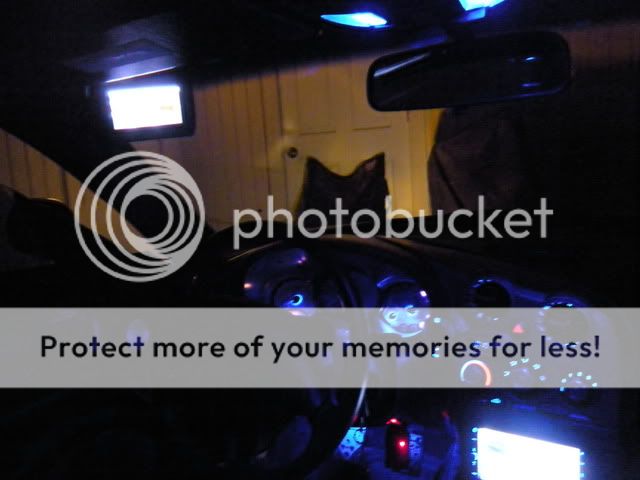
Overall, this project is awesome!. This allows me to have my phone mounted above eye-level which is great for GPS
My first attempt was to try to fiberglass the outside of the otterbox to make a mount....
This ended up being too much work and I came up with a better idea.
1 remove belt clip portion from otterbox
2. Saw down Otterbox beltclip so that the unit can be slid into place with USB cable
3. slide phone into otterbox case and insert USB.
4. first superglue USB in proper position, then epoxy for extra hard durability
5. saw back part off of old window mounted unit
6. superglue back plate in place
7. epoxy backplate in place
Ok... so now for power... I used a USB port and a regulator... This was an epic failure because pins 2 and 3 on the USB port should have been pulled HIGH to represent this is a charging device. I left them open and the unit appeared to go into USB Powered device mode where my phone was supplying 5V to the charger..... Anyways... this would have worked if I had read up on USB standards first but I ended up going with a 12V adapter stuck into a 12V socket in my ceiling.
Circuit made (should have added a resistor from 5V to the middle two pins)
Covered with non-conductive, flexible glue to keep everything in place and make sure it would not be able to short circuit.
Finally I painted the entire thing black. It looks great now. Everything is wonderful. After 3 days of drying it was able to be used.
The unit separates so the suction cup mount can be adjusted easily.
You can see on the back, it's not too bad once it's painted
This large cutout allows the otterbox cable cover to be opened and just slide right in.
Now, if I had this to do over again, I would have applied a 619Kohm resistor between pins 4 and 5 on the mini-usb. This would have enabled car mode. Car mode automatically brings up car home. As it is, this is simply a car-charger circuit.
Overall, this project is awesome!. This allows me to have my phone mounted above eye-level which is great for GPS


Thread Starter
Moderator
Joined: Feb 2009
Posts: 11,732
Likes: 5
From: Leesville, Louisiana
Vehicle: 2001 Hyundai Tiburon
Because I made a charging dock so that there are no messy cables. As it is, I've got 2-3 inches of cable tucked neatly up in the corner where its not noticeable. A charger would have between 1 to 6 feet of cable. This also puts my GPS right where I need it and makes it easy to use it as an extra set of gauges hooked to my cars ECU. A car charger is just a cable. This also allows it to be positioned.

Administrator

Joined: Mar 2006
Posts: 12,515
Likes: 2
From: Lacey, WA
Vehicle: Two Accents, Mini, Miata, Van, Outback, and a ZX-6
I want to replace my gauge cluster with an android tablet. Haven't figured out exactly how I want to go about it yet though.
I might do something like this in the meantime. Pretty nice execution.
I might do something like this in the meantime. Pretty nice execution.