
Tinting with VHT Nite Shades

Thread Starter
Administrator

Joined: Mar 2006
Posts: 12,515
Likes: 2
From: Lacey, WA
Vehicle: Two Accents, Mini, Miata, Van, Outback, and a ZX-6
Required (some stuff removed that's for a future project):
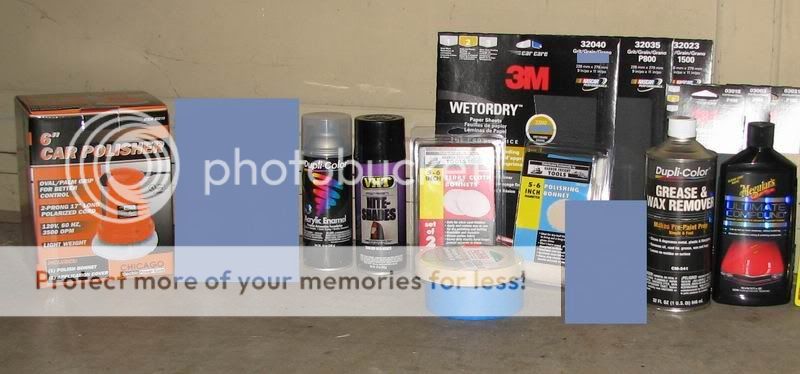
1 large can of VHT Nite Shades or 2 small cans
1 can of quality UV protectant clearcoat
800 grit wet sandpaper
1500 grit wet sandpaper
Meguiar's Ultimate Compound
Electric polisher/buffer
Grease and Wax Remover
Painter's tape
Plastic bags, sheeting, and/or masking paper
Acetone (to remove paint if you screw up)
Tools to remove tail lights or other items you are tinting
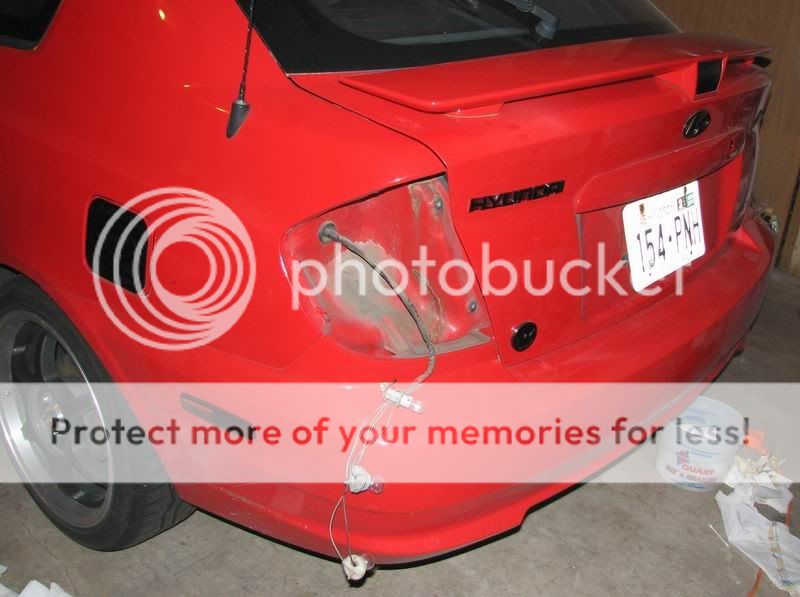
1. Remove items you're tinting. It is possible to tint items on the car but I strongly recommend removing them. In the end it's easier. The paint will not run as easily if the item is laying flat on the ground. The Nite Shades runs really easily compared to any other paint I've ever used.
Not ideal:
Correct:
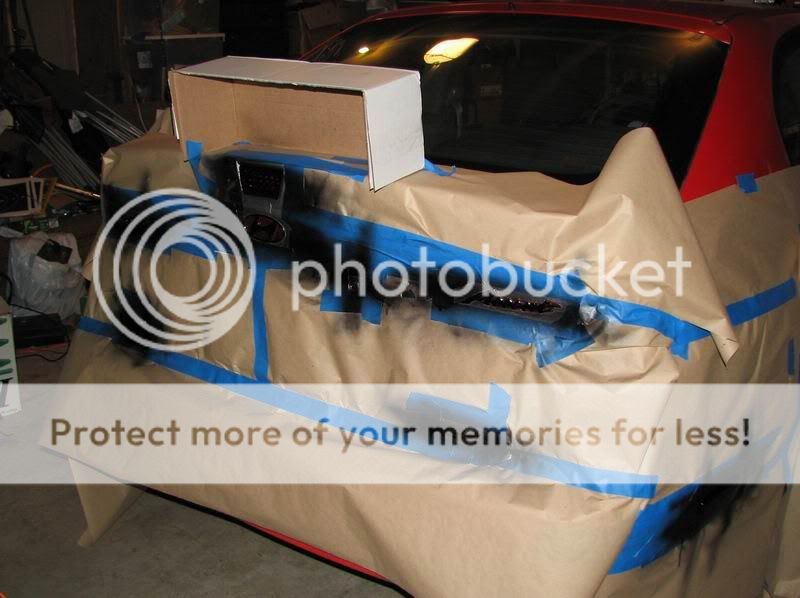
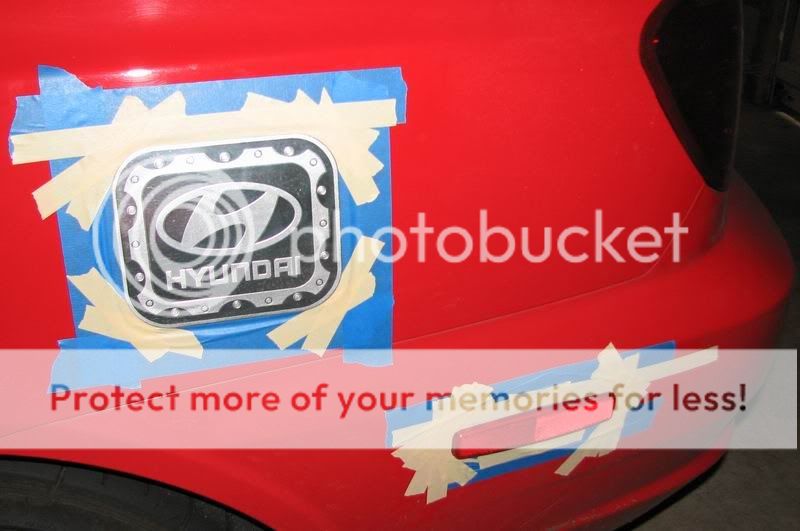
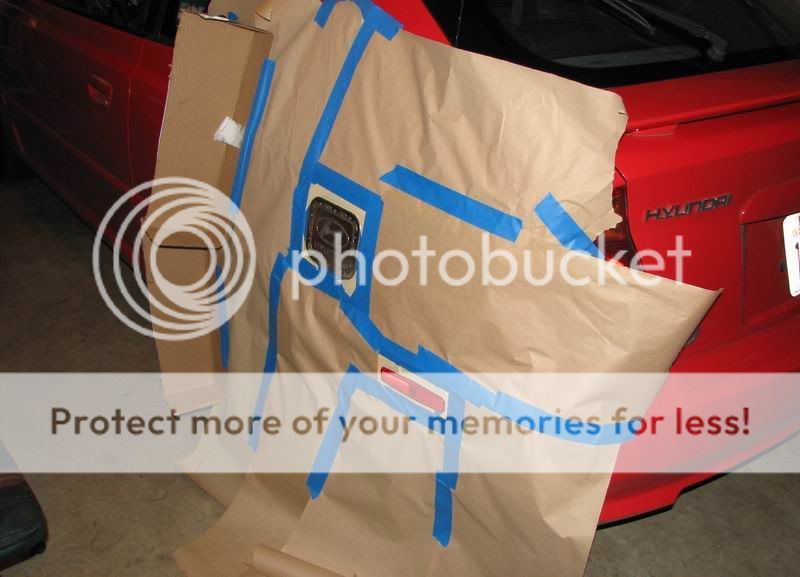
2. Mask off items as necessary. Plastic bags work well to cover the back of the tail lights. You will be tempted to skip this for ease, but if you get any overspray on the inside of the lens it will look like crap and be really hard to fix.
Like this but ideally not on the car:
3. Clean items with Grease and Wax Remover. Wipe dry with clean cloth.
4. Scuff items with 800 grit sandpaper. Roughen entire surface. Item should not appear smooth or glossy anywhere.
5. Clean items with a damp cloth and dry thoroughly with a clean cloth.
6. Place items flat to help reduce runs and paint on a very light layer of Nite Shades. Repeat light coats at 5 to 10 minute intervals until desired darkness is achieved. For me that was about 10 very light coats. This runs much more easily than any other paint I've sprayed so keep that in mind.
7. Allow last coat to cure for 30 minutes.
8. Spray on a light coat of clear. Repeat with medium coats at 10 minute intervals until you are satisfied that you have good coverage. You will remove some clearcoat later so 2 to 4 coats should work. I used 4 medium coats to give me a lot of clear to work with while sanding and polishing.
9. Let items cure for 6-8 hours.
10. Tape off any items that you will be sanding on the vehicle if you choose to sand on the vehicle.
11. Wet sand items with 1500 grit sandpaper. Mix a bit of liquid dish soap into the water to properly lubricate and clear the sandpaper. Sand until the items are semi-glossy and smooth to the touch.
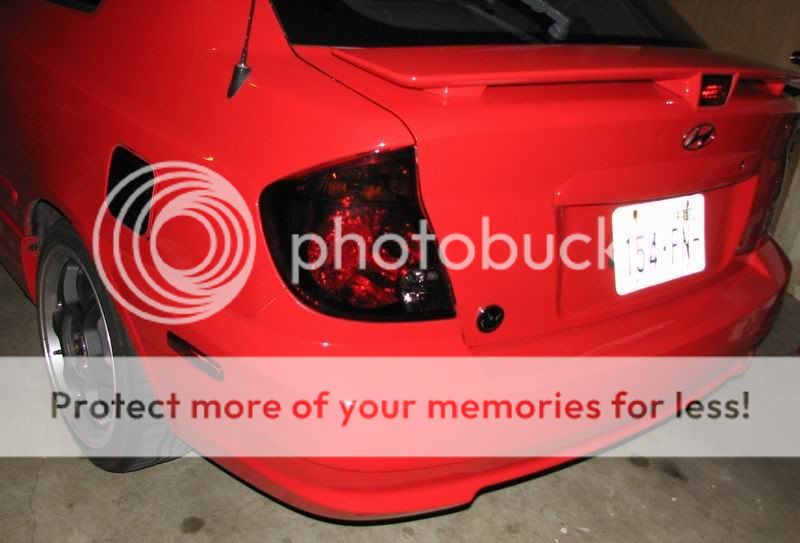
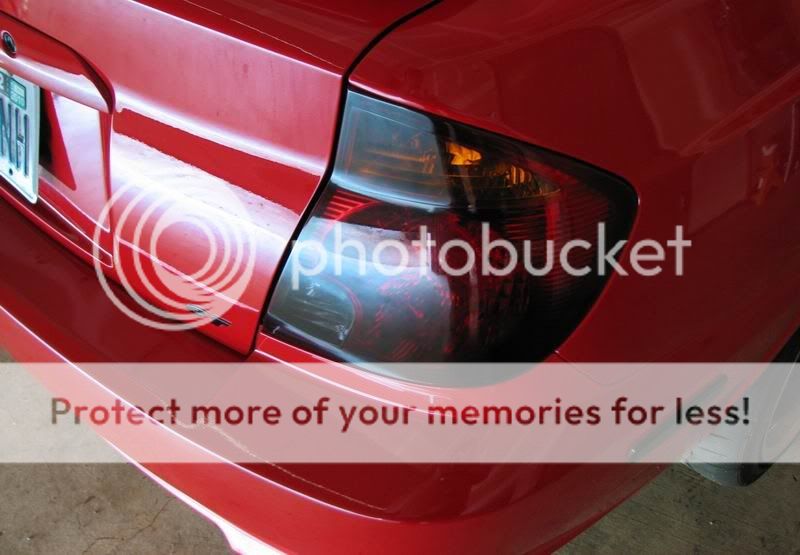
12. Use Meguiar's Ultimate Compound and an electric polisher/buffer to put a shine on the items. If there are difficult places to get with the polisher you can use a cloth and some of the compound and polish it manually. I did this on the 3rd brake light and the crooked H emblem. It takes time but it can be done. Wipe compound off with a clean cloth.
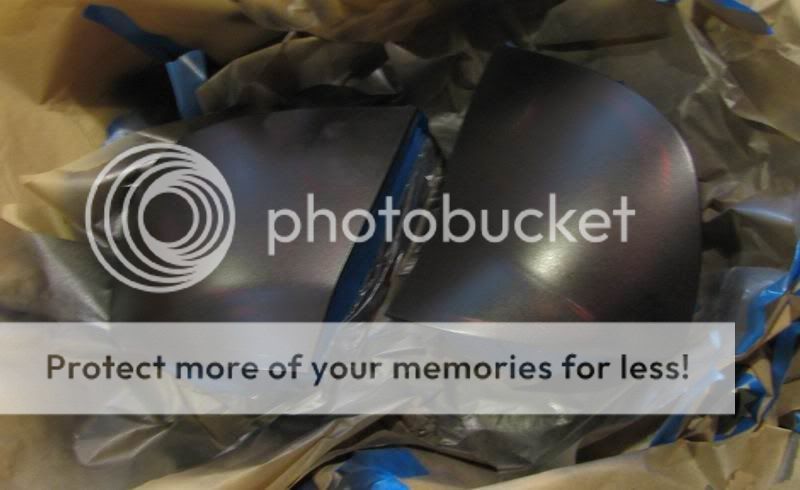
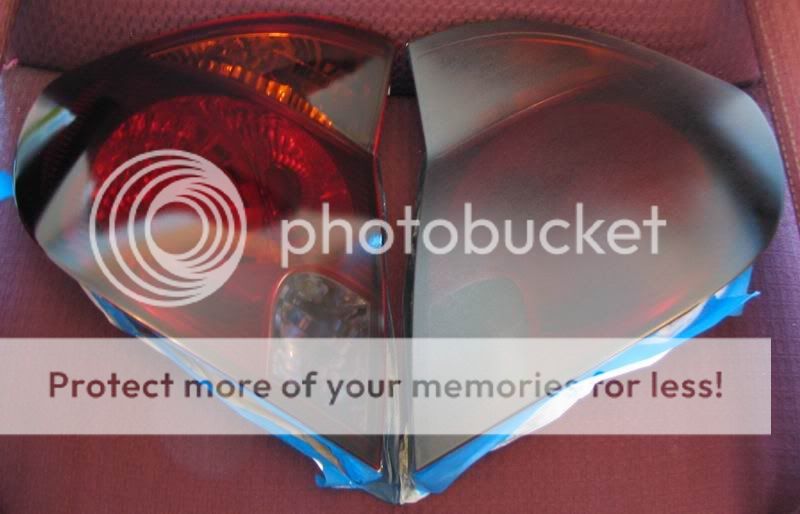
Sanded and polished vs. plain with clearcoat:
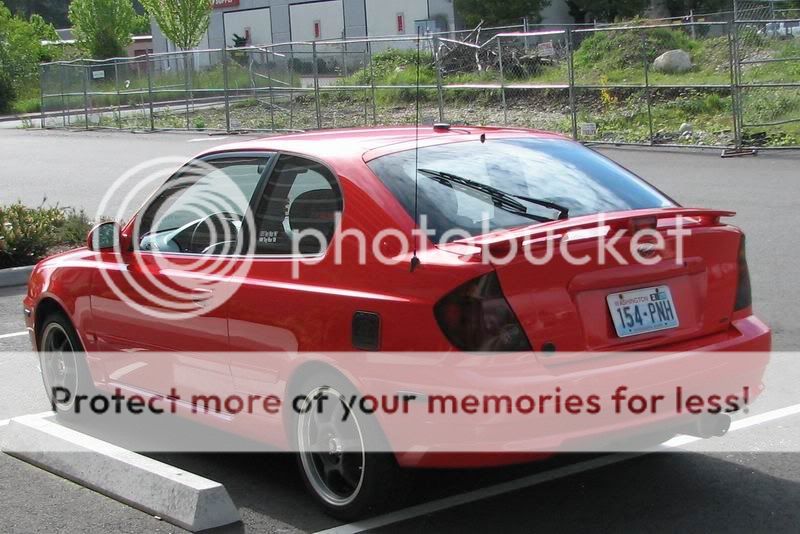
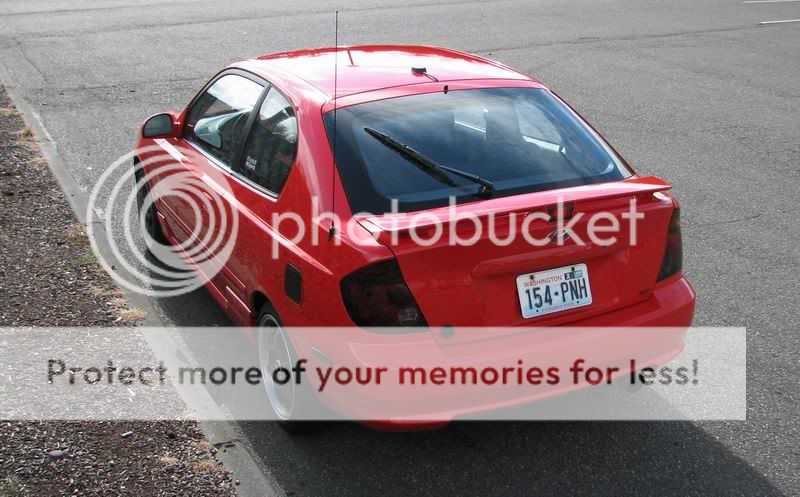
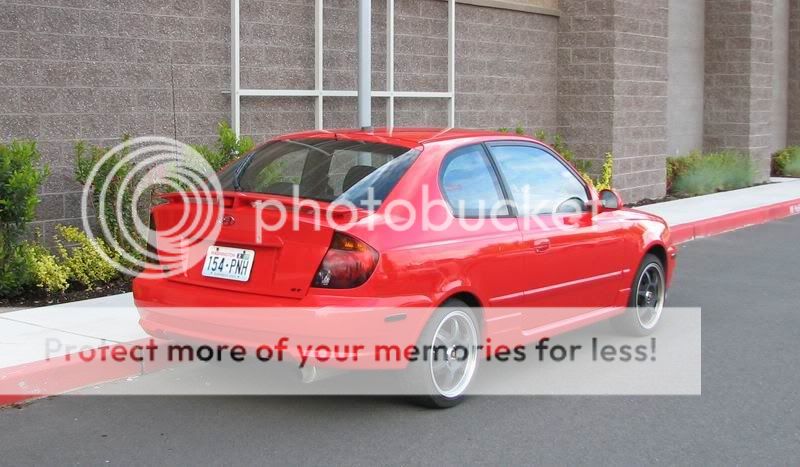
13. Remove any tape and/or reinstall items and enjoy!
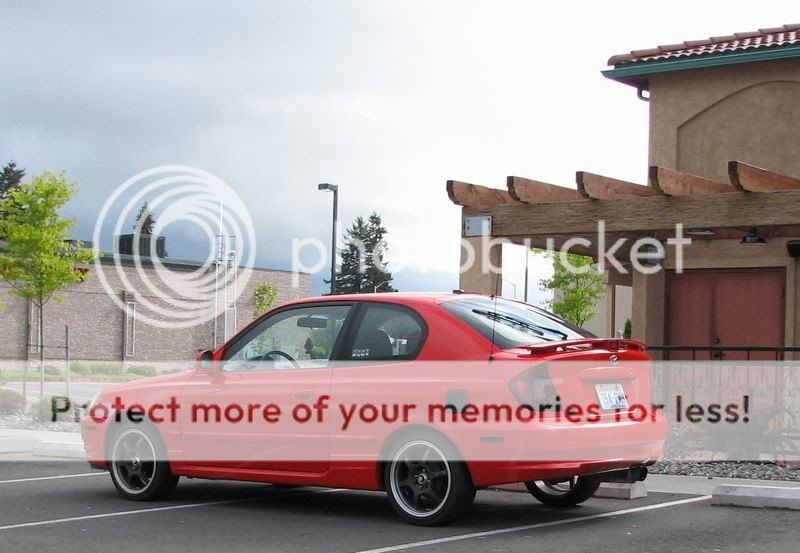
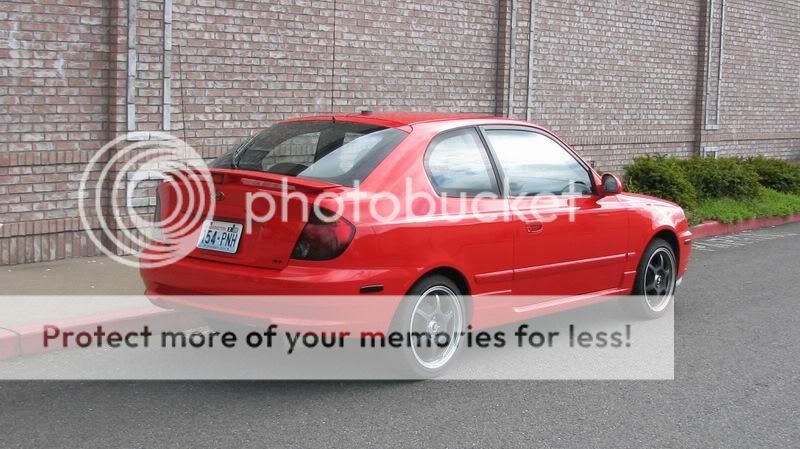
On the car without flash:

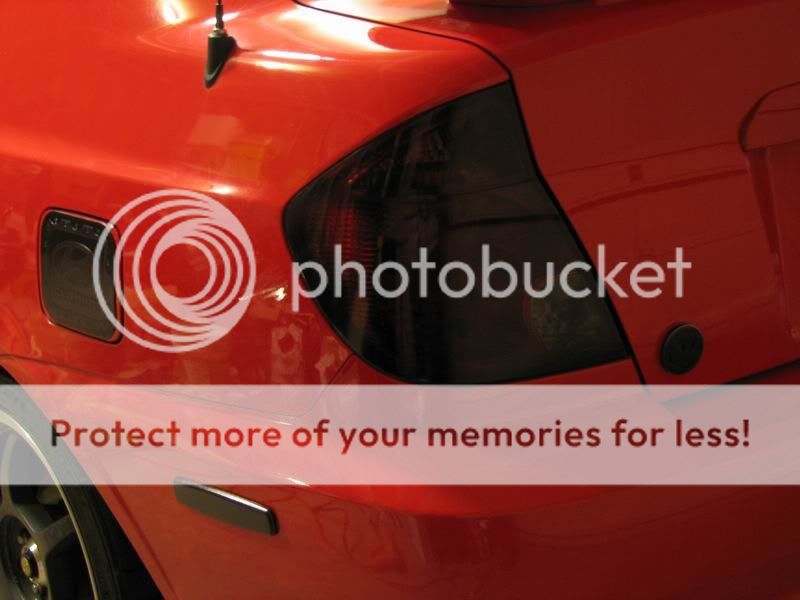
On the car with flash, reflectors still work and lights are still bright when turned on:
1 large can of VHT Nite Shades or 2 small cans
1 can of quality UV protectant clearcoat
800 grit wet sandpaper
1500 grit wet sandpaper
Meguiar's Ultimate Compound
Electric polisher/buffer
Grease and Wax Remover
Painter's tape
Plastic bags, sheeting, and/or masking paper
Acetone (to remove paint if you screw up)
Tools to remove tail lights or other items you are tinting
1. Remove items you're tinting. It is possible to tint items on the car but I strongly recommend removing them. In the end it's easier. The paint will not run as easily if the item is laying flat on the ground. The Nite Shades runs really easily compared to any other paint I've ever used.
Not ideal:
Correct:
2. Mask off items as necessary. Plastic bags work well to cover the back of the tail lights. You will be tempted to skip this for ease, but if you get any overspray on the inside of the lens it will look like crap and be really hard to fix.
Like this but ideally not on the car:
3. Clean items with Grease and Wax Remover. Wipe dry with clean cloth.
4. Scuff items with 800 grit sandpaper. Roughen entire surface. Item should not appear smooth or glossy anywhere.
5. Clean items with a damp cloth and dry thoroughly with a clean cloth.
6. Place items flat to help reduce runs and paint on a very light layer of Nite Shades. Repeat light coats at 5 to 10 minute intervals until desired darkness is achieved. For me that was about 10 very light coats. This runs much more easily than any other paint I've sprayed so keep that in mind.
7. Allow last coat to cure for 30 minutes.
8. Spray on a light coat of clear. Repeat with medium coats at 10 minute intervals until you are satisfied that you have good coverage. You will remove some clearcoat later so 2 to 4 coats should work. I used 4 medium coats to give me a lot of clear to work with while sanding and polishing.
9. Let items cure for 6-8 hours.
10. Tape off any items that you will be sanding on the vehicle if you choose to sand on the vehicle.
11. Wet sand items with 1500 grit sandpaper. Mix a bit of liquid dish soap into the water to properly lubricate and clear the sandpaper. Sand until the items are semi-glossy and smooth to the touch.
12. Use Meguiar's Ultimate Compound and an electric polisher/buffer to put a shine on the items. If there are difficult places to get with the polisher you can use a cloth and some of the compound and polish it manually. I did this on the 3rd brake light and the crooked H emblem. It takes time but it can be done. Wipe compound off with a clean cloth.
Sanded and polished vs. plain with clearcoat:
13. Remove any tape and/or reinstall items and enjoy!
On the car without flash:
On the car with flash, reflectors still work and lights are still bright when turned on:
Super Moderator


Joined: Dec 2002
Posts: 5,735
Likes: 3
From: Vegas, Baby, Vegas!!!
Vehicle: '14 Ford F-150
Couple of recommendations... use 2000 grit instead of 1500 and sand the tint before the clear.
My Elantra tails:


My Mustang turn signals (other lights are covers):

Rear markers and third brake light:

My Elantra tails:
My Mustang turn signals (other lights are covers):
Rear markers and third brake light:
Thread Starter
Administrator
Joined: Mar 2006
Posts: 12,515
Likes: 2
From: Lacey, WA
Vehicle: Two Accents, Mini, Miata, Van, Outback, and a ZX-6
<div class='quotetop'>QUOTE(i8acobra @ May 19 2009, 06:19 AM) </div><div class='quotemain'>Couple of recommendations... use 2000 grit instead of 1500 and sand the tint before the clear.</div>
I would have used 2000 grit if I wasn't going to use the compound. The compound easily took out the scratches from the 1500 grit. If you're going to use the compound by hand instead of with a power tool then the 2000 grit will get you a lot closer to a nice finish before you start.
If you don't spray on the clear before the VHT dries all the way you need to sand, but if you only wait 30 minutes they'll chemically bond. If you can't or don't want to spray the clear on 30 minutes after you finish the last coat of VHT you will have to sand for sure or it won't bond properly.
Super Moderator
Joined: Dec 2002
Posts: 5,735
Likes: 3
From: Vegas, Baby, Vegas!!!
Vehicle: '14 Ford F-150
Even if it bonds, that's not really the issue. Every layer of paint is uneven. Even a robot can't paint 100% evenly. So, the more coats you apply without sanding, the more uneven the top coat will be. If you do several coats of tint and then a few of clear, you're going to be sanding that clear for a while to make it even. As a general rule, I sand every 3 to 5 coats (depending on the thickness) of any type of paint. This gives you an even layer to start with again.
Thread Starter
Administrator
Joined: Mar 2006
Posts: 12,515
Likes: 2
From: Lacey, WA
Vehicle: Two Accents, Mini, Miata, Van, Outback, and a ZX-6
I sprayed on probably +/- equivalent to 3 coats of normal paint. With an equal amount of clear.
You're right about getting things even, and I did sand quite a while to smooth things out. I guess it depends on how you prefer to do it.
You're right about getting things even, and I did sand quite a while to smooth things out. I guess it depends on how you prefer to do it.

Moderator

Joined: Feb 2009
Posts: 11,732
Likes: 5
From: Leesville, Louisiana
Vehicle: 2001 Hyundai Tiburon
Looks pretty ok man. Don't forget to wax them now that they're painted. Otherwise you may end up with the clear coat coming off. Also, that should add the missing gloss to your lenses.
Here's my set of markers and corners I did last year.
On the markers, I masked off the entire inner portion by shining a light through and drawing a line around the light area. Then I cut along the line to remove the tape. I sprayed black along the edges. I removed the tape and let it dry. Then I tinted and clear coated.
On the corners, he black around the edges was laid down first with Krylon Fusion plastic paint, then the entire thing was sprayed with tint for just 1 layer, let dry, the center was masked off, and the entire thing was sprayed again. This left a visibility strip so that other drivers can see the light but the lamp looks blacked out otherwise.
<div class='quotetop'>QUOTE(i8acobra @ May 19 2009, 12:35 PM) </div><div class='quotemain'>Even if it bonds, that's not really the issue. Every layer of paint is uneven. Even a robot can't paint 100% evenly. So, the more coats you apply without sanding, the more uneven the top coat will be. If you do several coats of tint and then a few of clear, you're going to be sanding that clear for a while to make it even. As a general rule, I sand every 3 to 5 coats (depending on the thickness) of any type of paint. This gives you an even layer to start with again.</div>
Never sand tint. You can sand paint all day long, but sanding tint is not a good idea. Only sand the clear. Sanding tint will leave light and dark spots.
it's very very very important to spray this stuff in extremely light coats. Just a dusting should be your first and 2nd coat. Then go to a light coat and another light coat. This is tint, not paint. It's got no bulk, it goes on like food coloring with some sugar mixed in.
Thread Starter
Administrator
Joined: Mar 2006
Posts: 12,515
Likes: 2
From: Lacey, WA
Vehicle: Two Accents, Mini, Miata, Van, Outback, and a ZX-6
<div class='quotetop'>QUOTE(DTN @ May 19 2009, 10:49 AM) </div><div class='quotemain'>Looks pretty ok man. Don't forget to wax them now that they're painted. Otherwise you may end up with the clear coat coming off. Also, that should add the missing gloss to your lenses.</div>
Yeah, I'm gonna buff and wax the whole car including the lenses.
The finish on the lenses is already better than the finish on the paint. Lol.
Yeah, I'm gonna buff and wax the whole car including the lenses.
The finish on the lenses is already better than the finish on the paint. Lol.
Super Moderator
Joined: Dec 2002
Posts: 5,735
Likes: 3
From: Vegas, Baby, Vegas!!!
Vehicle: '14 Ford F-150
<div class='quotetop'>QUOTE(DTN @ May 19 2009, 10:49 AM) </div><div class='quotemain'>Never sand tint. You can sand paint all day long, but sanding tint is not a good idea. Only sand the clear. Sanding tint will leave light and dark spots.
it's very very very important to spray this stuff in extremely light coats. Just a dusting should be your first and 2nd coat. Then go to a light coat and another light coat. This is tint, not paint. It's got no bulk, it goes on like food coloring with some sugar mixed in.</div>
See any light and dark spots on mine? Tint is paint. Treat it like any other paint. Tint has the same chemical make-up as clear. It just has a small amount of pigment mixed in. Maybe the model car stuff is different, but I'm talking about Nite Shades.
Thread Starter
Administrator
Joined: Mar 2006
Posts: 12,515
Likes: 2
From: Lacey, WA
Vehicle: Two Accents, Mini, Miata, Van, Outback, and a ZX-6
There are no light or dark spots on mine either. I personally feel that I was able to lay it on more equally than if I sanded it. The only reason I would have sanded the Nite Shades would have been to make it stick better if it had cured already, and then it would have just been a scuffing.
And the Nite Shades doesn't lay down anything like clearcoat so the formulation must be entirely different.
I think the bottom line is that there are several ways to get an acceptable finish. I considered my strengths and weaknesses and after a test spraying decided to do it the way I did. That doesn't mean it's the only way to do it, but it worked out great and I couldn't be happier with the tails. They're exactly the level of tint I wanted and I honestly can't find one flaw on the tails themselves (there are a couple on one side marker and the emblem) so unless it all starts falling off or something the way I did it is fine and I would recommend it to anyone.