
Led In Dimmer Switch Diy

Thread Starter
Senior Member

Joined: Nov 2008
Posts: 2,881
Likes: 0
From: Huntsville, AL
Vehicle: 2001/Hyundai/Tiburon
Dimmer Switch DIY (RD2)
Skill level (out of 5): 3
Time taken: 30 minutes
Tools needed:
Small flathead screwdriver
Soldering gun and supplies
5mm LED of preferred color
Resistor (I used 430 ohm)
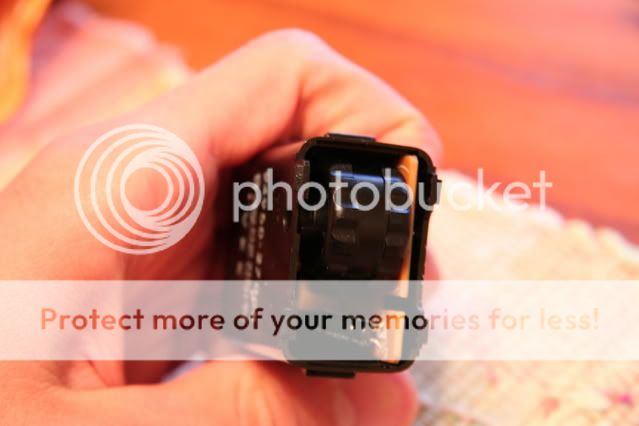
1. Remove dimmer switch with a flathead screwdriver
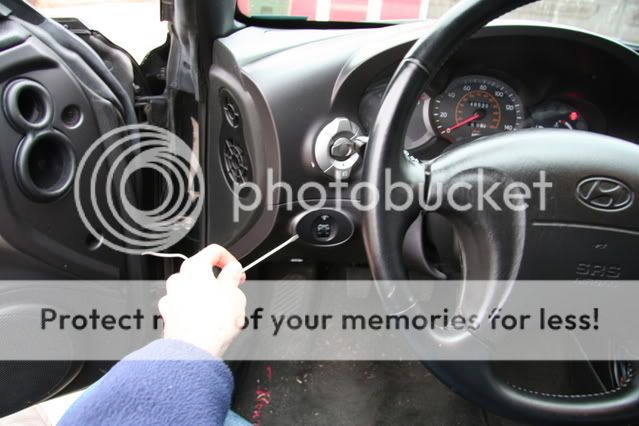
2. Unplug power
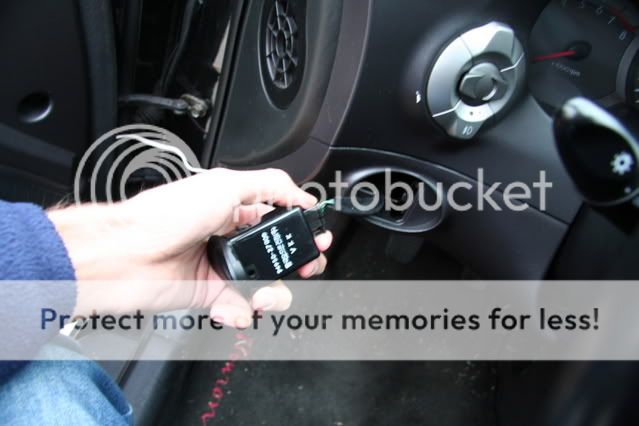
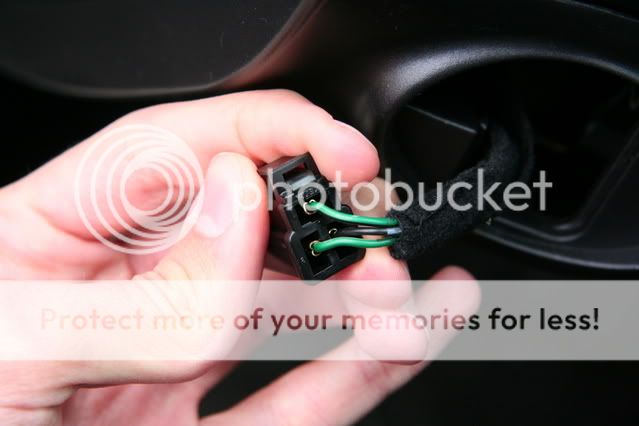
3. Note which one is ground and power
4. Remove face of switch with screwdriver. There’s two little clip things on either side, get one side loose and the other one comes right off.
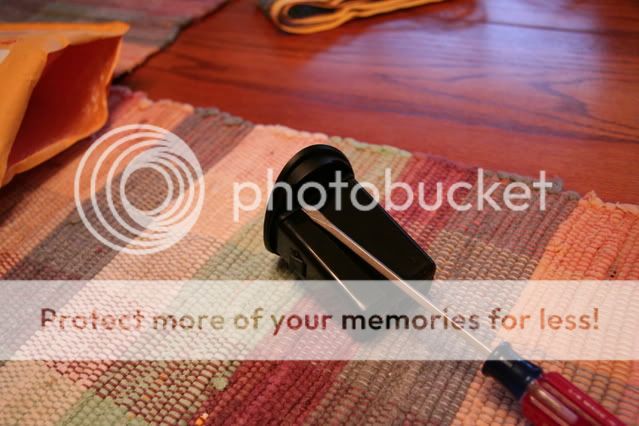
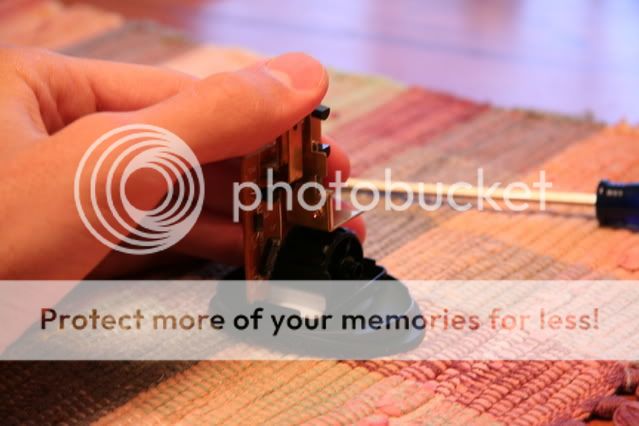
5. Remove circuit board by first getting the wheel out of its socket. Either use the screwdriver or a little force by hand to dislodge the wheel.
6. Remove board
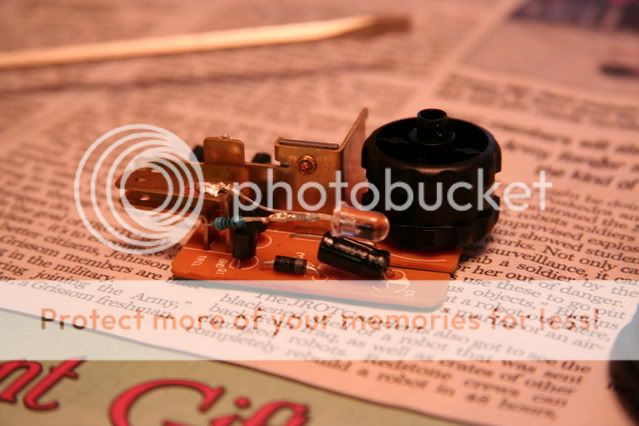
7. LED will need to point towards the white, so take note of how it should be in place.
8. Shave LED a little bit. Not too much or the spread is too wide and you won’t notice it.
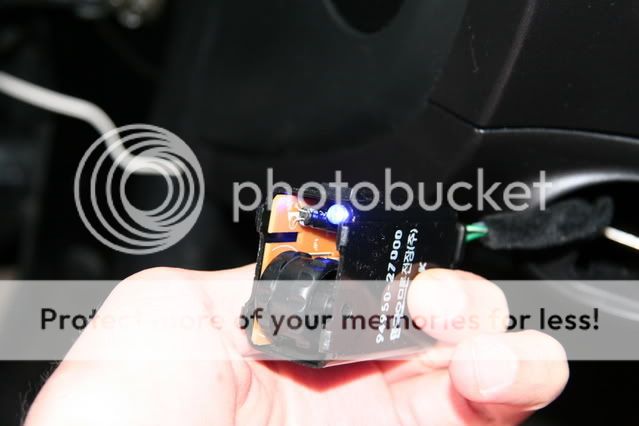
9. Solder negative LED to the top post, and the positive to the one below it (with a resistor). Do NOT solder it to the large one closer to the wheel (as I did the first time…) The power on that one is variable, and opposite of the dial. E.G if you have the dimmer all the way bright, the LED will be off, but if the dimmer is all the way dim, the LED is very bright. Backwards of how you’d want it. So be sure to do it as shown in the picture.
10. Reinstall circuit board and test if it works.
11. Put face back on and reinstall!
There is a little much blue coming through the rest of the black instead of just through the white, but there’s no way to avoid that. You could try painting the inside a little with white out, but then it might not show through the white.
Skill level (out of 5): 3
Time taken: 30 minutes
Tools needed:
Small flathead screwdriver
Soldering gun and supplies
5mm LED of preferred color
Resistor (I used 430 ohm)
1. Remove dimmer switch with a flathead screwdriver
2. Unplug power
3. Note which one is ground and power
4. Remove face of switch with screwdriver. There’s two little clip things on either side, get one side loose and the other one comes right off.
5. Remove circuit board by first getting the wheel out of its socket. Either use the screwdriver or a little force by hand to dislodge the wheel.
6. Remove board
7. LED will need to point towards the white, so take note of how it should be in place.
8. Shave LED a little bit. Not too much or the spread is too wide and you won’t notice it.
9. Solder negative LED to the top post, and the positive to the one below it (with a resistor). Do NOT solder it to the large one closer to the wheel (as I did the first time…) The power on that one is variable, and opposite of the dial. E.G if you have the dimmer all the way bright, the LED will be off, but if the dimmer is all the way dim, the LED is very bright. Backwards of how you’d want it. So be sure to do it as shown in the picture.
10. Reinstall circuit board and test if it works.
11. Put face back on and reinstall!
There is a little much blue coming through the rest of the black instead of just through the white, but there’s no way to avoid that. You could try painting the inside a little with white out, but then it might not show through the white.


Moderator

Joined: Feb 2009
Posts: 11,732
Likes: 5
From: Leesville, Louisiana
Vehicle: 2001 Hyundai Tiburon
It's kind of a seperate DIY in itself. All the LEDs in the dash DIY were replacements for those white with a blue condom stockers. This is not a light modification, it's actually a light creation. I think it should be it's own DIY. I did mention this at the end of the heater/switches DIY, but i didn't put pictures. I'll put a link referring to this page on that DIY.
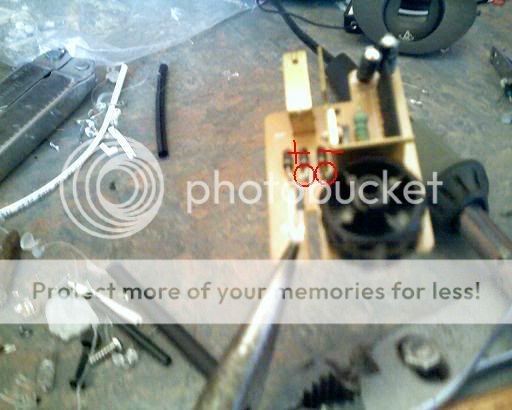
I did notice a difference in your dimmer to mine. I have 3 diodes called D1, D2 and D3, i noticed you only have D3 showing. D1+D2 are next to D3 on mine.
I did notice a difference in your dimmer to mine. I have 3 diodes called D1, D2 and D3, i noticed you only have D3 showing. D1+D2 are next to D3 on mine.
Moderator
Joined: Feb 2009
Posts: 11,732
Likes: 5
From: Leesville, Louisiana
Vehicle: 2001 Hyundai Tiburon
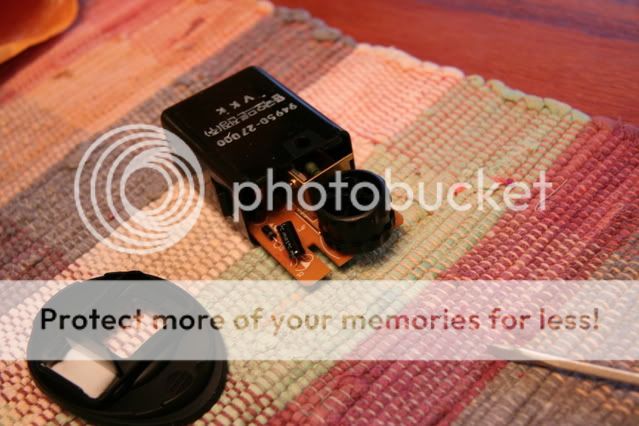
^^ Oops. I misread it. if you look at the ciruit, next to the rotating dimmer wheel, you can see a black object and printed on the circuit board is "D1". Mine has D2 and D3 as well. Yours does not. In one shot, it shows the diode, and above it is the number 3, but to the right is "D1"
Also, i run a LED which is shaved flat on mine, it works just fine.
Also, i run a LED which is shaved flat on mine, it works just fine.

Senior Member
Joined: Oct 2004
Posts: 981
Likes: 0
From: Richmond, VA
I added an LED to mine too. My switch is slightly different. There were two small holes in the board right at the front, meant for a bulb. I just popped an LED in and bent it 90 degrees forward, and added a few drops of solder.

Moderator
Joined: Feb 2009
Posts: 11,732
Likes: 5
From: Leesville, Louisiana
Vehicle: 2001 Hyundai Tiburon
the newer switch style has 3 diodes labeled D1, D2 and D3. I had the modification performed at the dealership under warranty as per the TSB on slightly flickering lights at full brightness.
Moderator
Joined: Feb 2009
Posts: 11,732
Likes: 5
From: Leesville, Louisiana
Vehicle: 2001 Hyundai Tiburon
This is the TSB replacement part board for the "lights flicker when on full brightness". The picture shows how to hook up the LEDs on the newest style board.