Front Marker Light Mod

Thread Starter
Senior Member

Joined: Mar 2008
Posts: 709
Likes: 0
From: Pennsylvania
Vehicle: 2000 Hyundai Tiburon
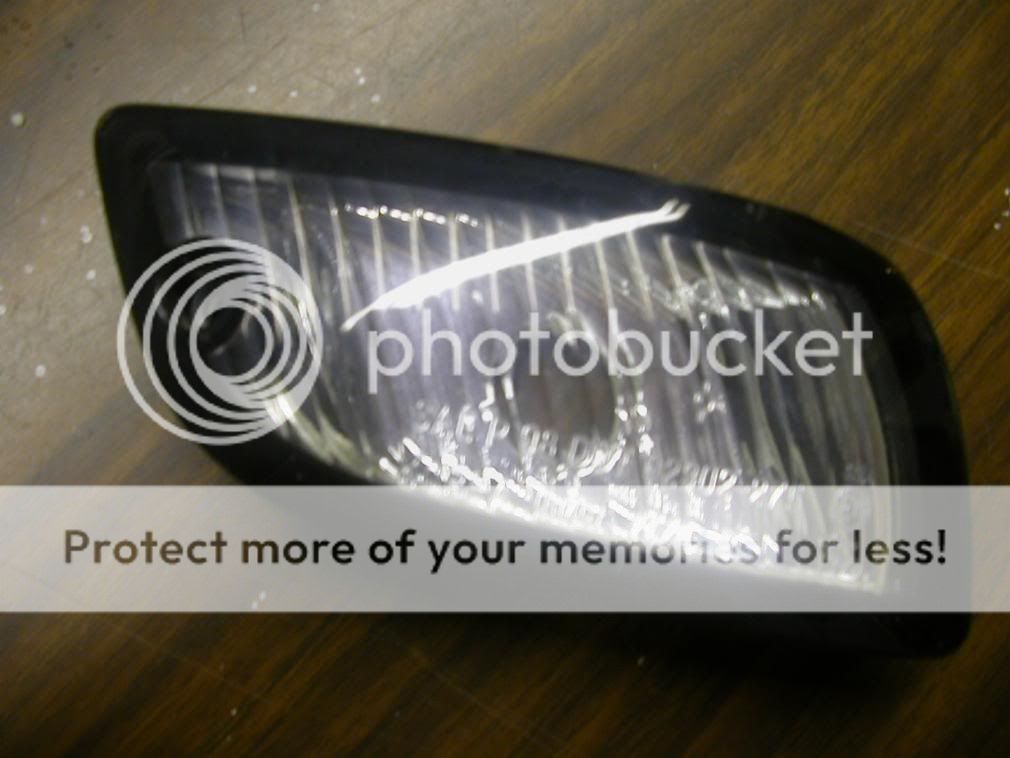
Ok so as I was cleaning the parts to put back on the tib I saw these were looking pretty crappy.
The bulb part was sealed fine but I guess water gets in around the edges and makes it look bad there was even some algae (green junk) in there as well.
So I decided to do this mod to help keep them looking good and add a little something.
The only things I used were a heat gun, flat screwdriver, file, sandpaper, paintbrush, and Rustoleum outdoor black paint.
Everyone knows what they look like before so I don't have a pic of it and I got half way through before I decided to take pics anyway.
First I used a small screwdriver to pry it apart with a little heat from my heat gun on low setting. Use it as little as possible because I curled up the one corner on the lens slightly cause it got too hot, but it isn't noticeable.
I was really nervous about prying these apart it makes cracking sounds and the whole time I was just waiting for them to fall apart. One part cracked a little on the inside and made a small white spot in the plastic but won't be noticeable on the car.
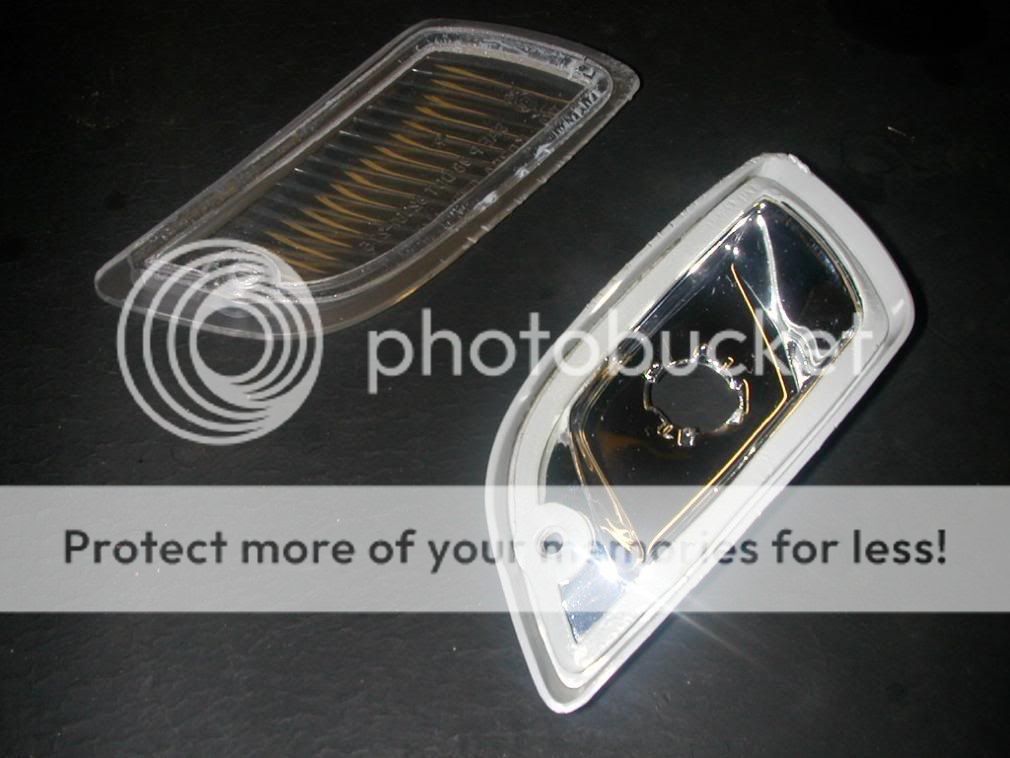
Ok so pry them apart and clean everything well. You want all of the factory sealant off of the clear plastic. If you don't get it all off you will see it through the front when you paint it. I had to sand and file it off until I couldn't see anymore once you paint it you will know if you missed any cause it will look like white spots from the front. I would recommend putting something in there to protect the inside of the lens while you sand/ clean it off.

Paint the edges all the way around. I didn't mask anything because I was using a brush. I painted where the sealant was, and all around the outside edges.
Using a brush I needed 2 coats and it is a little time consuming but its too cold to spray outside and there is no paint spraying in the house lol. Then I painted the grey edges of the housing but you probably won't need to because you won't see it when its installed.

I didn't put mine back together yet because i'm debating putting an led in each one to use like a flashing alarm light when I put the alarm in. I plan on using black silicone to seal it back up when I am done but clear will work fine too. The the last thing is to get some plastic polish/ scratch remover and clean them up even better.
1st coat of paint:

I plan on doing the same thing to my clear corners and altezz tail lights when I take them apart to paint the inside I think it will look good. The only thing I would change is the color if I had my paint for my car picked out I would have done it the same color as the body.
My impression:
This isn't something everyone will notice and it is not that big of an impact but it is a nice detail and I will know its done and I like little details like that and I think it looks good.
This may not be worth it to people that don't want to possibly sacrafice thier marker lights if they break while seperating them or don't have the time to do it.
I have all the time at night to do these kind of things and can have stuff off of the car because its ripped apart anyway so it was kinda fun and easy for me to do.
The bulb part was sealed fine but I guess water gets in around the edges and makes it look bad there was even some algae (green junk) in there as well.
So I decided to do this mod to help keep them looking good and add a little something.
The only things I used were a heat gun, flat screwdriver, file, sandpaper, paintbrush, and Rustoleum outdoor black paint.
Everyone knows what they look like before so I don't have a pic of it and I got half way through before I decided to take pics anyway.
First I used a small screwdriver to pry it apart with a little heat from my heat gun on low setting. Use it as little as possible because I curled up the one corner on the lens slightly cause it got too hot, but it isn't noticeable.
I was really nervous about prying these apart it makes cracking sounds and the whole time I was just waiting for them to fall apart. One part cracked a little on the inside and made a small white spot in the plastic but won't be noticeable on the car.
Ok so pry them apart and clean everything well. You want all of the factory sealant off of the clear plastic. If you don't get it all off you will see it through the front when you paint it. I had to sand and file it off until I couldn't see anymore once you paint it you will know if you missed any cause it will look like white spots from the front. I would recommend putting something in there to protect the inside of the lens while you sand/ clean it off.
Paint the edges all the way around. I didn't mask anything because I was using a brush. I painted where the sealant was, and all around the outside edges.
Using a brush I needed 2 coats and it is a little time consuming but its too cold to spray outside and there is no paint spraying in the house lol. Then I painted the grey edges of the housing but you probably won't need to because you won't see it when its installed.
I didn't put mine back together yet because i'm debating putting an led in each one to use like a flashing alarm light when I put the alarm in. I plan on using black silicone to seal it back up when I am done but clear will work fine too. The the last thing is to get some plastic polish/ scratch remover and clean them up even better.
1st coat of paint:
I plan on doing the same thing to my clear corners and altezz tail lights when I take them apart to paint the inside I think it will look good. The only thing I would change is the color if I had my paint for my car picked out I would have done it the same color as the body.
My impression:
This isn't something everyone will notice and it is not that big of an impact but it is a nice detail and I will know its done and I like little details like that and I think it looks good.
This may not be worth it to people that don't want to possibly sacrafice thier marker lights if they break while seperating them or don't have the time to do it.
I have all the time at night to do these kind of things and can have stuff off of the car because its ripped apart anyway so it was kinda fun and easy for me to do.


 </div>
Thread Starter
Senior Member
Joined: Mar 2008
Posts: 709
Likes: 0
From: Pennsylvania
Vehicle: 2000 Hyundai Tiburon
Thanks! I think they turned out pretty good.
LOL They won't be on the car for about 2 more months the way its going.
I might see how they look on the bumper sitting in the back yard fing02.gif
I could only hope the rest of the stuff goes as easy and simple as these did.
LOL They won't be on the car for about 2 more months the way its going.
I might see how they look on the bumper sitting in the back yard fing02.gif
I could only hope the rest of the stuff goes as easy and simple as these did.

Moderator

Joined: Feb 2009
Posts: 11,732
Likes: 5
From: Leesville, Louisiana
Vehicle: 2001 Hyundai Tiburon
It's worth mentioning that I completely destroyed both of the markers in a set trying to open them with a heat gun. They melt that plastic together rather then gluing it.
Thread Starter
Senior Member
Joined: Mar 2008
Posts: 709
Likes: 0
From: Pennsylvania
Vehicle: 2000 Hyundai Tiburon
bigeyes.gif How much did you heat them?
Were you trying to do this mod or was that for something else?
I didn't use very much heat I was actually holding them in my hands while I was heating them so it never got that hot.
(I don't recommend holding things while using the heat gun to heat them but thats how I did it.)
Theres no way they got close to being as hot as if you were to put your lights in a 350 degree oven like the other light mods.
They came apart pretty easy for me I don't know what would have made yours melt.