
Modded The Sidemarker

Thread Starter
Senior Member

Joined: Sep 2008
Posts: 1,305
Likes: 0
From: Tampa,Fl
Vehicle: 2001 Hyundai Tiburon
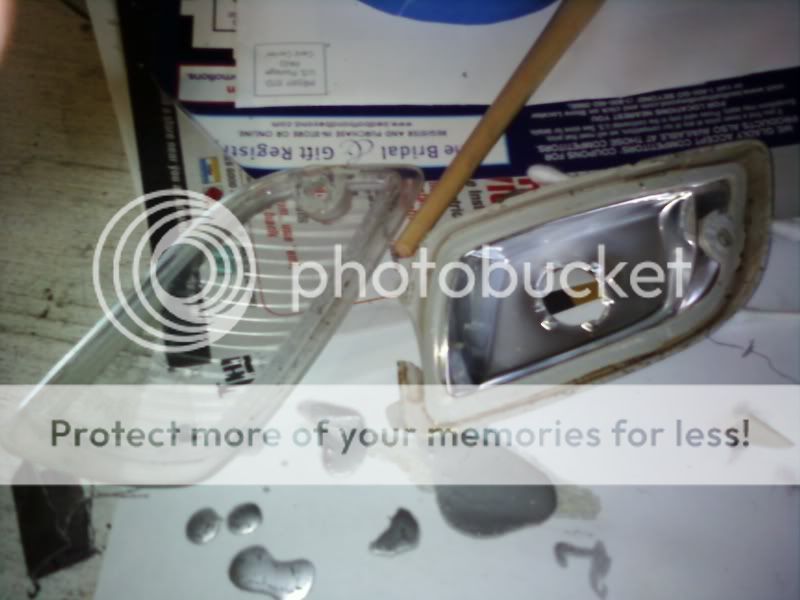
Well I've been home for spring break a couple days now and have been really bored so I decided to go ahead and mod something. I had noticed that the sealant on the sidemarkers were all cracked and moldy looking so I decided to reseal them.
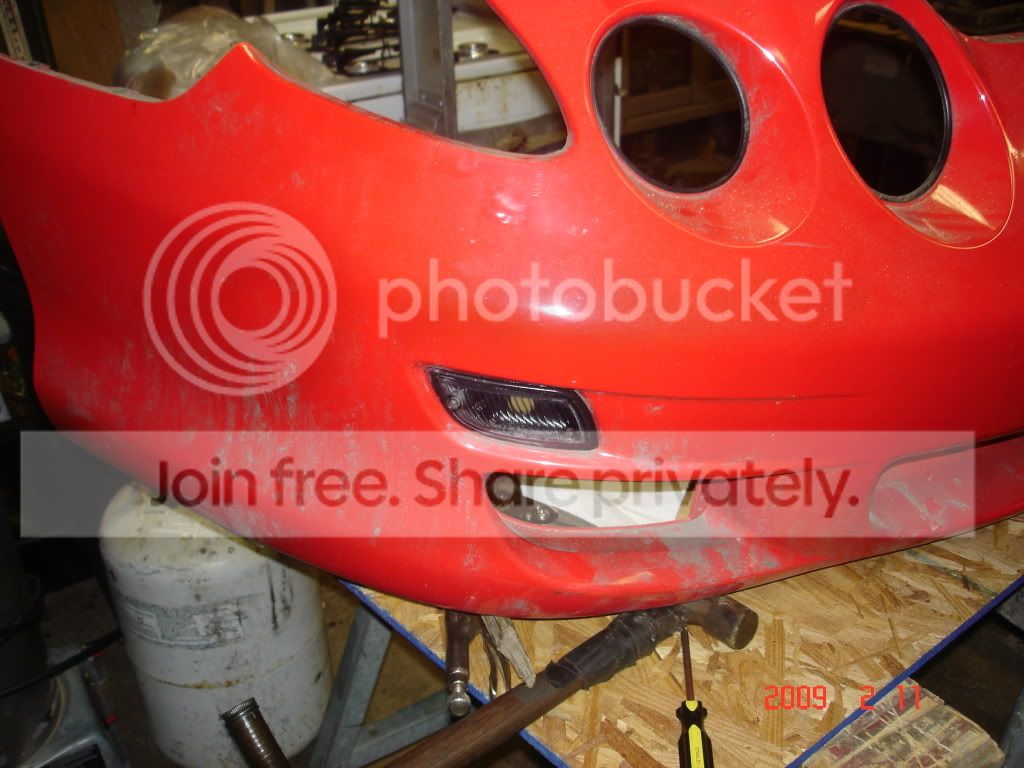
However, once I opened the passenger side one (which popped open with no problem after being in a non-preheated oven heating to 150 for less than 2 mins laugh2.gif ) I noticed that the silver finish had some blemishes, so I tried to repaint the silver with some silver paint I had laying around but I failed miserably. At this point I started to wonder how it would look if the silver would be black, so I decided to mock it up with some electrical tape and didn't look too bad, plus it went with my painted fog light inserts. Well I ended up painting the first one and put it on the car and ended up liking it. Here are some pics...
Opened up
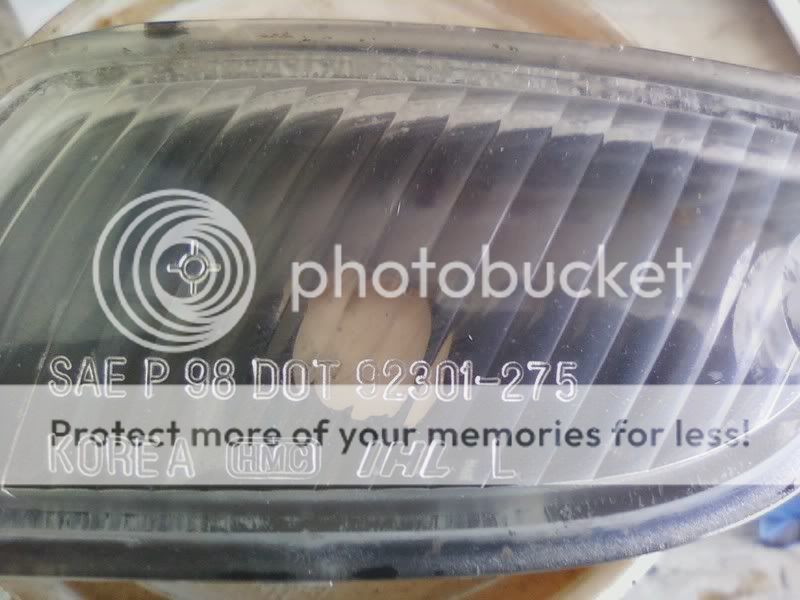
Closed up (Forgot to take a pic of them opened and painted doh.gif )
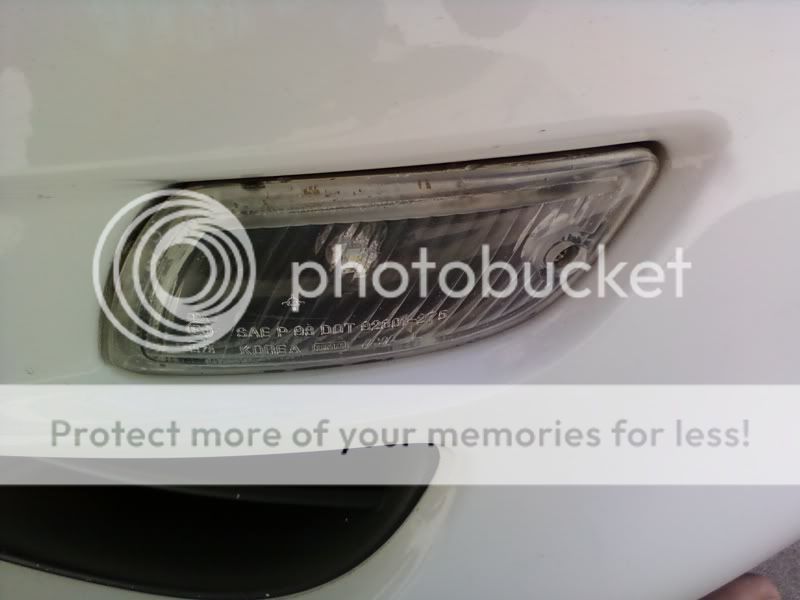
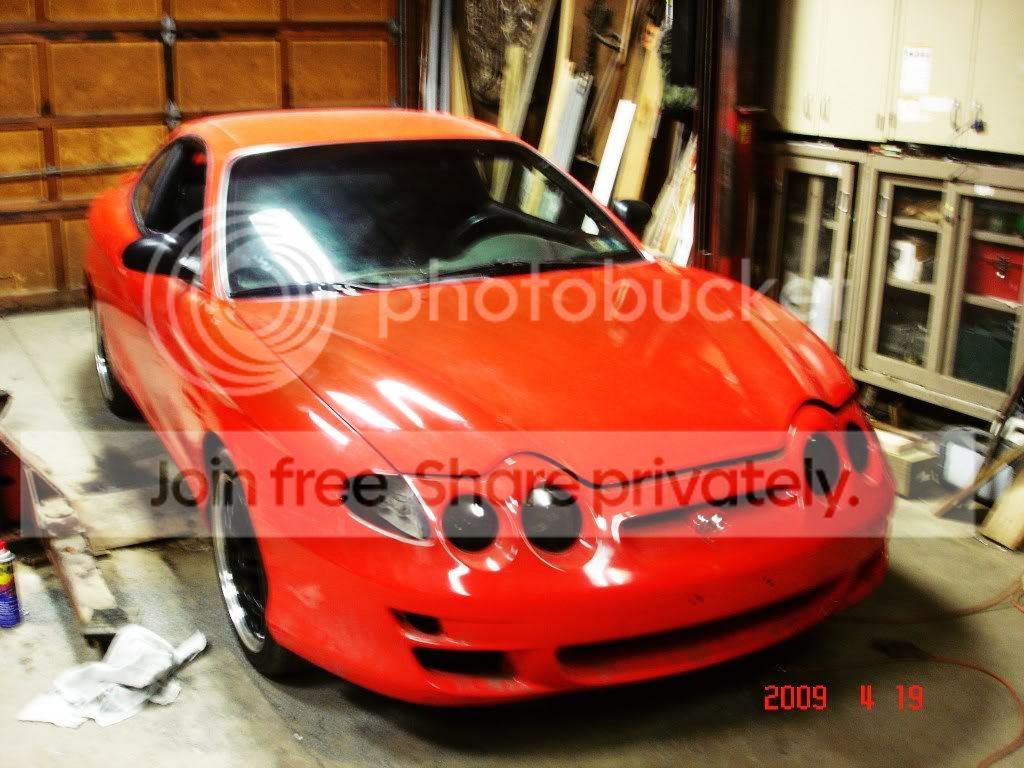
On the car
Also, when I went to open the second one I didn't leave it in the oven long enough so I ended up cracking the back piece in a couple spots..... Thank god for this stuff.
hail.gif
I have some bright LEDs in there and when I tried them on last night it was only slightly less bright. I'll get some night pics tonight. Also, I'm kinda pissed because even after I cleaned where the old sealant was several times, it still doesn't look clean.
However, once I opened the passenger side one (which popped open with no problem after being in a non-preheated oven heating to 150 for less than 2 mins laugh2.gif ) I noticed that the silver finish had some blemishes, so I tried to repaint the silver with some silver paint I had laying around but I failed miserably. At this point I started to wonder how it would look if the silver would be black, so I decided to mock it up with some electrical tape and didn't look too bad, plus it went with my painted fog light inserts. Well I ended up painting the first one and put it on the car and ended up liking it. Here are some pics...
Opened up
Closed up (Forgot to take a pic of them opened and painted doh.gif )
On the car
Also, when I went to open the second one I didn't leave it in the oven long enough so I ended up cracking the back piece in a couple spots..... Thank god for this stuff.
hail.gif
I have some bright LEDs in there and when I tried them on last night it was only slightly less bright. I'll get some night pics tonight. Also, I'm kinda pissed because even after I cleaned where the old sealant was several times, it still doesn't look clean.

Moderator

Joined: Feb 2009
Posts: 11,732
Likes: 5
From: Leesville, Louisiana
Vehicle: 2001 Hyundai Tiburon
I tried doing this about 9 months ago and my markers plastic housing melted before the glue. I ended up bending the entire housing. Word to the wise, be prepared to buy new ones if this does not work.

Moderator
Joined: Mar 2009
Posts: 5,280
Likes: 0
From: wamego, kansas
Vehicle: 2001 hyundai tiburon
I just gave up buying some or getting some off of here and cut the plastic around the hole to make it look like a air duct. formed wire mesh will cover the hole in the end.
blacked out headlights, fogs, etc. are the best damn thing next to sliced bread IMO. I never knew blacked out headlights would look so good on a red car until hyundshark did his. fing02.gif
blacked out headlights, fogs, etc. are the best damn thing next to sliced bread IMO. I never knew blacked out headlights would look so good on a red car until hyundshark did his. fing02.gif
Senior Member
Joined: Apr 2009
Posts: 748
Likes: 0
From: Newark Valley, NY
Vehicle: 2001 Hyundai Tiburon
yours look good, only suggestion would to use black silicone to seal them makes it look a lot nicer, but still yours turned out good. Mine also came apart fairly easy, baked them for the usual 3 min at 350 and pried them apart.
idk who hyundshark is, but mine didnt turn out to bad, i just need a spare set of corners so i can try that project again lol.
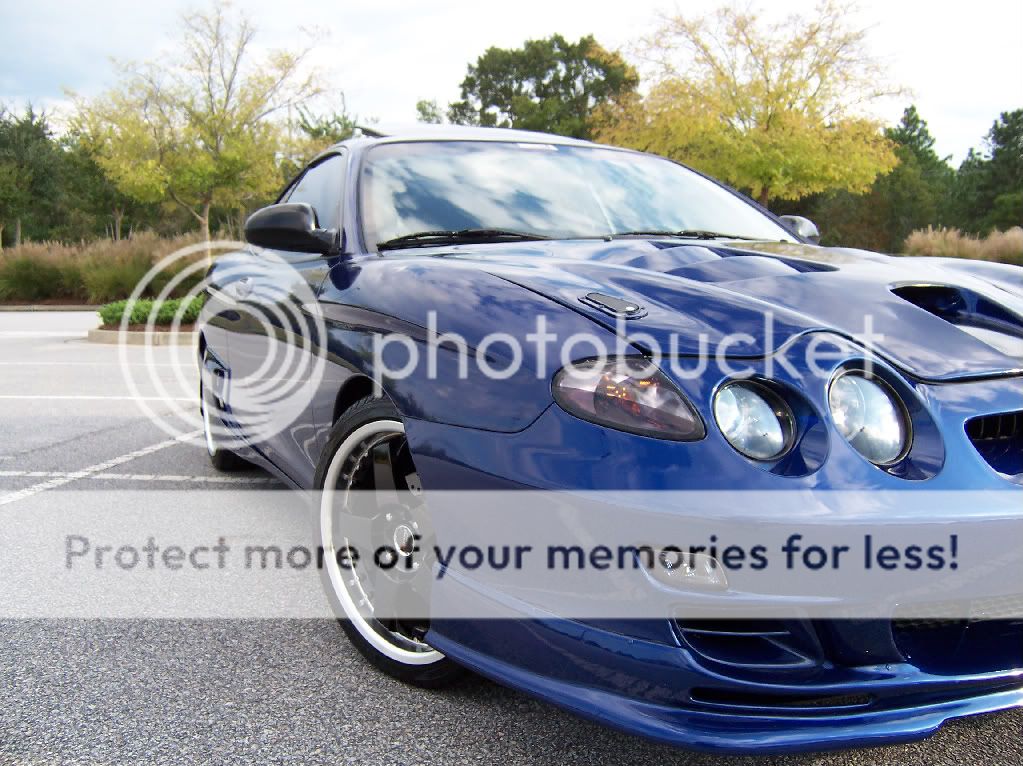
Heres how my side markers turned out
this just shows the headlights
i love the way mine turned out, will look good with black fog blanks like you did.
idk who hyundshark is, but mine didnt turn out to bad, i just need a spare set of corners so i can try that project again lol.
Heres how my side markers turned out
this just shows the headlights
i love the way mine turned out, will look good with black fog blanks like you did.

Senior Member
Joined: Oct 2008
Posts: 172
Likes: 0
From: Warren,OH,44483
Wow glad to hear that someone else melted the housing i did the clear corners DIY and the glue wouldnt melt and i finally ended up getting it apart and noticed the cover was defformed a little so i melted and reshaped it back as best as i could then sealed it and lightly tinted them. i need to get clear corners though i dont really like how they look on a silver tib.
Thread Starter
Senior Member
Joined: Sep 2008
Posts: 1,305
Likes: 0
From: Tampa,Fl
Vehicle: 2001 Hyundai Tiburon
QUOTE (hyunshark21 @ Apr 25 2009, 01:17 AM)
yours look good, only suggestion would to use black silicone to seal them makes it look a lot nicer, but still yours turned out good. Mine also came apart fairly easy, baked them for the usual 3 min at 350 and pried them apart.
Thanks.... sad thing is I did use black silicon to seal them back up but I guess I didn't do such a good job because you can't see it lol. Your markers look good, pretty much what I had in mind really, but I fear that might of have been too much black for my car, so in hindsight I'm glad I didn't put too much black silicon.
From the responses, it seems like I really did luck out and not melt the housings fing02.gif lol.
Moderator
Joined: Feb 2009
Posts: 11,732
Likes: 5
From: Leesville, Louisiana
Vehicle: 2001 Hyundai Tiburon
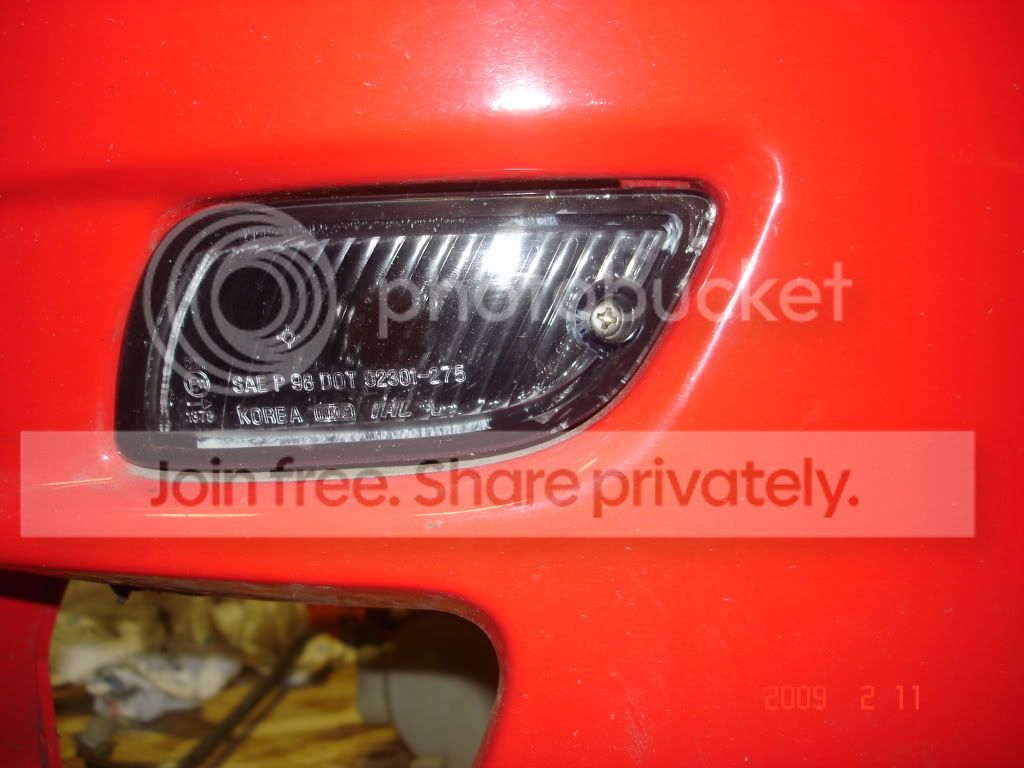
Oh, yeah, so I got a new set, I sanded the whole thing down 800 grit, 2,000 grit, VHT Nightshades, painted the edge black and clear-coated over the entire thing. It came out looking good.
I'm sure if I could have got it opened, it would look alot better painted inside. Here's a pic so that the 2 methods of darkening can be compared.
I'm sure if I could have got it opened, it would look alot better painted inside. Here's a pic so that the 2 methods of darkening can be compared.