DIY: Red Out Tail lights
 11-15-2009, 03:43 PM
#1
Junior Member

Thread Starter
Join Date: Nov 2009
Posts: 26
Likes: 0
Received 0 Likes
on
0 Posts
Vehicle: 2005/Hyundai/ Elantra XD
DIY Red Out Tail Lights
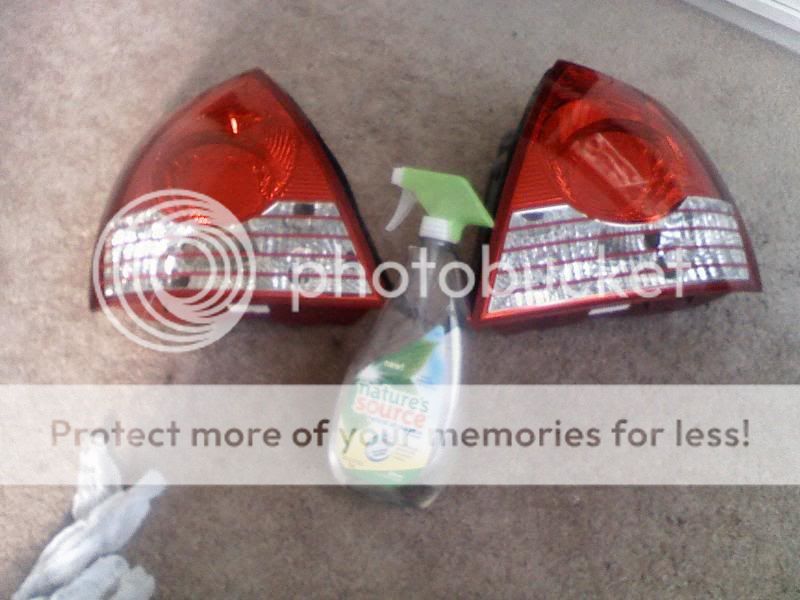
Tools Needed:
• Blade or X-acto blade
• Glass cleaner
• Squirt Bottle With warm Soapy Water in it, a small amount of mild hand soap will do
• Credit card(undamaged edges) or squeegee
• Blow dry or heat gun
• Scissors
• 12x12 red out vinyl
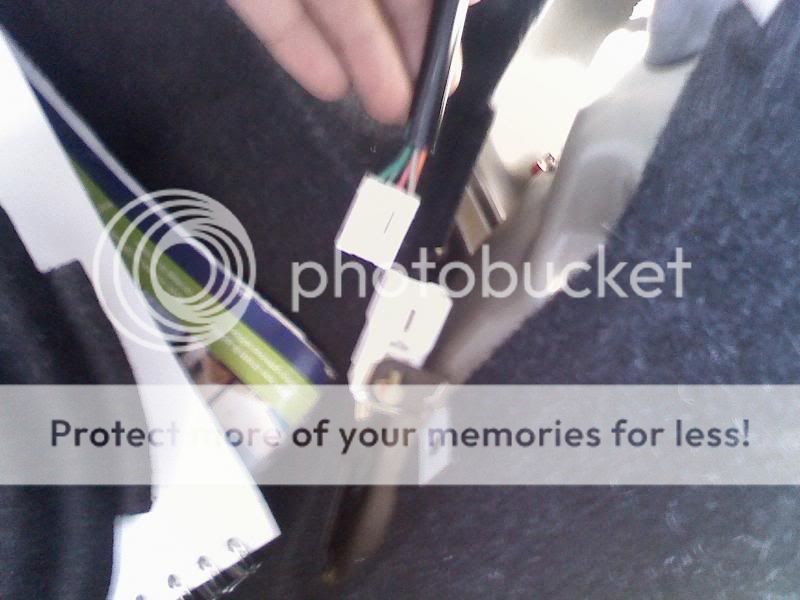
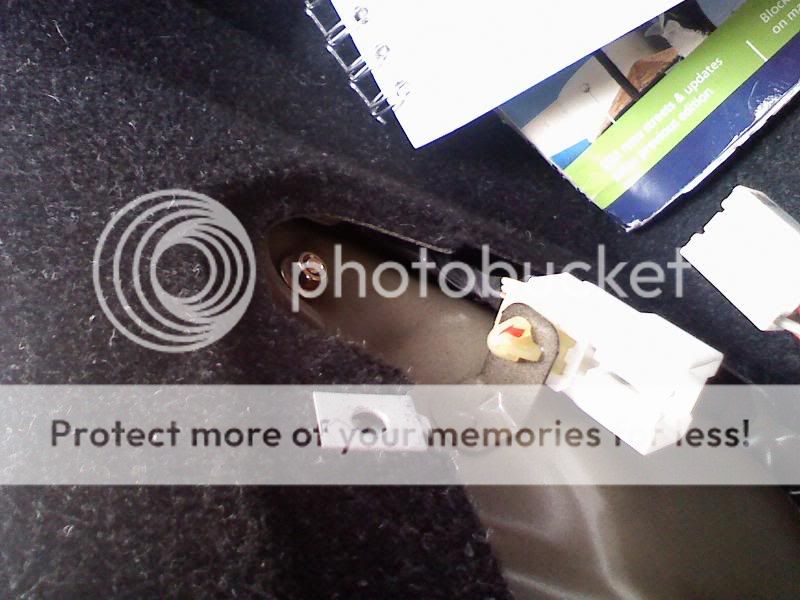
1. Start By removing the two rear tail lights by removing the cover on the inside of the trunk
2. make sure to disconnect the wires
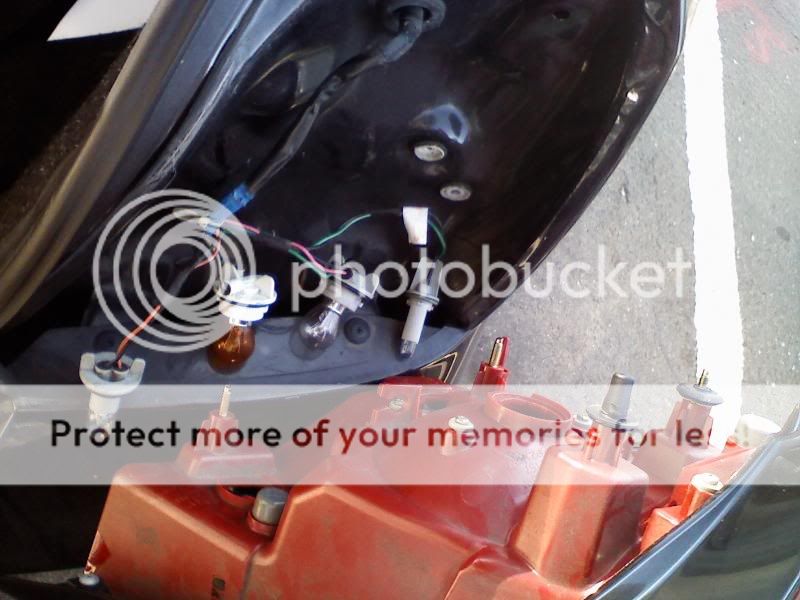
3. remove three nuts on each lens
4. slowly tap the lights out with a hammer
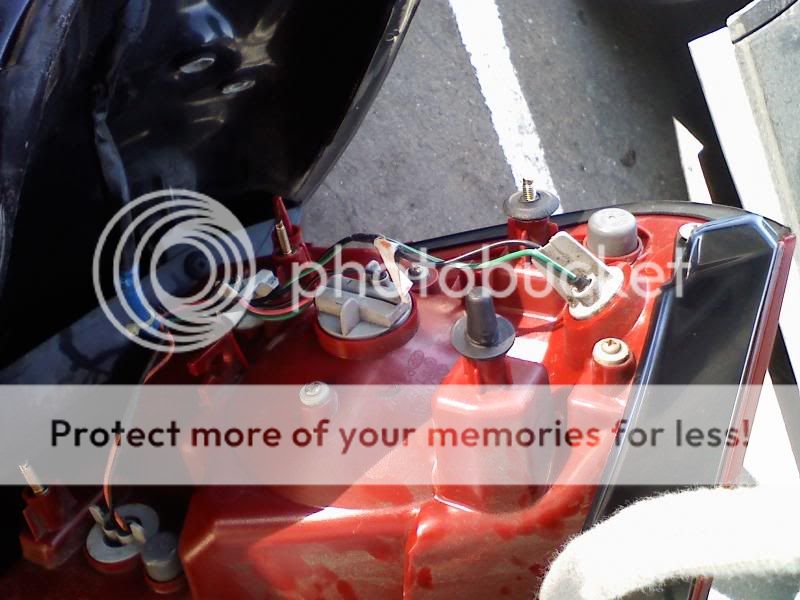
5. take light bulbs out so you can take the lenses out completely and work on it inside.
6. Clean light lens with glass cleaner ensuring to remove all debris and lint
7. Squirt soapy water solution on the entire light with even coverage. Then more the better
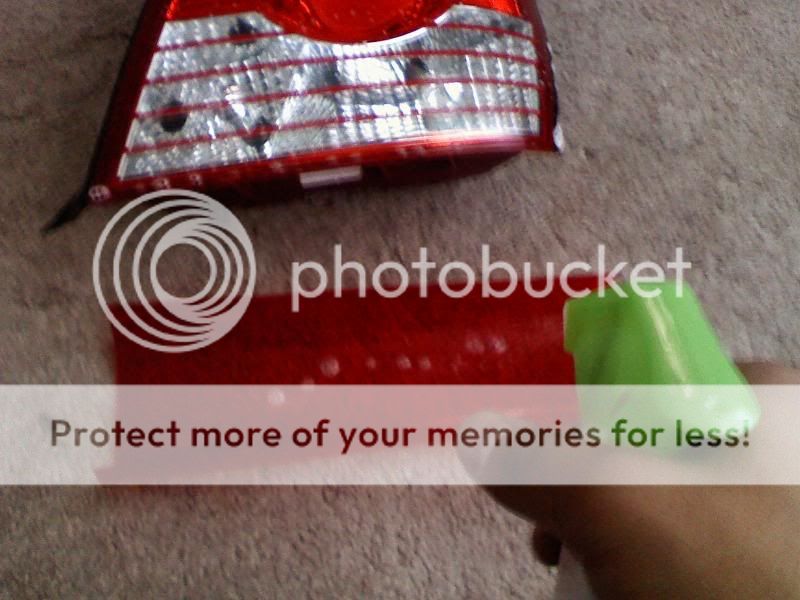
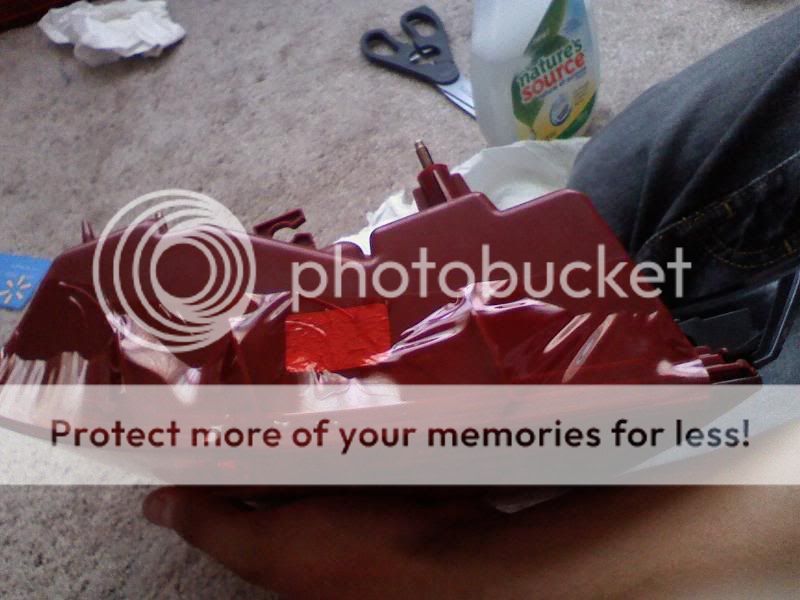
8. Slowly peel the vinyl off the wax paper and squirt soapy water on the adhesive side , the place vinyl over the light lens
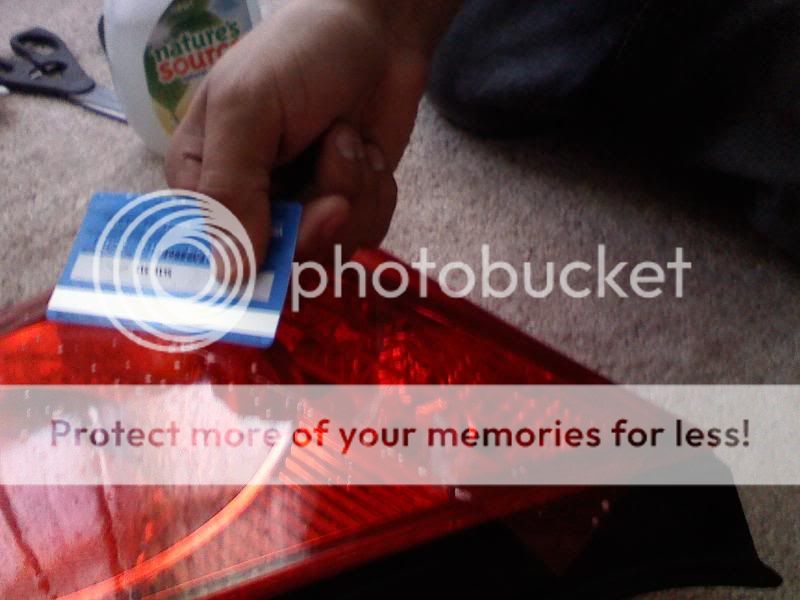
9. This is where your patience is needed, Taking your time during this step ensure a clean application. Start to remove excess water between the light lens and the vinyl from the center outwards using a squeegee or credit card and applying heat often. An assistant may come in handy since you need to use both hands to mold the vinyl. The more heat applied the more pliable the vinyl becomes. You can stretch and pull the vinyl to remove wrinkles and prevent vinyl from bunching up.
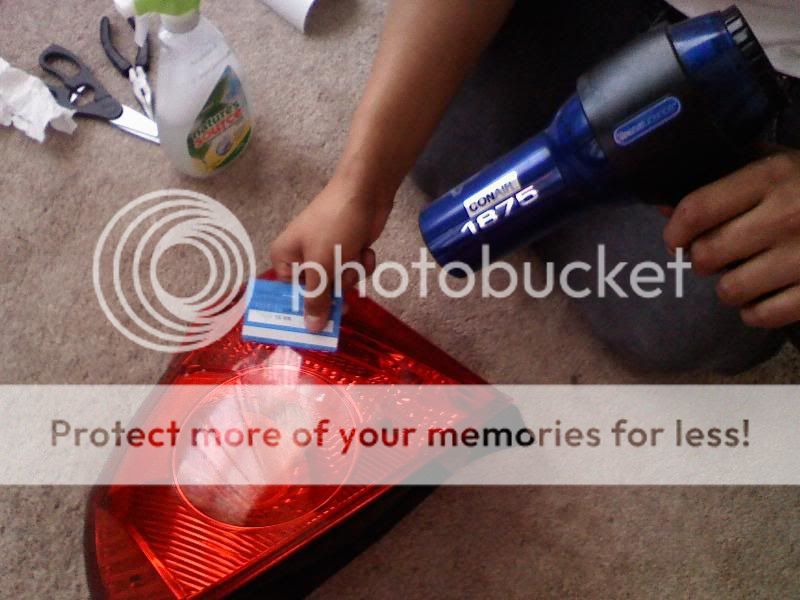
10. One you have wrapped the entire light, trim off excess or you can tuck it around the edges of the light to ensure a clean and secure installation.
11. Once the installation is complete, apply more heat to the overlay to ensure the soapy solution dries, you might have a few air bubbles appearing at this point, slowly push these out to the outer edge with your credit card/squeegee.
12. You may lightly clean the vinyl with glass cleaner right after installation. The vinyl becomes completely set after 3 days after installation, after that no special care is needs to be taken with the overlays.
*Recommendations: don’t wash car for at least 3 days,
to remove: use a heat gun and slowly peel off.
Once removed, cannot be reapplied.
If you cannot do it yourself, a window tinter can do it for a low price.
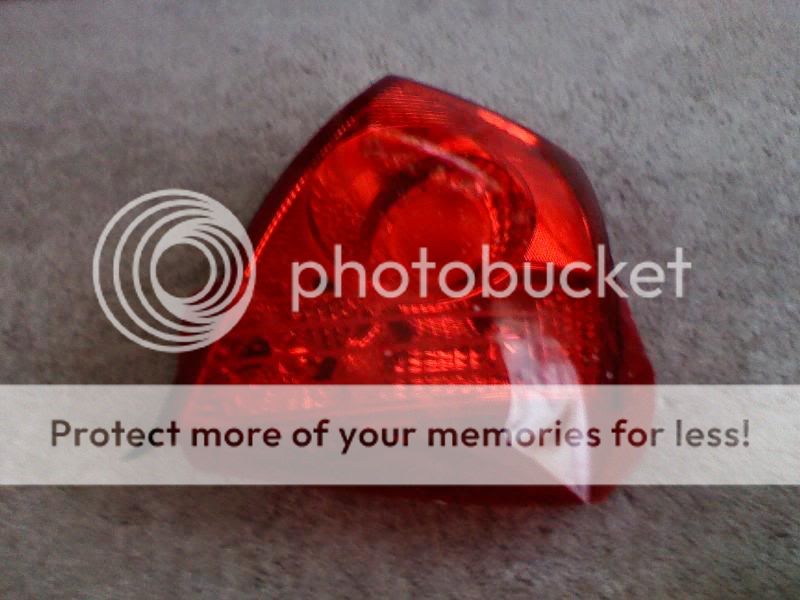
Before: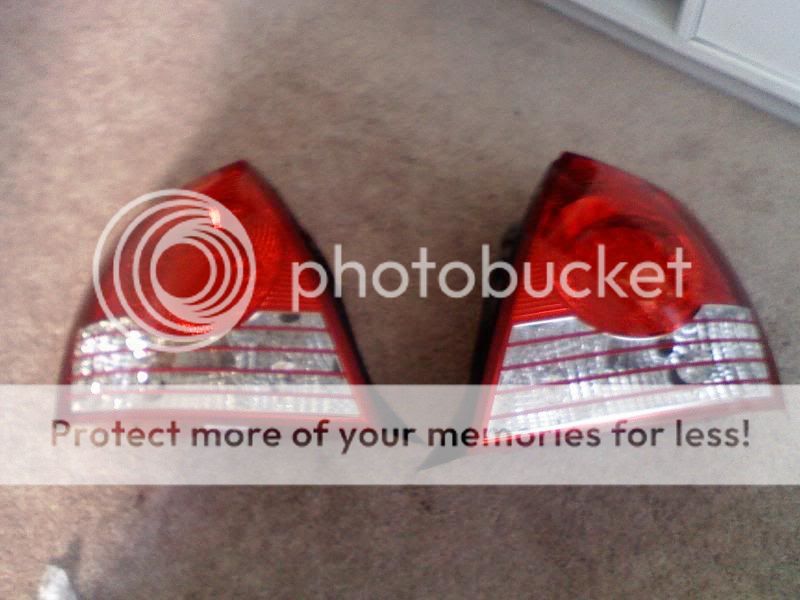
After: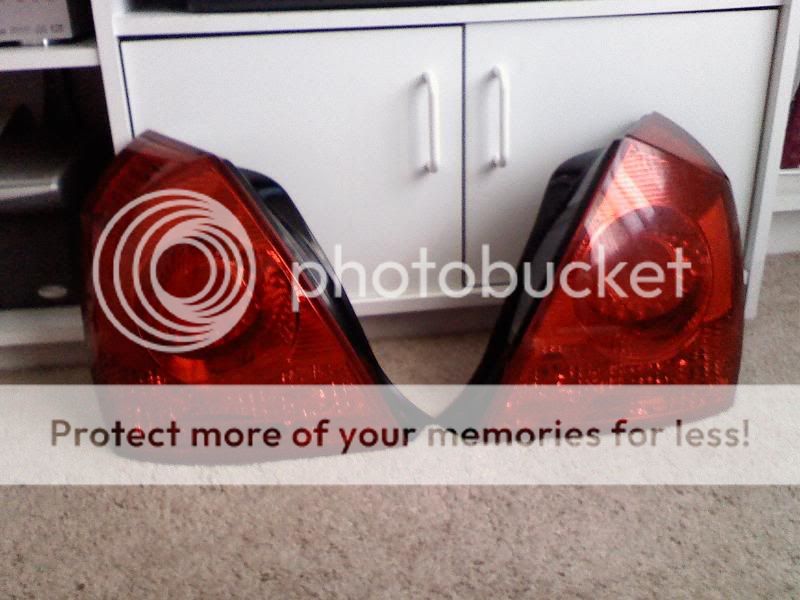
Tools Needed:
• Blade or X-acto blade
• Glass cleaner
• Squirt Bottle With warm Soapy Water in it, a small amount of mild hand soap will do
• Credit card(undamaged edges) or squeegee
• Blow dry or heat gun
• Scissors
• 12x12 red out vinyl
1. Start By removing the two rear tail lights by removing the cover on the inside of the trunk
2. make sure to disconnect the wires
3. remove three nuts on each lens
4. slowly tap the lights out with a hammer
5. take light bulbs out so you can take the lenses out completely and work on it inside.
6. Clean light lens with glass cleaner ensuring to remove all debris and lint
7. Squirt soapy water solution on the entire light with even coverage. Then more the better
8. Slowly peel the vinyl off the wax paper and squirt soapy water on the adhesive side , the place vinyl over the light lens
9. This is where your patience is needed, Taking your time during this step ensure a clean application. Start to remove excess water between the light lens and the vinyl from the center outwards using a squeegee or credit card and applying heat often. An assistant may come in handy since you need to use both hands to mold the vinyl. The more heat applied the more pliable the vinyl becomes. You can stretch and pull the vinyl to remove wrinkles and prevent vinyl from bunching up.
10. One you have wrapped the entire light, trim off excess or you can tuck it around the edges of the light to ensure a clean and secure installation.
11. Once the installation is complete, apply more heat to the overlay to ensure the soapy solution dries, you might have a few air bubbles appearing at this point, slowly push these out to the outer edge with your credit card/squeegee.
12. You may lightly clean the vinyl with glass cleaner right after installation. The vinyl becomes completely set after 3 days after installation, after that no special care is needs to be taken with the overlays.
*Recommendations: don’t wash car for at least 3 days,
to remove: use a heat gun and slowly peel off.
Once removed, cannot be reapplied.
If you cannot do it yourself, a window tinter can do it for a low price.
Before:
After:

