B&M shifter install guide for '97-'00 and some '01's.
 04-29-2009, 08:00 AM
#1
Administrator

Thread Starter
By i8acobra - Updated with pics hosted on HA's server
Installation Guide:
B&M Shifter
Please read the entire install guide before starting.
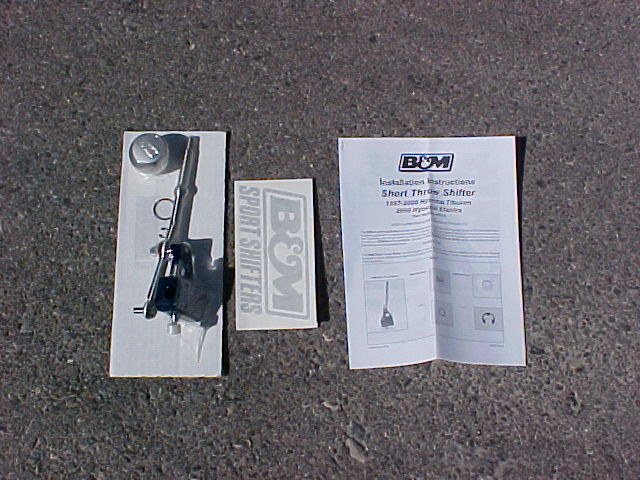
1) This is everything you should have received with your �97-�00 shifter.
(no picture)
2) Begin by making sure your parking brake is engaged. You�re going to be moving your shifter around, so you want to make sure your car isn�t going to roll if you accidentally put the tranny into neutral.
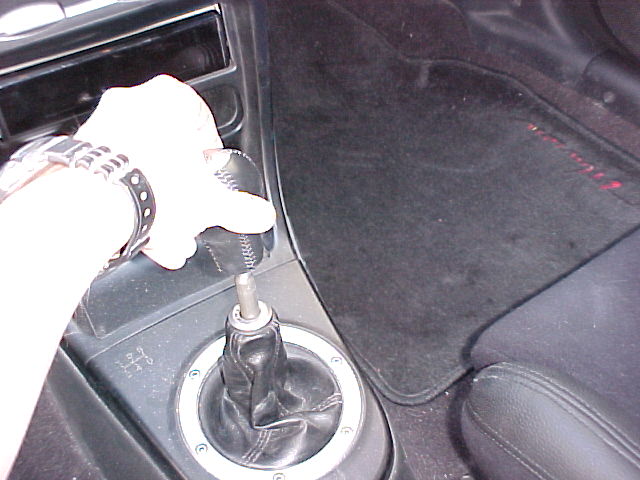
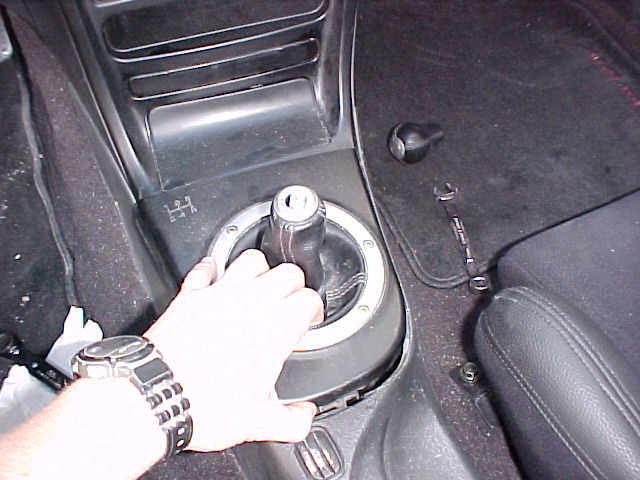
3) Remove your stock shift knob by unscrewing it.
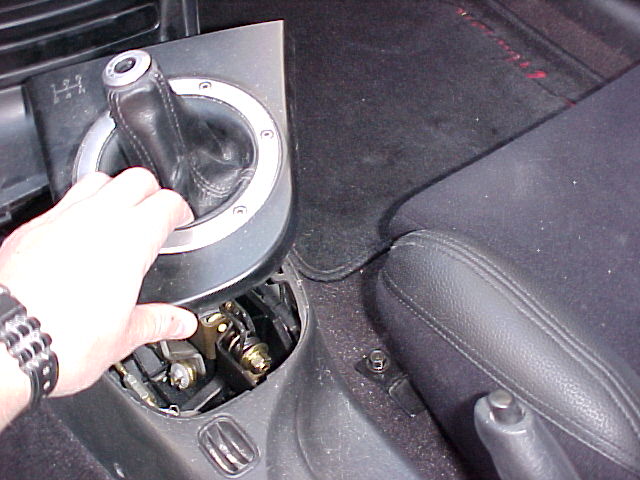
4) The surround is held on with pressure clips. Grasp it firmly and pull straight up. You have to give it a good tug, but it should come off without using any tools.
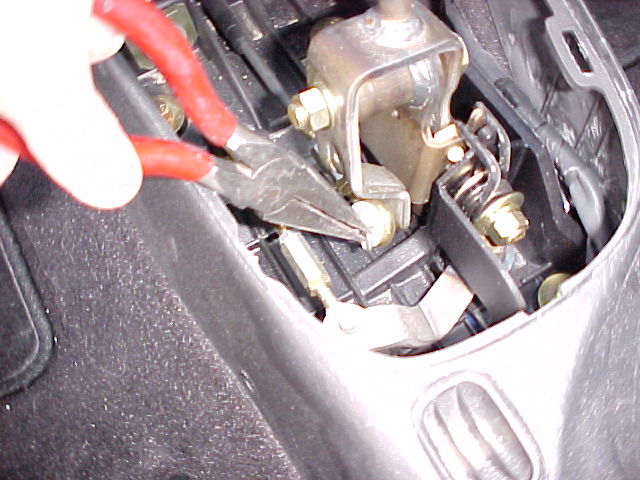
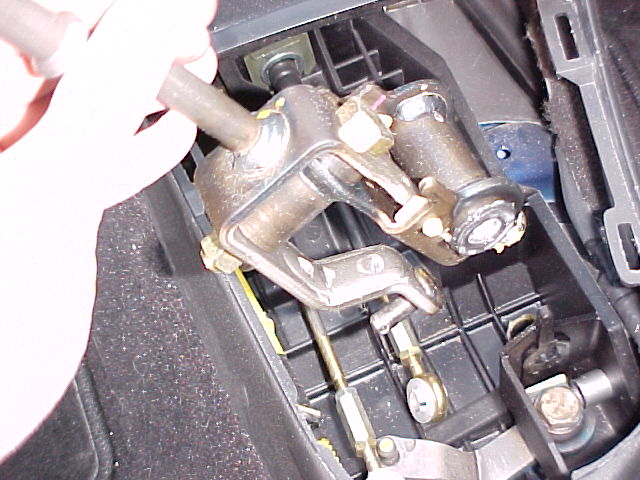
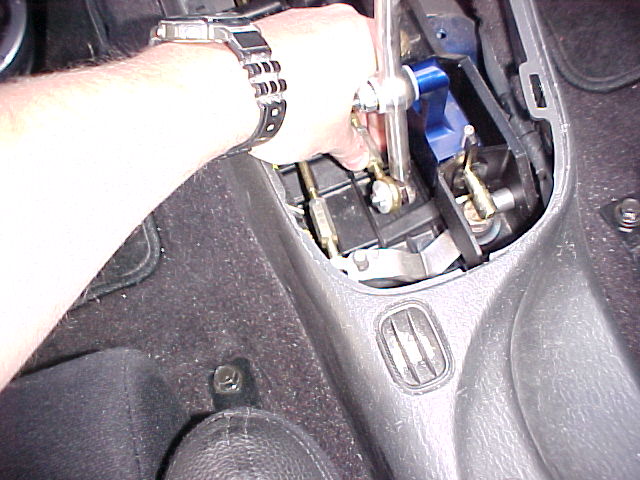
5) Remove the shift cable retaining clip. You do not need to remove the clips from both cables, only the one shown here.
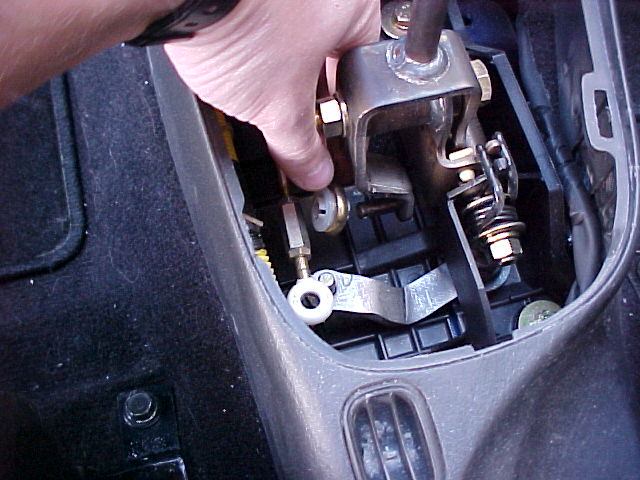
6) Remove the cable from the shifter assembly.
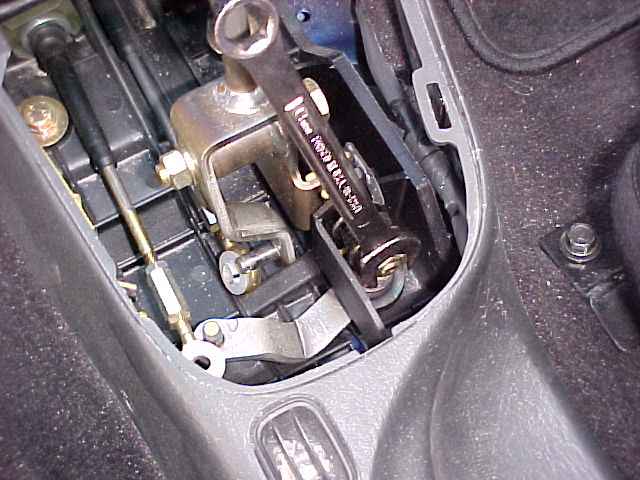
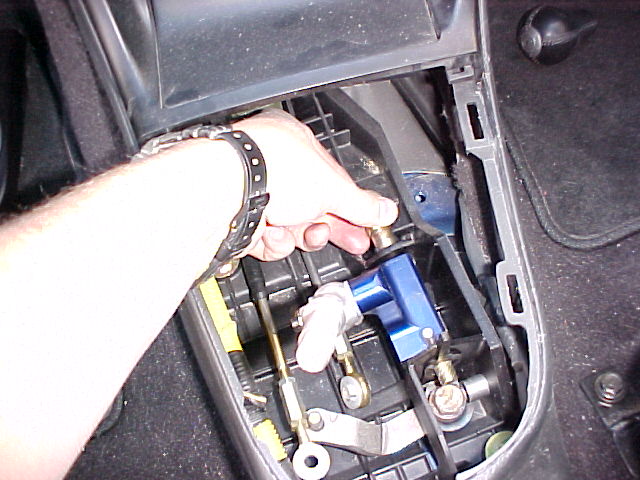
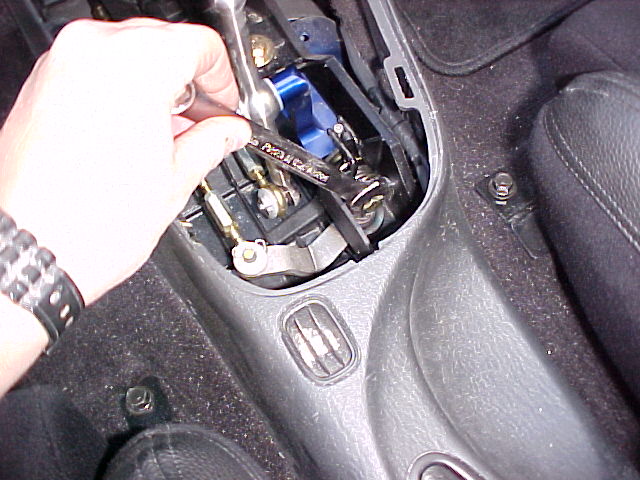
7) Remove the nut from the shift shaft with an open-ended wrench.
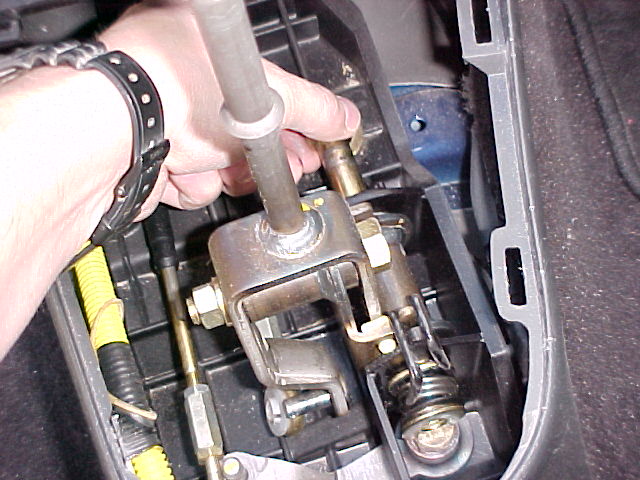
8) Pull the shift shaft out the front of the shifter assembly.
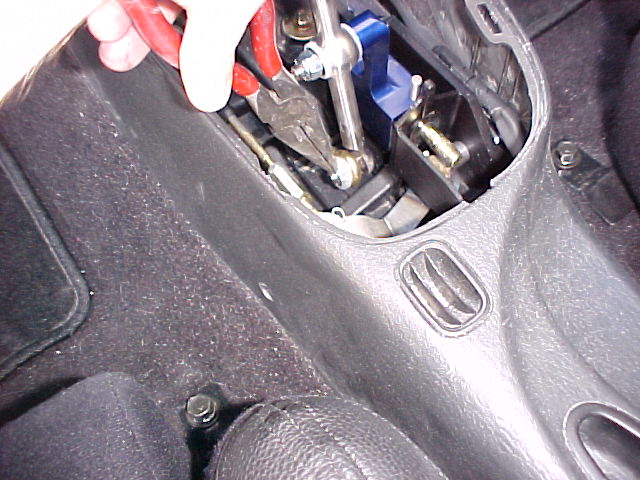
9) Remove the shifter return spring and bushings.
10) The shifter assembly can now be removed from the vehicle.
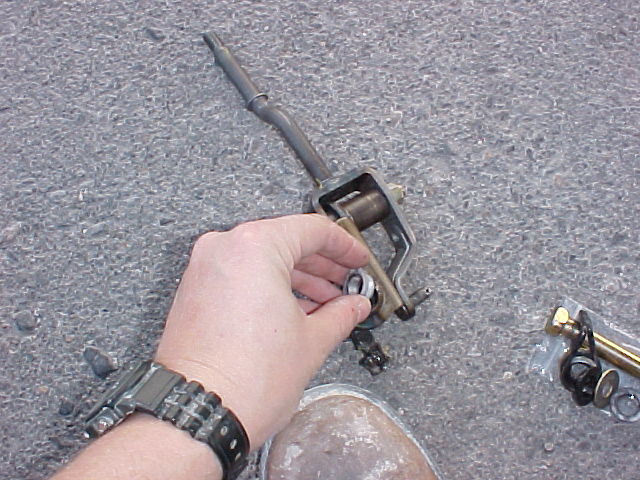
11) Remove the white bushings from your stock shifter. If they�re worn, you�ll need to get new ones from your local Hyundai dealer.
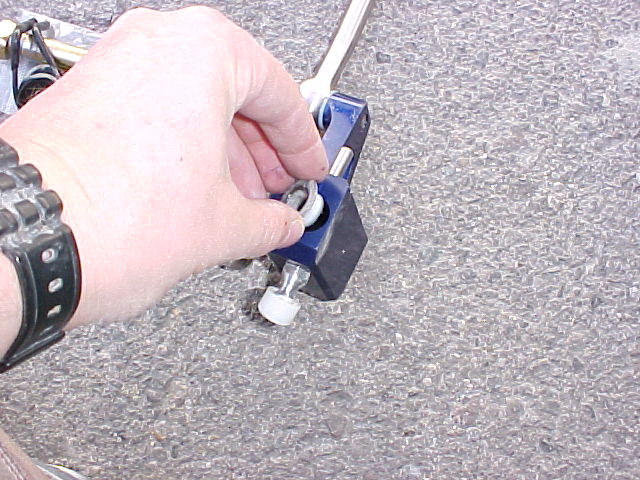
12) Install the white bushings from your stock shifter into the B&M shifter.
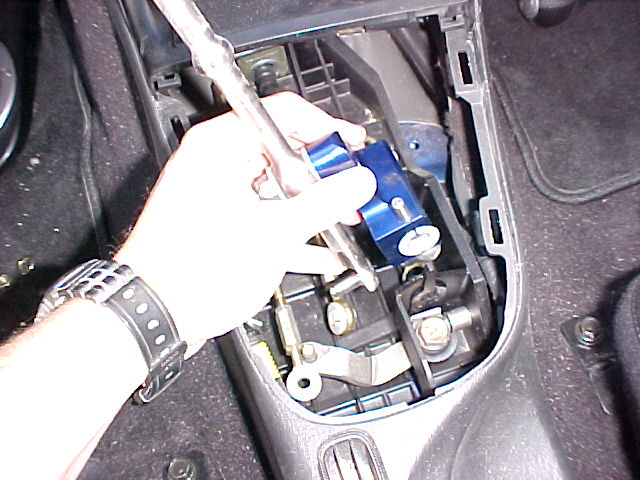
13) It�s now time to install the new shifter into your car. You need to make sure you line up the shaft sticking out of the bottom of the shifter with the hole in the shift linkage. If it doesn�t slide in easily, you may need to use a very small amount of grease in the hole.
14) Re-insert the shift shaft from the front of the shifter assembly.
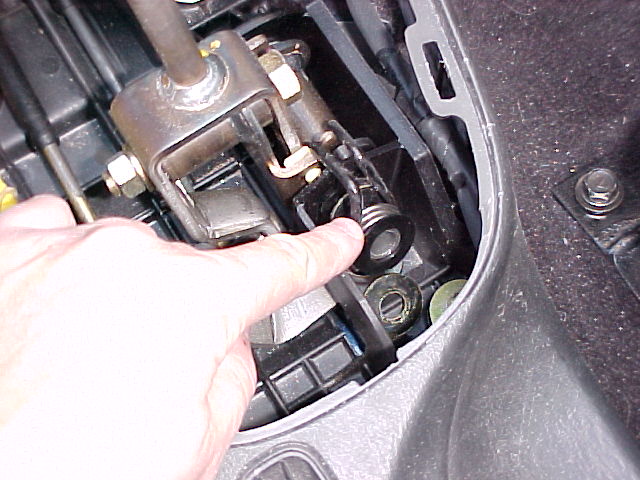
15) Install the shift cable onto the pin at the bottom of the shift lever.
16) Install the E-clip that came with your new shifter onto the end of the pin.

17) Re-install the return spring onto the shaft. The correct order is: washer, bushing, spring, bushing, washer. If the bushings are worn, you�ll need to get new ones from your local Hyundai dealer. Be sure the �arms� of the spring are around both pins, as shown above.
18) Re-install the shaft retaining nut.
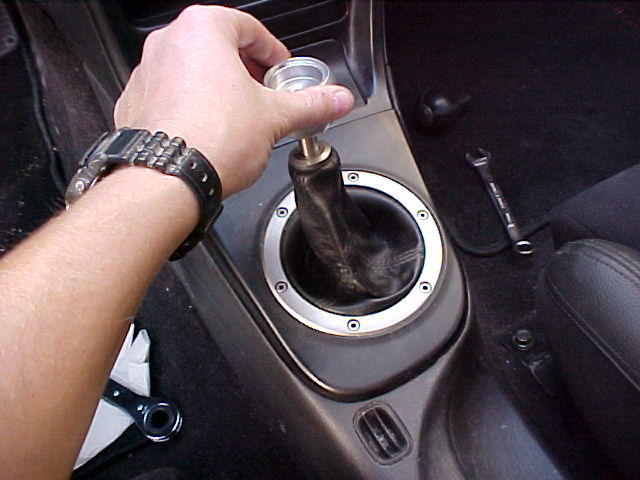
19) Re-install the surround. The surround must be placed over the shifter, then pressed down evenly onto the console.
(no picture)
20) Now is the time to decide if you want to reuse your stock knob or use the B&M shifter ball. If you want to use the stock knob, simply screw it on to the shaft and you�re done. If you want to use the B&M shift ball, proceed with the next three steps.
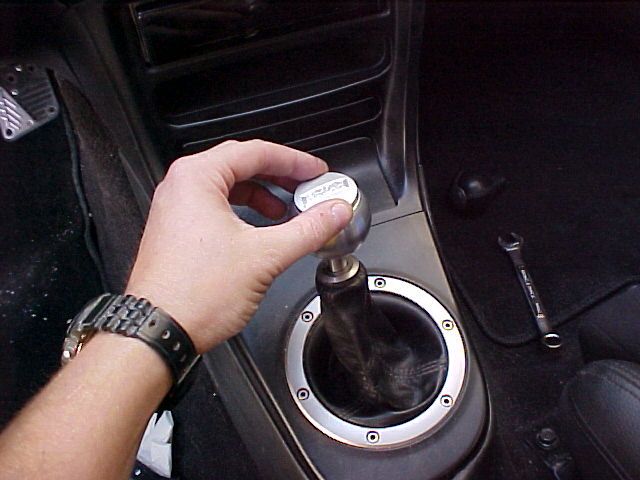
21) Screw the B&M shift ball onto the end of the shaft.
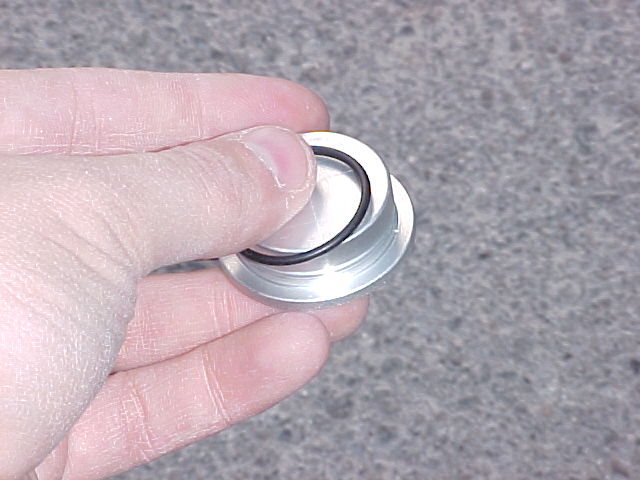
22) Slip the provided O-ring onto the underside of the B&M logo cap.
23) Press the logo cap into place on the top of the shift ball.
(no picture)
24) That�s it! You can now enjoy the improved shifting feel of you new B&M short-shifter.
Installation Guide:
B&M Shifter
Please read the entire install guide before starting.
1) This is everything you should have received with your �97-�00 shifter.
(no picture)
2) Begin by making sure your parking brake is engaged. You�re going to be moving your shifter around, so you want to make sure your car isn�t going to roll if you accidentally put the tranny into neutral.
3) Remove your stock shift knob by unscrewing it.
4) The surround is held on with pressure clips. Grasp it firmly and pull straight up. You have to give it a good tug, but it should come off without using any tools.
5) Remove the shift cable retaining clip. You do not need to remove the clips from both cables, only the one shown here.
6) Remove the cable from the shifter assembly.
7) Remove the nut from the shift shaft with an open-ended wrench.
8) Pull the shift shaft out the front of the shifter assembly.
9) Remove the shifter return spring and bushings.
10) The shifter assembly can now be removed from the vehicle.
11) Remove the white bushings from your stock shifter. If they�re worn, you�ll need to get new ones from your local Hyundai dealer.
12) Install the white bushings from your stock shifter into the B&M shifter.
13) It�s now time to install the new shifter into your car. You need to make sure you line up the shaft sticking out of the bottom of the shifter with the hole in the shift linkage. If it doesn�t slide in easily, you may need to use a very small amount of grease in the hole.
14) Re-insert the shift shaft from the front of the shifter assembly.
15) Install the shift cable onto the pin at the bottom of the shift lever.
16) Install the E-clip that came with your new shifter onto the end of the pin.
17) Re-install the return spring onto the shaft. The correct order is: washer, bushing, spring, bushing, washer. If the bushings are worn, you�ll need to get new ones from your local Hyundai dealer. Be sure the �arms� of the spring are around both pins, as shown above.
18) Re-install the shaft retaining nut.
19) Re-install the surround. The surround must be placed over the shifter, then pressed down evenly onto the console.
(no picture)
20) Now is the time to decide if you want to reuse your stock knob or use the B&M shifter ball. If you want to use the stock knob, simply screw it on to the shaft and you�re done. If you want to use the B&M shift ball, proceed with the next three steps.
21) Screw the B&M shift ball onto the end of the shaft.
22) Slip the provided O-ring onto the underside of the B&M logo cap.
23) Press the logo cap into place on the top of the shift ball.
(no picture)
24) That�s it! You can now enjoy the improved shifting feel of you new B&M short-shifter.
