My 2013 Sonata SE Modification Log (Since October 2013)
 02-28-2014, 12:31 AM
#1
Junior Member

Thread Starter
This thread will be dedicated to a log of the modifications I will be doing to my 2013 Sonata SE. I will basically post photos and details depicting the date and what was installed, removed or modified.
Whenever a new mod is added, it will be added to this thread; I will not make a new thread for it so please check this thread often.
I will post my mod list first and then post my future mods list as well as a "wish list" type mod list. I also have some videos that I took of the current mods, for that I will post a seperate thread.
Hope you all enjoy and feel free to ask me any questions about anything to do with my car!
Interior
20% Window Tint & 50% Windshield Tint
DIY Underdash/Underseats Blue LED Modules
DIY Blue LEDs Cupholder
DIY Custom Blue LED Hyundai Logo in Center Console
DIY Blue LEDs in Glovebox
All Interior Blue LEDs Controlled by a RF Wireless Multi Function Remotes
Front Doors Clear Reflectors with Blue LEDs
All Interior Bulbs replaced with Xenon White LED’s
In Car Electronics (I.C.E.)
Factory Aux/Ipod Control Relocated to Center Console Storage Pocket
Escort Passport 7500 Hardwired w/ Smartcord
DIY Added 12v Outlet in Center Console Under Armrest
Exterior
Plastidipped Black All Chrome Trim
Plastidipped Black Front Grill
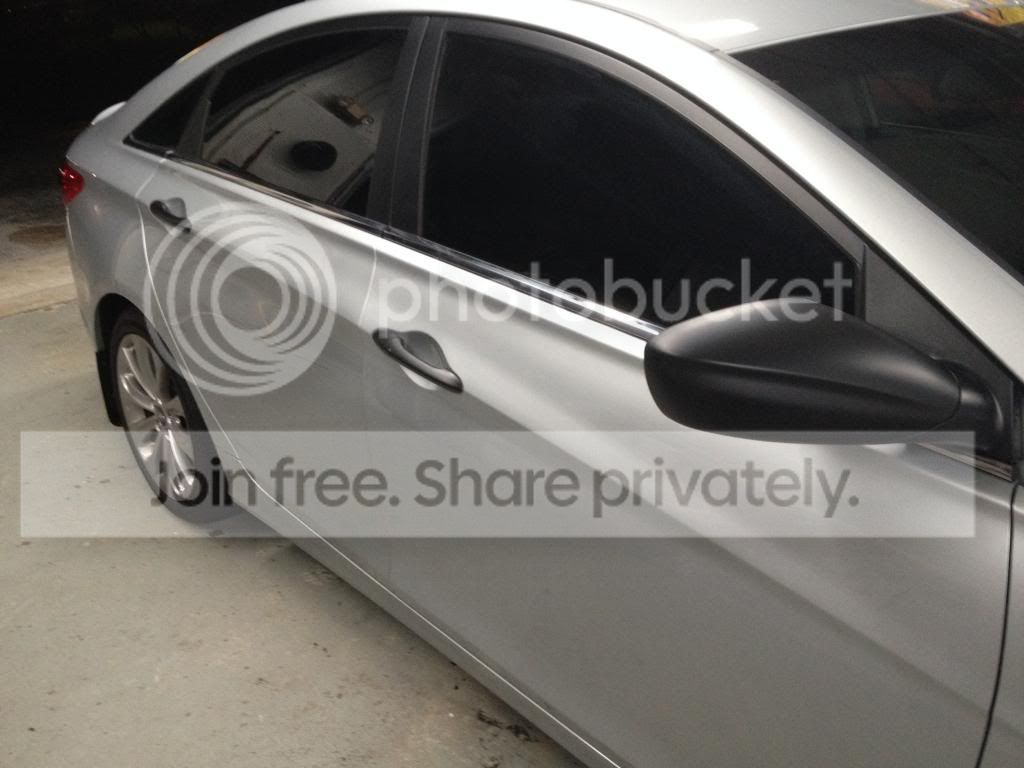
Plastidipped Black Sideview Mirrors
Plastidipped Lower Front Valance
Plastidipped Black Rear Hyundai Emblem
Plastidipped Black Rear Trunk Trim
Plastidipped Black License Plate Frame
Removed Sonata Emblem
DIY OEM Alarm Horn with (2) DEI Alarm Sirens
DIY Upgraded Fiamm Hi-Lo Horns + OEM Horn
DIY OEM Alarm with DEI Shock Sensor Integration
DIY DEI Mini Piezo Siren Mounted Inside Dashboard
DDM Tuning 6000k H7 HID Low Beam w/ Relay Harness
DDM Tuning 6000k H8 HID Foglight w/ Relay Harness
DIY Foglight Mod to Parking Lights w/ Toggle Switch w/ White LED Indicator
OEM Mudguards (Front & Rear)
DIY Exhaust Tips Painted High Temp Flat Black
6000k LED Daytime Running Light Foglight Strip w/ Turn Signals
6000k LED License Plate Lights
6000k LED “Cree” Daytime Running Lights
6000k 68-LED Switchback Parking Lights/Turn Signals w/ Hyper Blink Eliminated Resistors
Amber LED Rear Turn Signals w/ Hyper Blink Eliminated Resistors
Re-located Reverse Lights to Outer Taillights with Xenon White 5-LEDs
DIY Added Parking Lights Xenon White 4-LEDs to Inner Taillights
DIY 60w H11 Headlight Bulbs to Inner Reverse Light Housing Wired Toggle Switch
DIY Custom Tinted Taillights
DIY Custom Tinted LED Rear Bumper Reflectors
Future Mods
Blackhoused Headlights with LEDs
Smoked Taillights
LED Bumper Reflectors Smoked to Match Taillights
All weather floormats
All weather trunk liner (Weathertech)
Weathertech Window Visors (Front & Rear)
Weathertech Sunroof Visor
Plastidip Wheels Vintage Gold
Black Lug Nuts with Black Wheel Lock
OEM LED Sideview Mirrors Plastidipped Black
Blue LED Door Catch Plate (Behind Handles)
Blue LEDs Inside All Door Pockets
Rear Window Spoiler (with or without LED Brakelight)
Rear Bumper Diffuser
Bluelink Mirror with Homelink
Wishlist
Bodykit Lip Kit (Front, Rear & Sides)
Cold Air Intake, Headers & Exhaust
19” or 20” Wheels
Accuair/Airrex Airride Suspension
Full Custom Sound System
Custom Paint Job or Custom Wrap
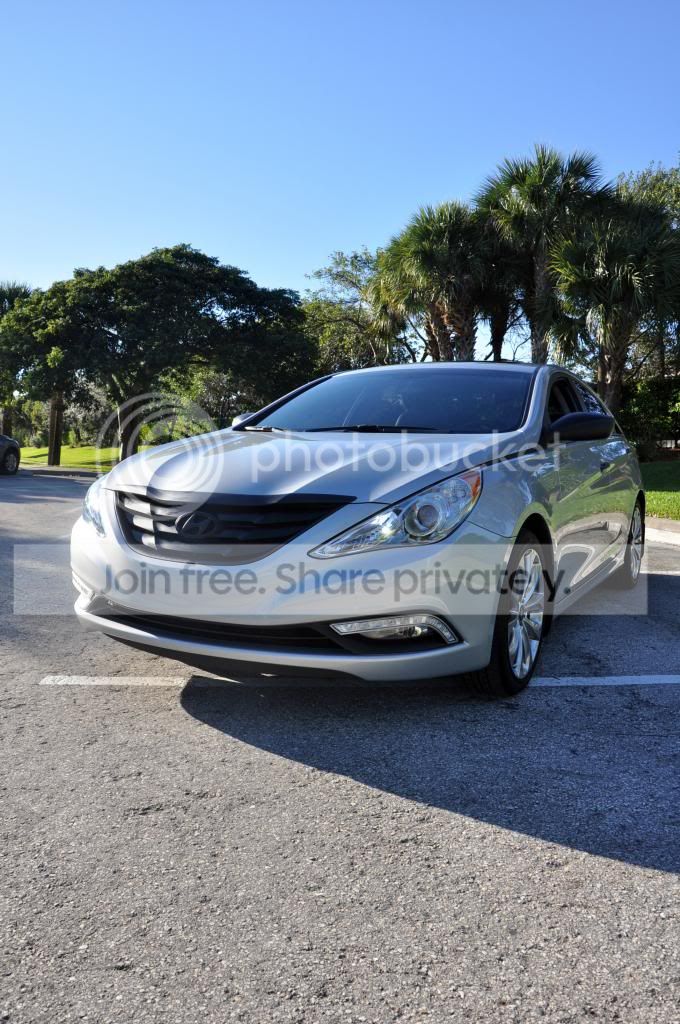
Photo from the dealer the day I picked it up


Outside of my (old) work the next day
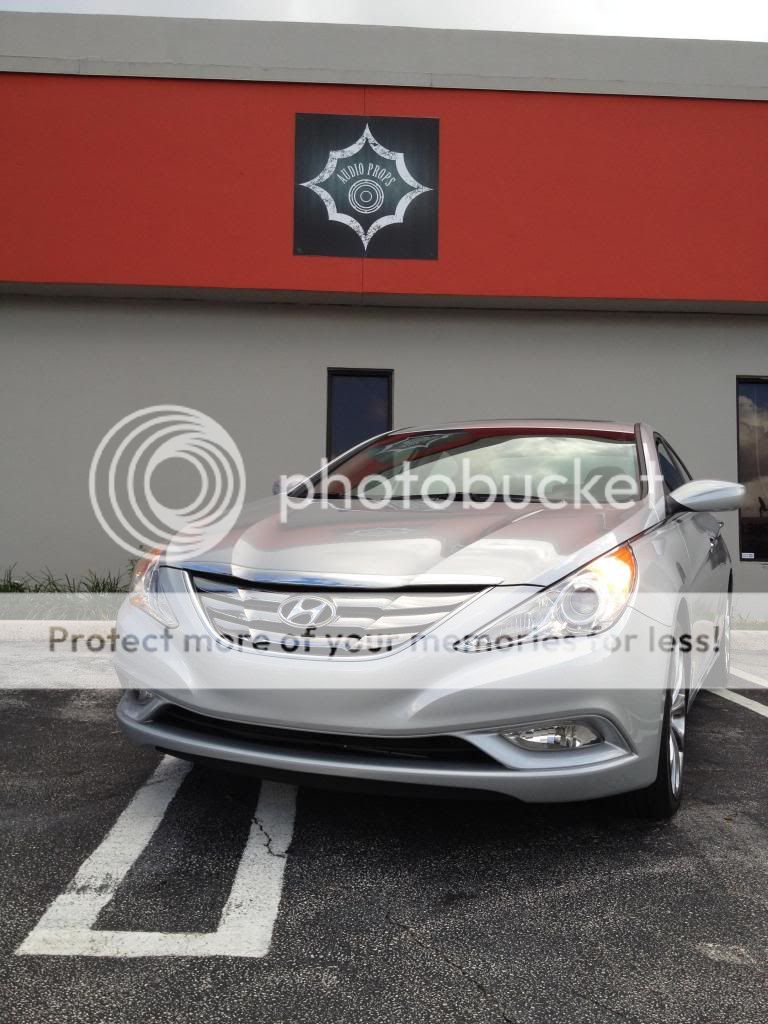
Part of the deal/negotiating on price since it was the dealership's Loaner vehicle, I talked them down pretty low and also said I wanted the OEM Spoiler installed, the doorguards removed and pinstripes removed.


One of the first mods I did was wire in some 50/50 Blue LED strips to come on in the trunk, in place of the regular small light bulb

I also painted the exhaust tips with HiTemp Flat Black Paint


Removed Rear Sonata Emblem

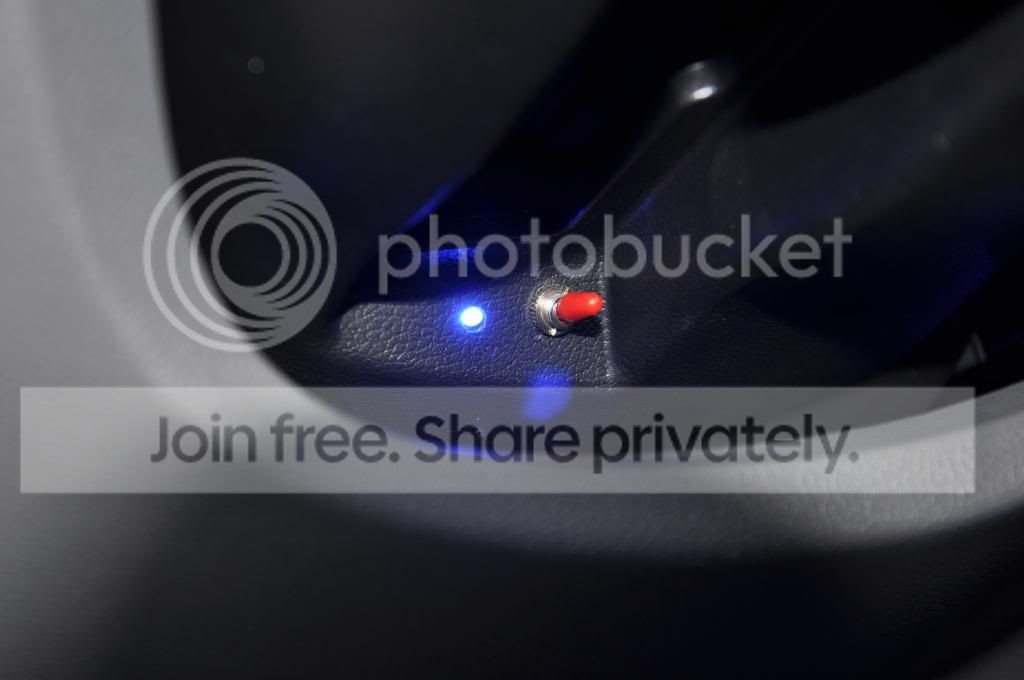
I hardwired my Escort Passport 7500 Radar/Laser Detector. The mute switch is installed on my center console with a simple small momentary push button. The radar is suctioned to the windshield just to the right of the dot matrix.

I did a DIY mod after seeing this on youtube. I didn't like the fact that the Elantra has the inner taillights lit up with parking lights on but the Sonata does not. So I went ahead and added some 194 bulbholders on the inner tails on the trunk and used a Xenon White 5-LED Bulb.


I also re-located the OEM reverse lights to the inner side of the same housing where the rear turn signals are and used a 921 5-LED bulb for lighting.
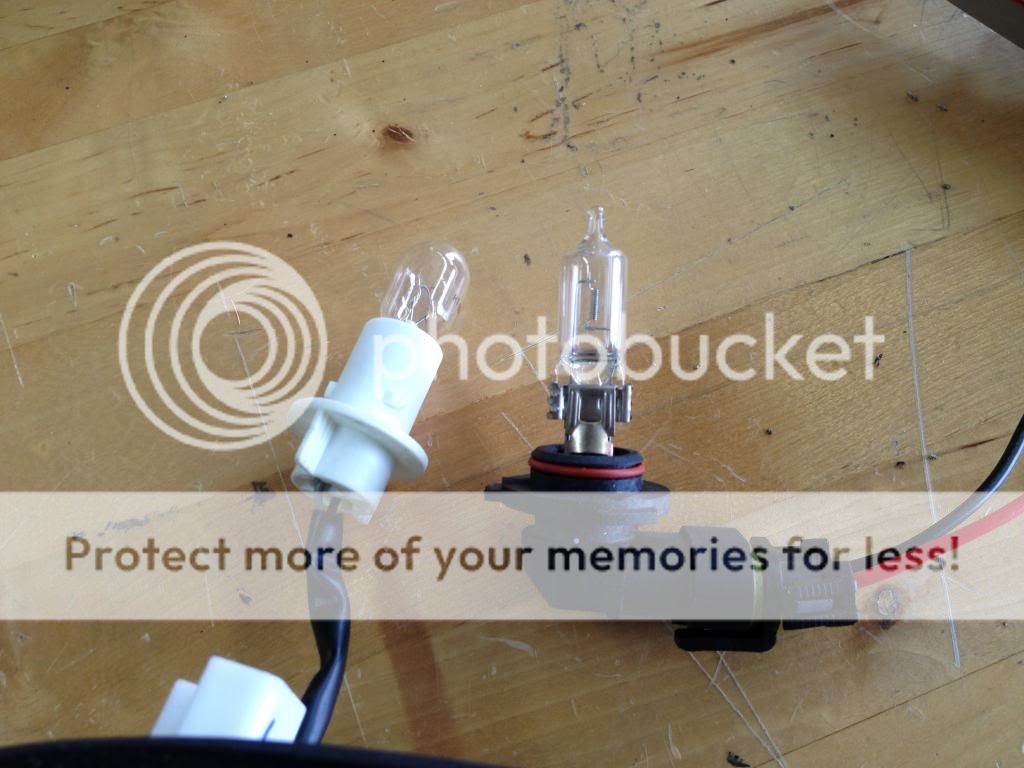
I installed 60w Headlight bulbs in the existing reverse light location and they are wired to a switch off of ignition on the steering column inside.
The reason I did this (also had it on my last car) is because in Florida we have TONS of idiots that drive with their high beams on at night and are too stupid to realize they are on so I give them a taste of their own medicine. Or if someone decides to ride my @$$ then they get a flash of bright light as well. Yeah, you can hate or like this mod and criticize it all you want but it is what it is.
Stock Reverse Light vs 60w Light


5-LED Reverse Light


"Tailgating" Light On

Toggle switch under steering column. (other switches are explained later).

White LED indicator on top of steering column to let me know when they are on or off.

The next mods were to Plastidip Flat Black all of the exterior chrome. Here is the rear garnish dipped with the rear emblem. I also had a chrome license plate trim that I did flat black too.


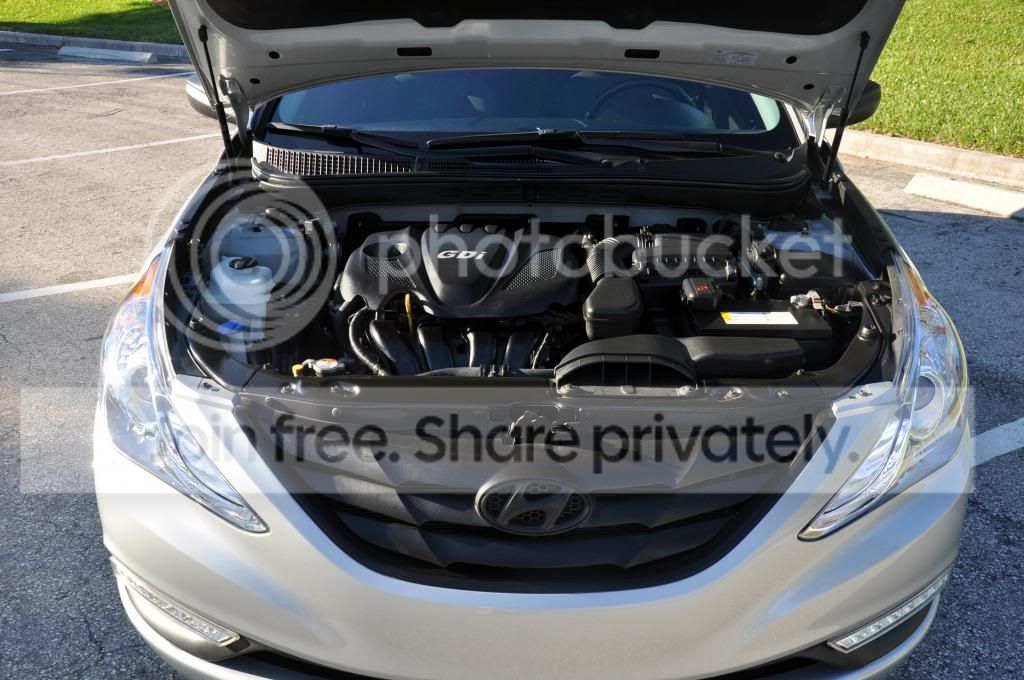
Next was to plastidip the front grill along with the upper hood trim piece.

While I had the bumper off I wanted to upgrade/change some of the existing horns. I removed one of the Hyundai horns behind the grill and replaced it with (3) Fiamm Hi-Lo-Lo Horns. The other Hyundai horn below the passenger headlight is still intact. I will post the video later on so you can see the sound difference.
(zipties shown are for another mod installed listed below)

I also changed the factory alarm horns because I did not like the pathetic weak sound that they gave out. These are also Fiamm Hi-Lo horns. I also wired (2) DEI Aftermarket Alarm Sirens activated via 2 relays. I forgot to take a picture of these installed but they will be heard in the video I will be posting soon.

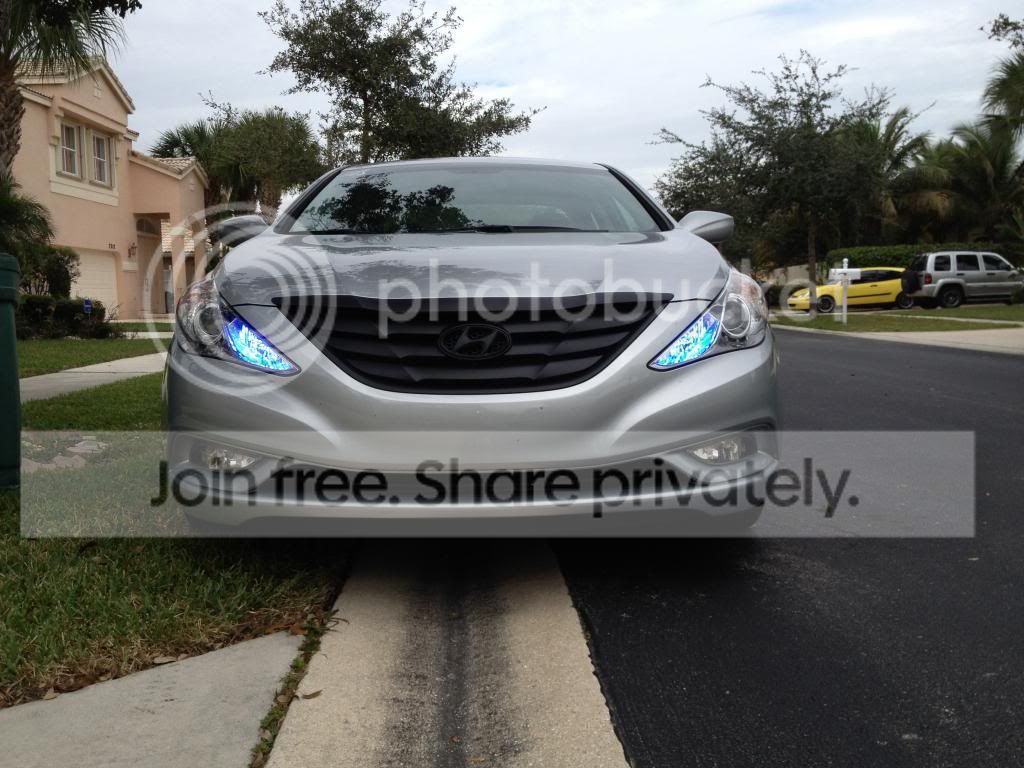
Just for a day I installed these Blue H7 30 LED bulbs as DRLs. Though they looked cool, I knew it would attract attention from cops quickly so I removed them.

The next thing to plastidip were the chrome handles and the sideview mirrors. I had to do a few photoshops before I did this mod and I am happy with the outcome.
I also had the car tinted. I have 20% on all windows and 50% on the windshield.


Finally, the last thing chrome to plastidip was the side trim pieces on the doors and fenders. If you end up doing these, please note that I did not figure out a way to remove these from the doors. I had to tape off and just peel/clean away any excess plastidip that got on the door or window. The pieces that are on the fenders do come off. You need to pop the hood and remove the black plastic pieces inside the hood that are right above them. From there, you will be able to see the release clips that hold these in. Pop them out with needle nose pliers. You also need to take off the diagonal looking black piece that is towards the back of the fender/front of the door. It is holding a piece of the chrome trim in as well.


The last thing I wanted to plastidip black that wasn't chrome was the lower front valance. I also did a few photoshops of this and wanted to do it as well. (I did this mod while installing HID lighting and DRL/LED lights so it made it even easier since I had to pull the bumper either way). Before I did this I had to do some research to see if the valance came off. It turns out on my car it does not. I noticed on some of the base GLS model sonatas that didn't include foglights, this valance was not painted to match the body and it actually does come off. The SE/Limited/Turbo with foglights are all body matched and they do not come off. I went ahead and tape off a little less than I should so I would have more to peel. I had to create my own "cut" lines because if you start to peel the excess plastidip, it will peel off the valance as well. Since the piece is not seperate, there is no place for the plastidip to split. I took an exacto knife and ran it around the whole valance and then peeled the dip. I had a near perfect clean line around the whole thing.


One of the things I most always do in every one of my cars (if it doesn't already have one) is install a constant 12v outlet. The sonata only has ignition 12v outlets so I added another outlet inside the center console and wired it to constant. I found the constant wire in front of the fuse box (thick green wire).

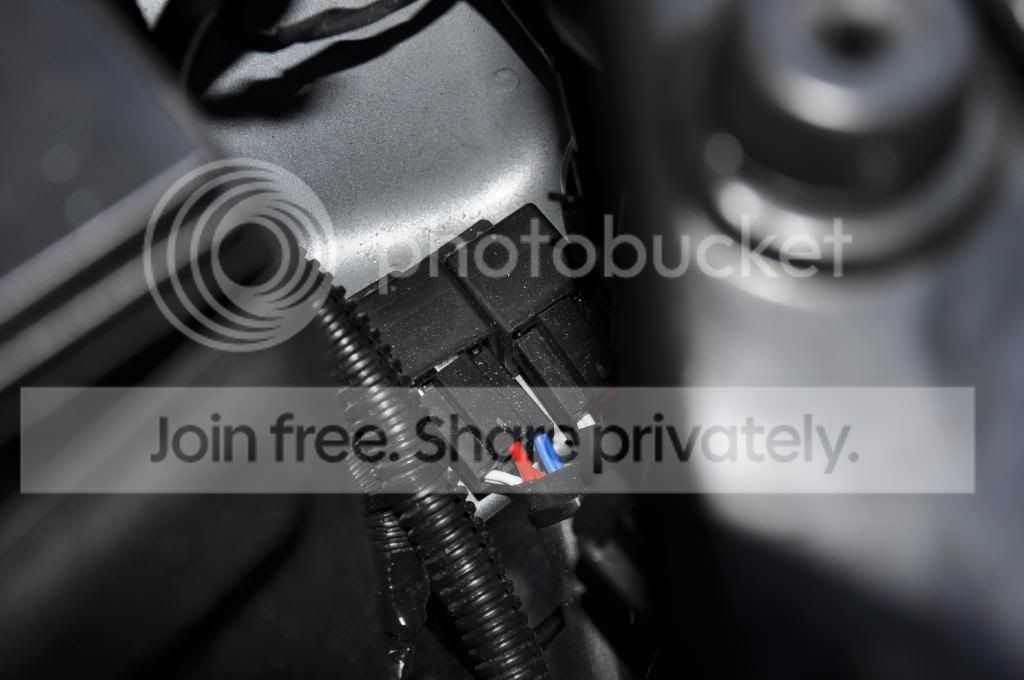
I also did the DIY and wired the foglights to come on with the parking lights. Since there was no way to use the existing OEM switch to turn on & off, I installed a toggle switch under the steering column with a blue led indicator to tell me if they are on or off.

pictured here is the relay for the fogs and the other relay is for another mod explained later

Whenever a new mod is added, it will be added to this thread; I will not make a new thread for it so please check this thread often.
I will post my mod list first and then post my future mods list as well as a "wish list" type mod list. I also have some videos that I took of the current mods, for that I will post a seperate thread.
Hope you all enjoy and feel free to ask me any questions about anything to do with my car!
Interior
20% Window Tint & 50% Windshield Tint
DIY Underdash/Underseats Blue LED Modules
DIY Blue LEDs Cupholder
DIY Custom Blue LED Hyundai Logo in Center Console
DIY Blue LEDs in Glovebox
All Interior Blue LEDs Controlled by a RF Wireless Multi Function Remotes
Front Doors Clear Reflectors with Blue LEDs
All Interior Bulbs replaced with Xenon White LED’s
In Car Electronics (I.C.E.)
Factory Aux/Ipod Control Relocated to Center Console Storage Pocket
Escort Passport 7500 Hardwired w/ Smartcord
DIY Added 12v Outlet in Center Console Under Armrest
Exterior
Plastidipped Black All Chrome Trim
Plastidipped Black Front Grill
Plastidipped Black Sideview Mirrors
Plastidipped Lower Front Valance
Plastidipped Black Rear Hyundai Emblem
Plastidipped Black Rear Trunk Trim
Plastidipped Black License Plate Frame
Removed Sonata Emblem
DIY OEM Alarm Horn with (2) DEI Alarm Sirens
DIY Upgraded Fiamm Hi-Lo Horns + OEM Horn
DIY OEM Alarm with DEI Shock Sensor Integration
DIY DEI Mini Piezo Siren Mounted Inside Dashboard
DDM Tuning 6000k H7 HID Low Beam w/ Relay Harness
DDM Tuning 6000k H8 HID Foglight w/ Relay Harness
DIY Foglight Mod to Parking Lights w/ Toggle Switch w/ White LED Indicator
OEM Mudguards (Front & Rear)
DIY Exhaust Tips Painted High Temp Flat Black
6000k LED Daytime Running Light Foglight Strip w/ Turn Signals
6000k LED License Plate Lights
6000k LED “Cree” Daytime Running Lights
6000k 68-LED Switchback Parking Lights/Turn Signals w/ Hyper Blink Eliminated Resistors
Amber LED Rear Turn Signals w/ Hyper Blink Eliminated Resistors
Re-located Reverse Lights to Outer Taillights with Xenon White 5-LEDs
DIY Added Parking Lights Xenon White 4-LEDs to Inner Taillights
DIY 60w H11 Headlight Bulbs to Inner Reverse Light Housing Wired Toggle Switch
DIY Custom Tinted Taillights
DIY Custom Tinted LED Rear Bumper Reflectors
Future Mods
Blackhoused Headlights with LEDs
Smoked Taillights
LED Bumper Reflectors Smoked to Match Taillights
All weather floormats
All weather trunk liner (Weathertech)
Weathertech Window Visors (Front & Rear)
Weathertech Sunroof Visor
Plastidip Wheels Vintage Gold
Black Lug Nuts with Black Wheel Lock
OEM LED Sideview Mirrors Plastidipped Black
Blue LED Door Catch Plate (Behind Handles)
Blue LEDs Inside All Door Pockets
Rear Window Spoiler (with or without LED Brakelight)
Rear Bumper Diffuser
Bluelink Mirror with Homelink
Wishlist
Bodykit Lip Kit (Front, Rear & Sides)
Cold Air Intake, Headers & Exhaust
19” or 20” Wheels
Accuair/Airrex Airride Suspension
Full Custom Sound System
Custom Paint Job or Custom Wrap
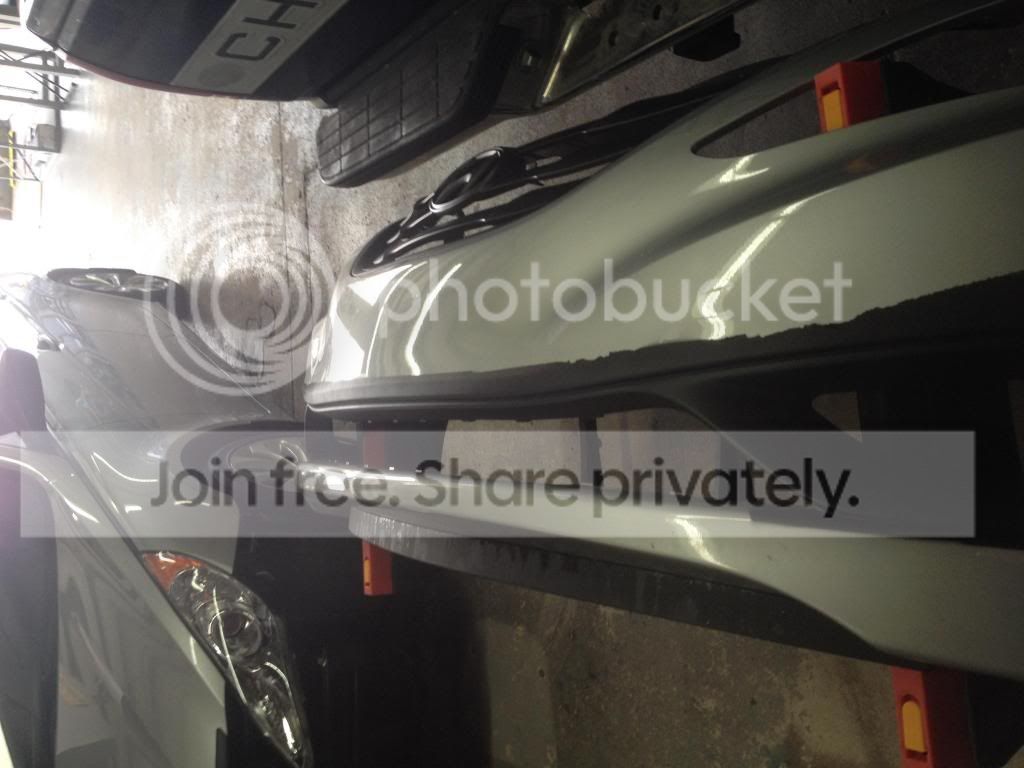
Photo from the dealer the day I picked it up
Outside of my (old) work the next day
Part of the deal/negotiating on price since it was the dealership's Loaner vehicle, I talked them down pretty low and also said I wanted the OEM Spoiler installed, the doorguards removed and pinstripes removed.
One of the first mods I did was wire in some 50/50 Blue LED strips to come on in the trunk, in place of the regular small light bulb
I also painted the exhaust tips with HiTemp Flat Black Paint
Removed Rear Sonata Emblem
I hardwired my Escort Passport 7500 Radar/Laser Detector. The mute switch is installed on my center console with a simple small momentary push button. The radar is suctioned to the windshield just to the right of the dot matrix.
I did a DIY mod after seeing this on youtube. I didn't like the fact that the Elantra has the inner taillights lit up with parking lights on but the Sonata does not. So I went ahead and added some 194 bulbholders on the inner tails on the trunk and used a Xenon White 5-LED Bulb.
I also re-located the OEM reverse lights to the inner side of the same housing where the rear turn signals are and used a 921 5-LED bulb for lighting.
I installed 60w Headlight bulbs in the existing reverse light location and they are wired to a switch off of ignition on the steering column inside.
The reason I did this (also had it on my last car) is because in Florida we have TONS of idiots that drive with their high beams on at night and are too stupid to realize they are on so I give them a taste of their own medicine. Or if someone decides to ride my @$$ then they get a flash of bright light as well. Yeah, you can hate or like this mod and criticize it all you want but it is what it is.
Stock Reverse Light vs 60w Light
5-LED Reverse Light
"Tailgating" Light On
Toggle switch under steering column. (other switches are explained later).
White LED indicator on top of steering column to let me know when they are on or off.
The next mods were to Plastidip Flat Black all of the exterior chrome. Here is the rear garnish dipped with the rear emblem. I also had a chrome license plate trim that I did flat black too.
Next was to plastidip the front grill along with the upper hood trim piece.
While I had the bumper off I wanted to upgrade/change some of the existing horns. I removed one of the Hyundai horns behind the grill and replaced it with (3) Fiamm Hi-Lo-Lo Horns. The other Hyundai horn below the passenger headlight is still intact. I will post the video later on so you can see the sound difference.
(zipties shown are for another mod installed listed below)
I also changed the factory alarm horns because I did not like the pathetic weak sound that they gave out. These are also Fiamm Hi-Lo horns. I also wired (2) DEI Aftermarket Alarm Sirens activated via 2 relays. I forgot to take a picture of these installed but they will be heard in the video I will be posting soon.
Just for a day I installed these Blue H7 30 LED bulbs as DRLs. Though they looked cool, I knew it would attract attention from cops quickly so I removed them.
The next thing to plastidip were the chrome handles and the sideview mirrors. I had to do a few photoshops before I did this mod and I am happy with the outcome.
I also had the car tinted. I have 20% on all windows and 50% on the windshield.
Finally, the last thing chrome to plastidip was the side trim pieces on the doors and fenders. If you end up doing these, please note that I did not figure out a way to remove these from the doors. I had to tape off and just peel/clean away any excess plastidip that got on the door or window. The pieces that are on the fenders do come off. You need to pop the hood and remove the black plastic pieces inside the hood that are right above them. From there, you will be able to see the release clips that hold these in. Pop them out with needle nose pliers. You also need to take off the diagonal looking black piece that is towards the back of the fender/front of the door. It is holding a piece of the chrome trim in as well.
The last thing I wanted to plastidip black that wasn't chrome was the lower front valance. I also did a few photoshops of this and wanted to do it as well. (I did this mod while installing HID lighting and DRL/LED lights so it made it even easier since I had to pull the bumper either way). Before I did this I had to do some research to see if the valance came off. It turns out on my car it does not. I noticed on some of the base GLS model sonatas that didn't include foglights, this valance was not painted to match the body and it actually does come off. The SE/Limited/Turbo with foglights are all body matched and they do not come off. I went ahead and tape off a little less than I should so I would have more to peel. I had to create my own "cut" lines because if you start to peel the excess plastidip, it will peel off the valance as well. Since the piece is not seperate, there is no place for the plastidip to split. I took an exacto knife and ran it around the whole valance and then peeled the dip. I had a near perfect clean line around the whole thing.
One of the things I most always do in every one of my cars (if it doesn't already have one) is install a constant 12v outlet. The sonata only has ignition 12v outlets so I added another outlet inside the center console and wired it to constant. I found the constant wire in front of the fuse box (thick green wire).
I also did the DIY and wired the foglights to come on with the parking lights. Since there was no way to use the existing OEM switch to turn on & off, I installed a toggle switch under the steering column with a blue led indicator to tell me if they are on or off.
pictured here is the relay for the fogs and the other relay is for another mod explained later
 02-28-2014, 12:33 AM
#2
Junior Member
Thread Starter
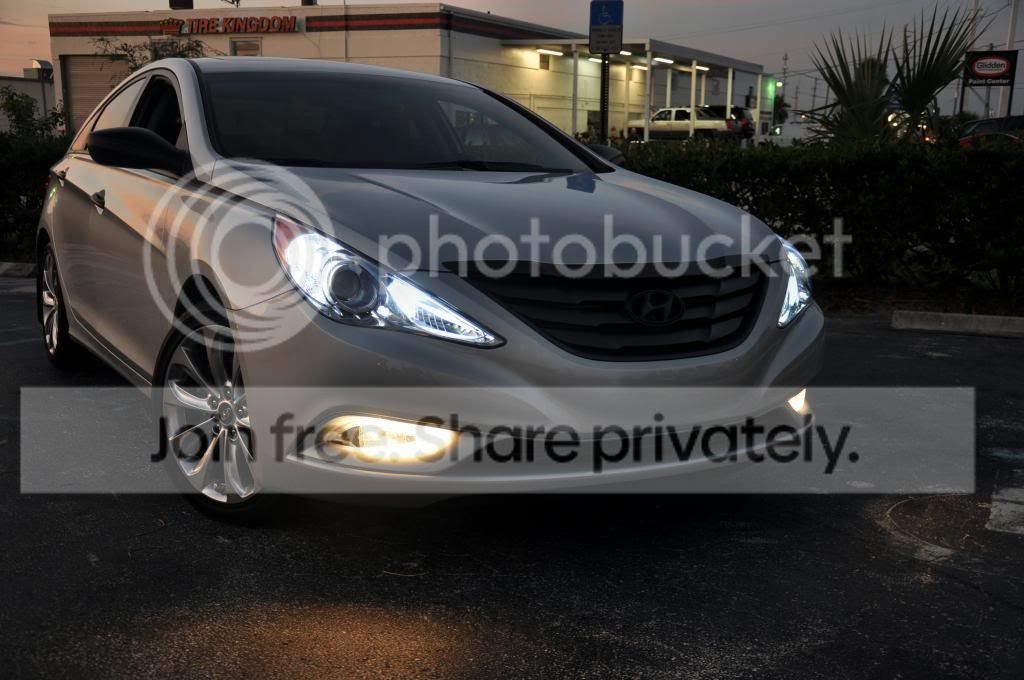
I ordered 2 sets of 6000k HID's from DDM Tuning. 1 for the Lowbeam, 1 for the Fogs. I used relay harnesses for both and have had no issues since I have installed them and I love how they look. While I installed these, I also installed the LED DRL Lights that go above the foglights. I got the ones that also have the turn signal indicator. I also installed switchback LEDs (amber/xenon white) for my front parking lights/turn signals. They have resistors installed on them so I have no hyper blink. For the factory DRL lights I installed xenon white CREE LEDs. License plate lights are also Xenon white LEDs.
{these photos show the wiring install and where my ballasts are mounted}


both relays mounted
For all of the interior lighting I installed Xenon White LEDs that I got through my old work. They are very bright and I am happy with the outcome.


I ordered the clear door lense covers for the front doors and installed blue 194 LED bulbs in place.

Another DIY mod that I did was re-locate the OEM USB/Aux Input Module to inside the storage compartment with a door. I did not like the fact that my ipod just stuck out in plain view and I wanted to hide it. I had to take apart the center console to do this and I simply just extended all of the wires to make them reach. I took the door out and trace the size of the module piece and then cut it out with a dremel. I cut it a little bit smaller so it would snap into the whole and I sealed any gaps with black silicone.

Since now I had an open spot in between those 2 12v outlets on the console. I wanted to fill that. We had some thin plexiglass laying around the shop so I cut a 1.5"x1.5" piece of plexi. I had my co-worker who also worked at a sign shop print a Hyundai logo so it would be light up with LED's. I used (4) 5mm blue led's I ordered off ebay to light them up. The LEDs are wired to the rest of my LEDs installed in the car and only come on with parking lights (or I have a toggle/remote for them that I can turn them off once they are on).

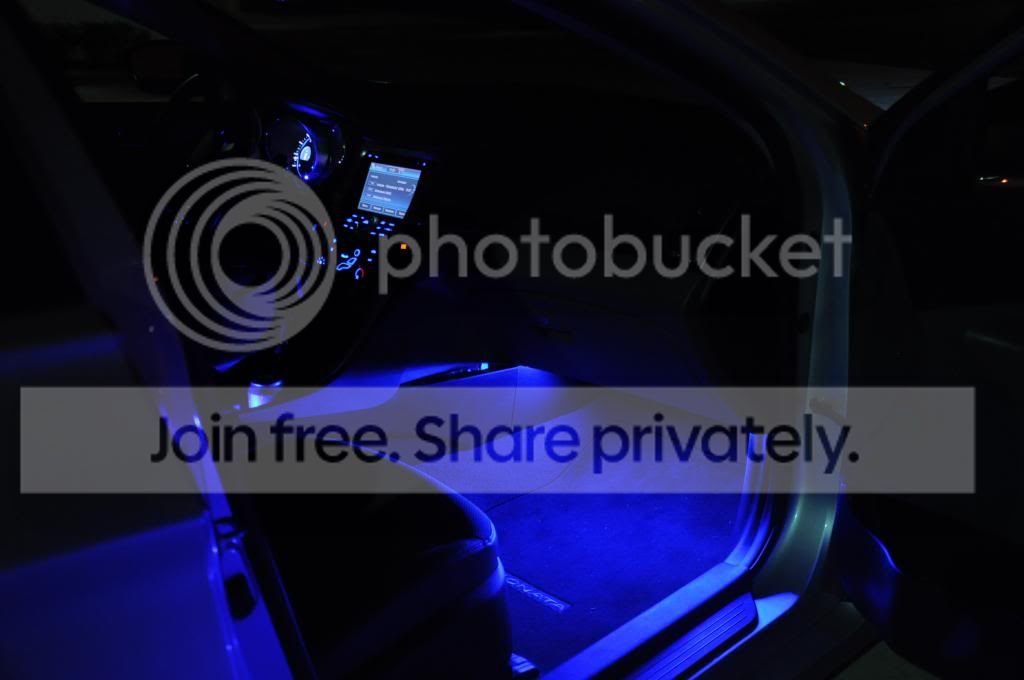
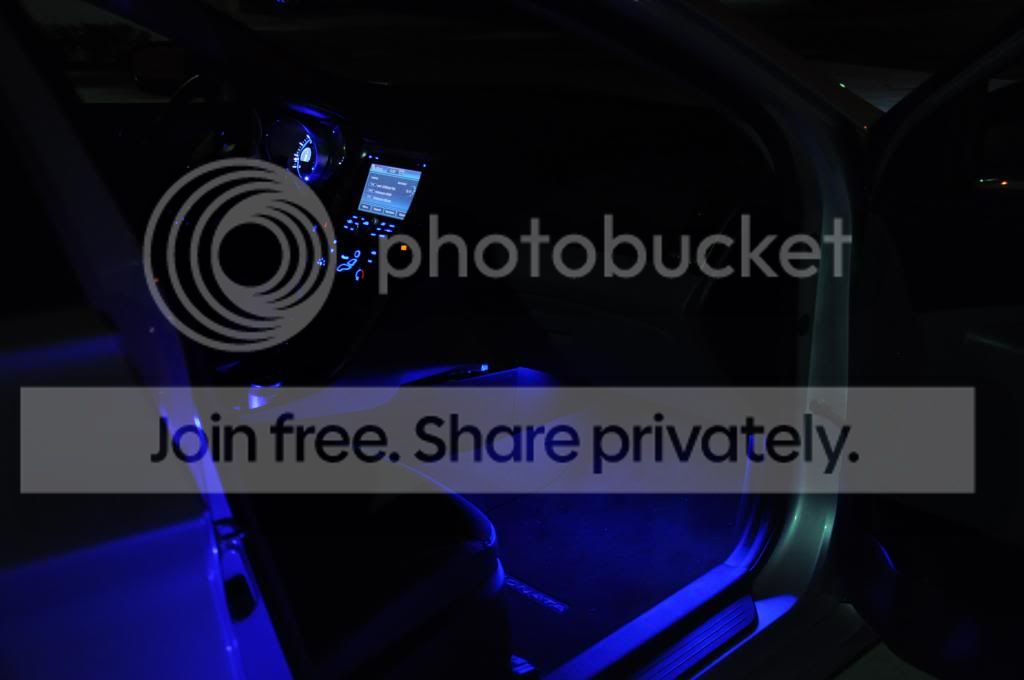
The next mod was to finish off the interior lighting to complete the blue theme. I'm so glad that Hyundai stuck with their blue lighting. I did a similar mod on my wife's tiburon since it came with OEM blue lighting too. I installed (4) 50/50 LED strips that come multicolor, but I only soldered wiring on to the strips to make them light only blue. They are installed under each front seat and under the dashboard. I also did my own DIY LED cupholder since I have done this in every car of mine as well. I used some more of the ebay 5mm blue leds and installed a total of 4 led's for the cupholder. All of these lights are turned on once the parking lights turn on. I have a toggle switch installed in between so if I want to turn them off I can. I also ordered a 12v RF wireless remote that lets me change patterns, speeds and adjust brightness for all of the added blue lighting I installed.


100% Brightness
50% Brightness

25% Brightness
I also installed a 2" 50/50 LED strip wired to blue for the glovebox lighting and removed the small 194 bulb.

I ordered the OEM Mudguards and installed them too. Front & Rear

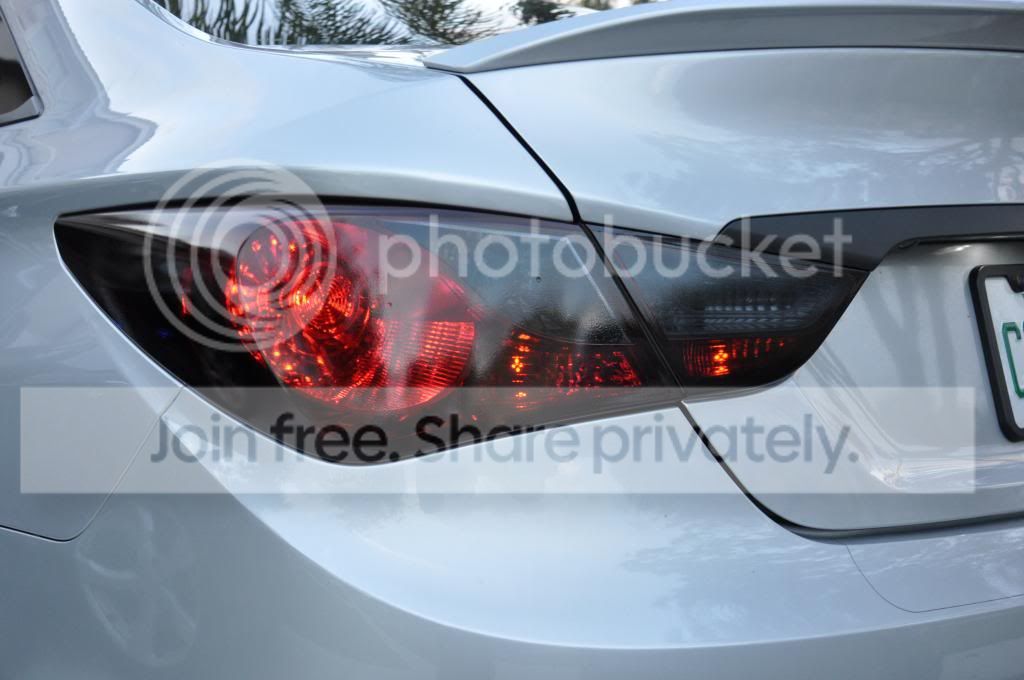
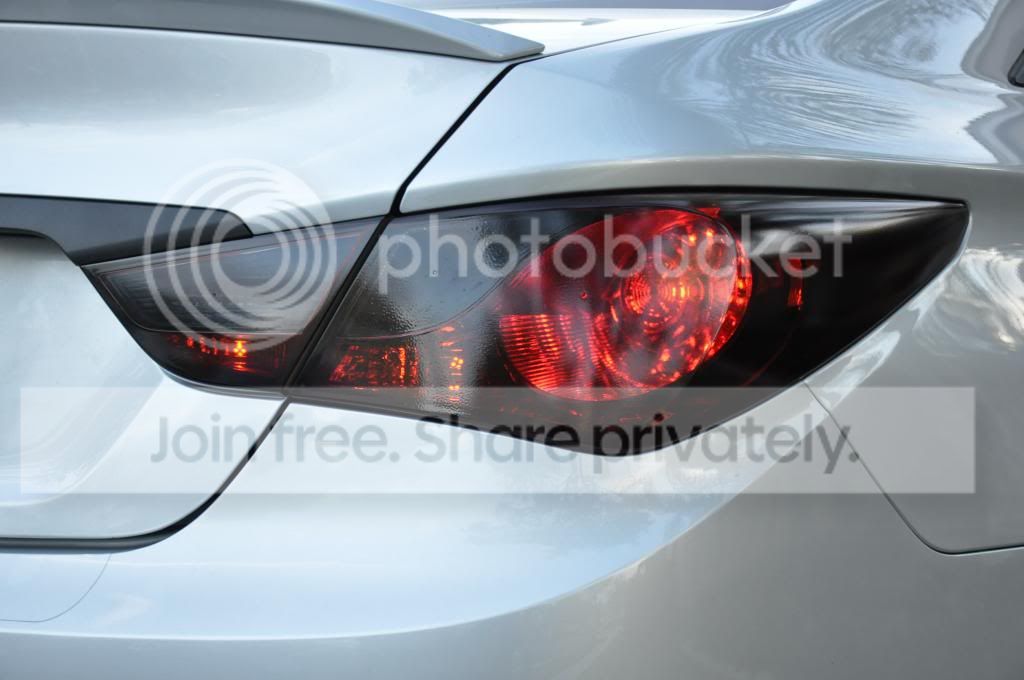
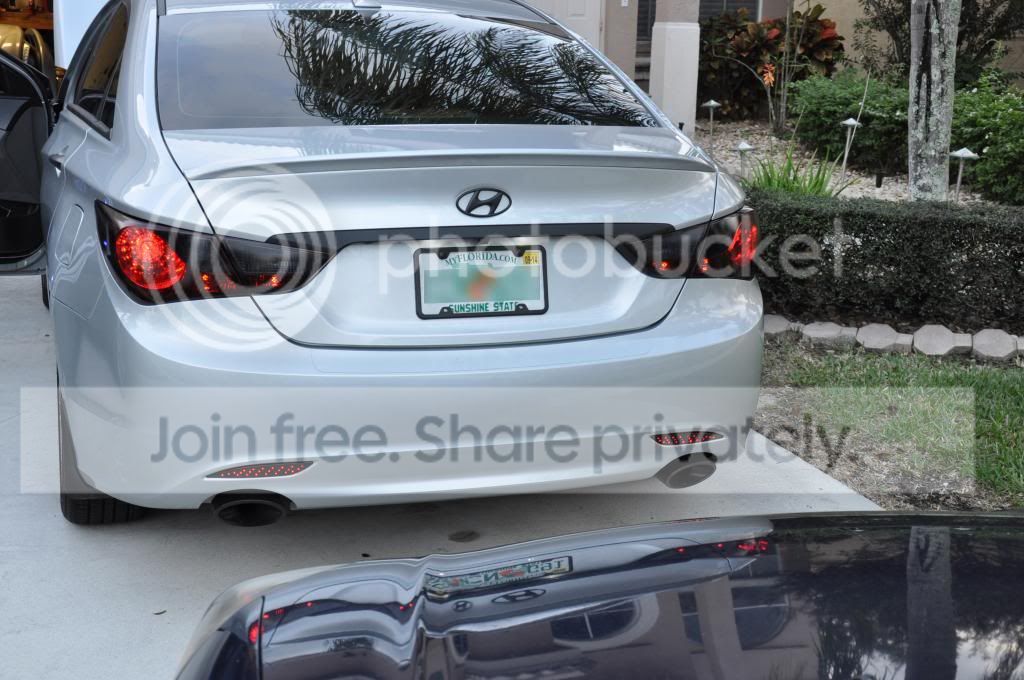
Since my local tint guy was giving me a hassle as far as tinting my taillights and starting to aggravate me, he lost my business. For now I went ahead and bought modelmasters transparent black spray paint and did my taillights myself. The outcome isn't perfect but I am happy with it. It did leave a few "bubble" looking spots and I ordered just enough cans. These cans are the ones that are very small and can be found at local hobby/RC shops.
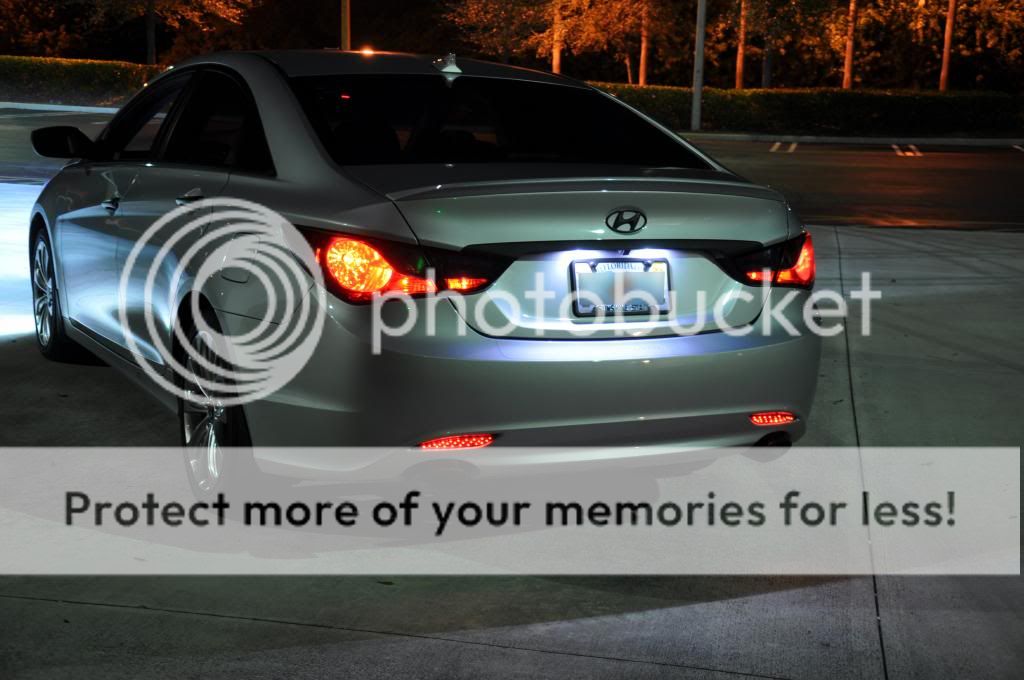
I also ordered the rear bumper LED reflector replacements and I tinted those too. They are some cheaper ones on ebay but I plan to do different lighting later on. The LED bumper lights are wired to the parking lights and brake lights. There will be a video showing the brightness of these as well as the taillights. Installed but not pictured are Red LED Turn signals.


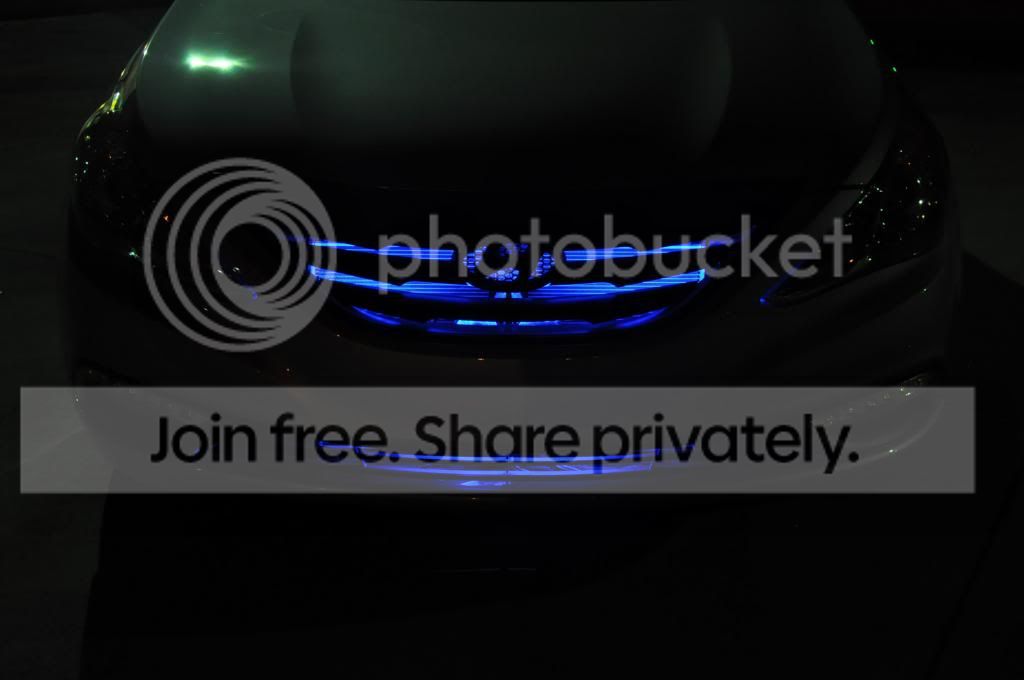
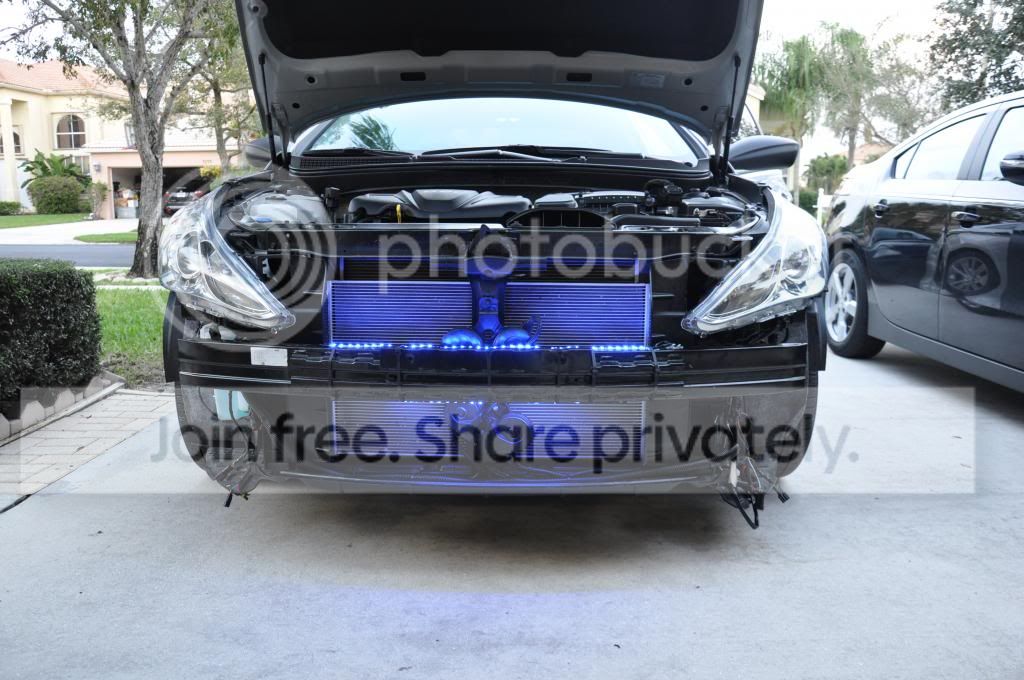
One of the most recent mods I did was with the last strips I had left of the 50/50 LED strips I installed on the actual bumper support to light up the grill/lower valance at night. The strips are siliconed in and the zipties were there to apply pressure and to seal them down and I ended up just leaving them on since they are black and you don't see them. The lights are wired to constant so I can turn them on with the car off. They will soon be wired in with another 12v RF Remote so I can do different patterns and modes with them. I also installed a blue LED indicator light on top of the steering column so I know if the light is on or off. I don't drive with these lights on at night.


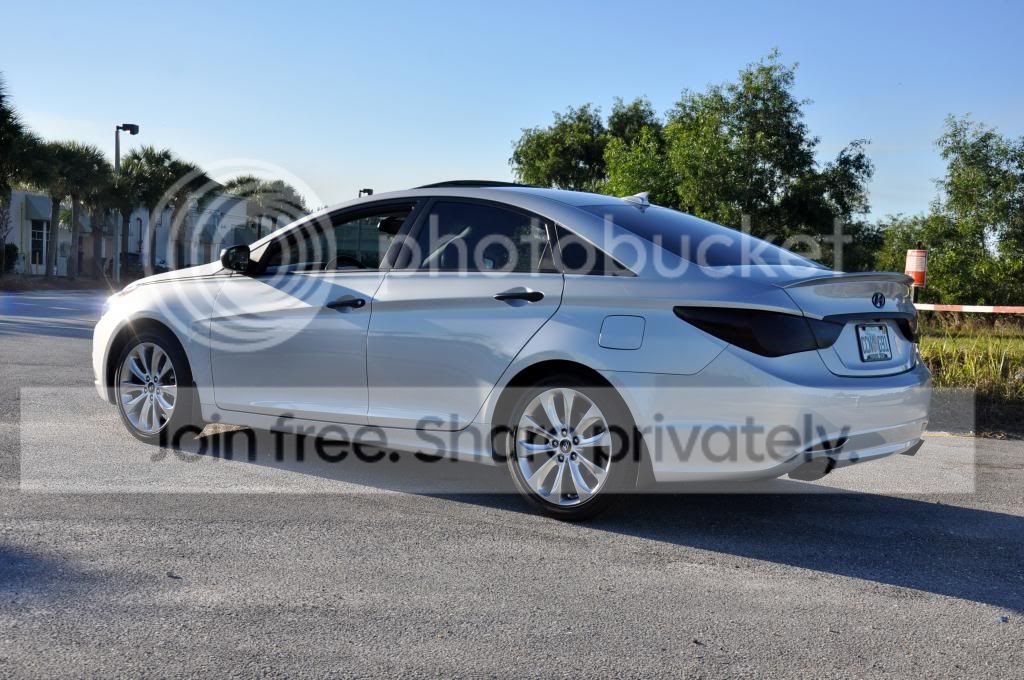
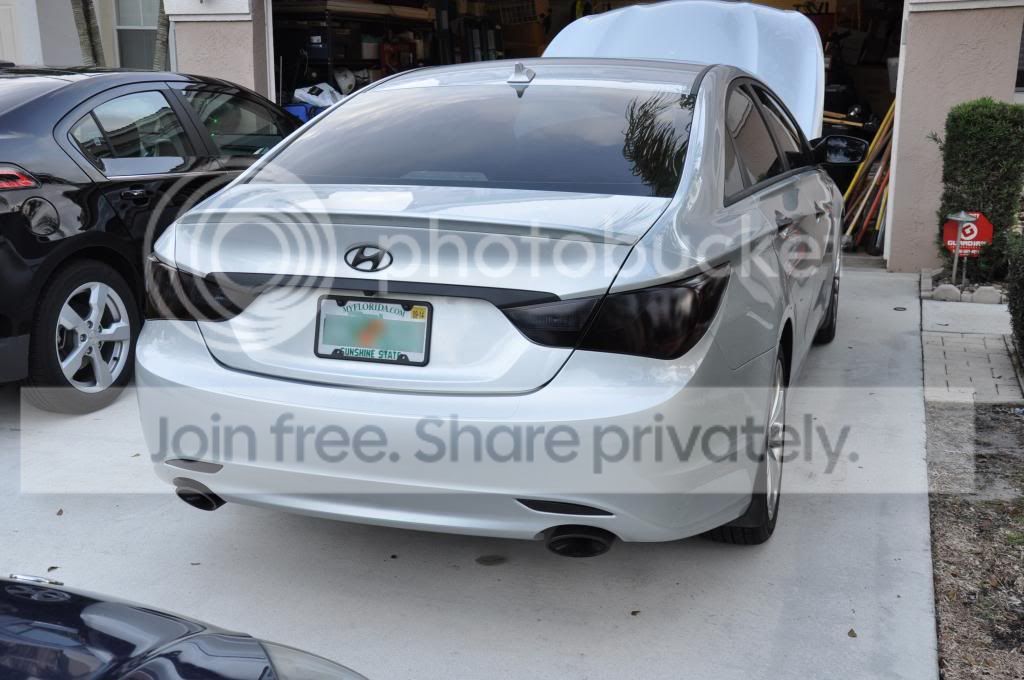
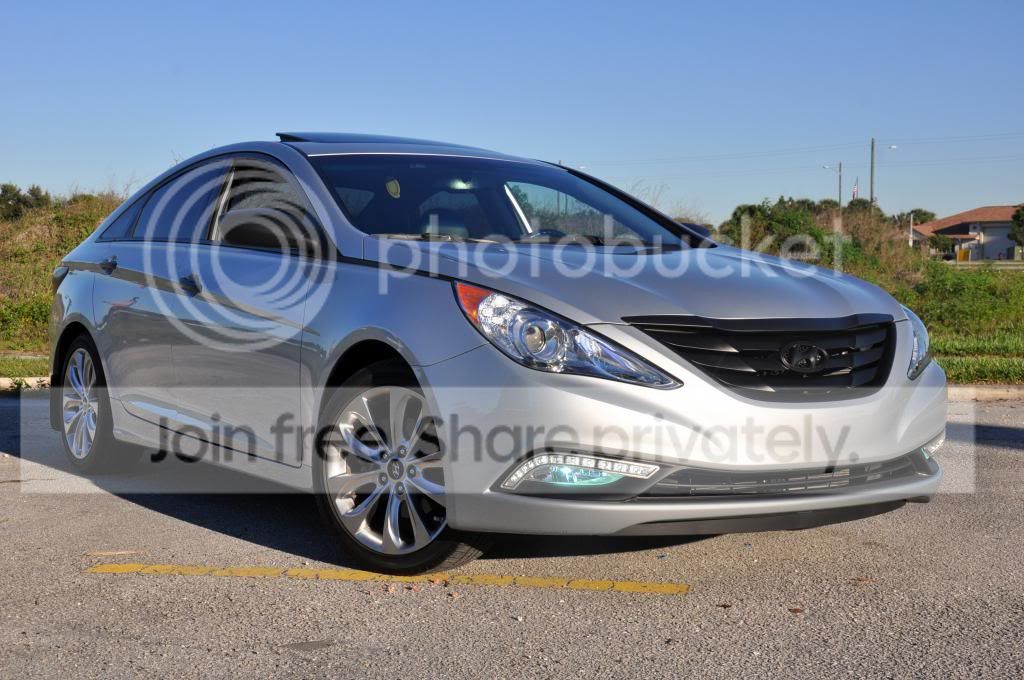
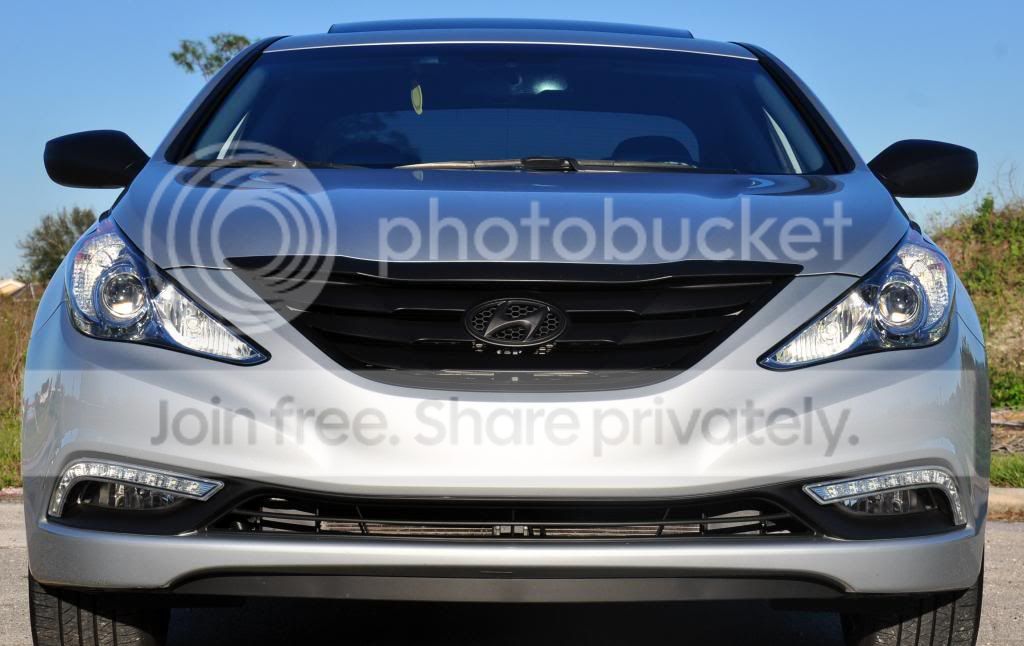
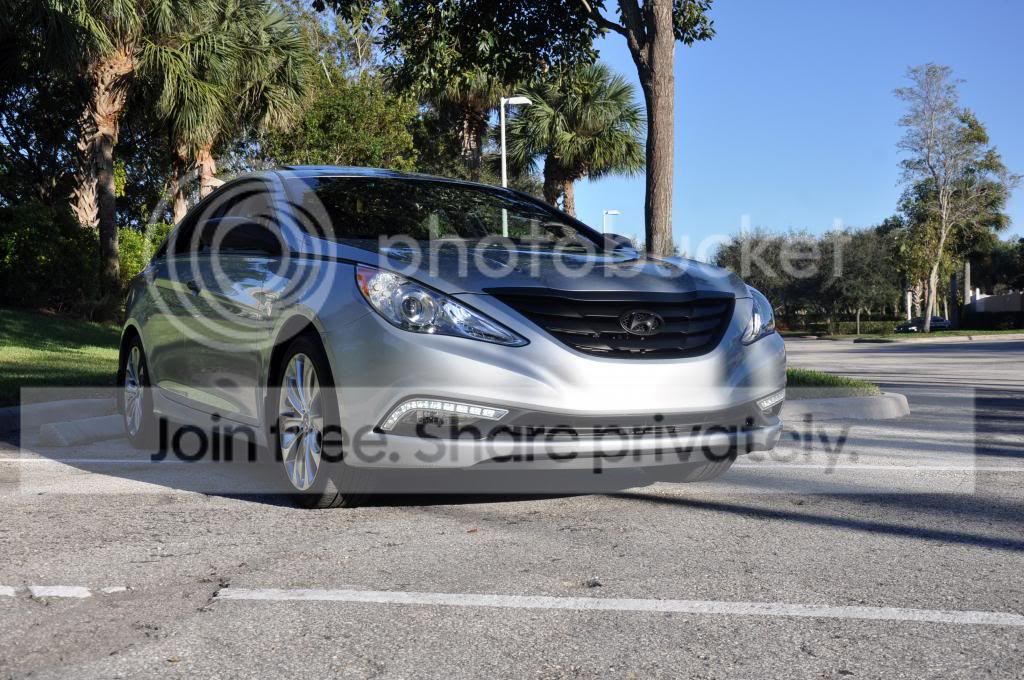
Here is how she stands as of 2/27/14!


{these photos show the wiring install and where my ballasts are mounted}
both relays mounted
For all of the interior lighting I installed Xenon White LEDs that I got through my old work. They are very bright and I am happy with the outcome.
I ordered the clear door lense covers for the front doors and installed blue 194 LED bulbs in place.
Another DIY mod that I did was re-locate the OEM USB/Aux Input Module to inside the storage compartment with a door. I did not like the fact that my ipod just stuck out in plain view and I wanted to hide it. I had to take apart the center console to do this and I simply just extended all of the wires to make them reach. I took the door out and trace the size of the module piece and then cut it out with a dremel. I cut it a little bit smaller so it would snap into the whole and I sealed any gaps with black silicone.
Since now I had an open spot in between those 2 12v outlets on the console. I wanted to fill that. We had some thin plexiglass laying around the shop so I cut a 1.5"x1.5" piece of plexi. I had my co-worker who also worked at a sign shop print a Hyundai logo so it would be light up with LED's. I used (4) 5mm blue led's I ordered off ebay to light them up. The LEDs are wired to the rest of my LEDs installed in the car and only come on with parking lights (or I have a toggle/remote for them that I can turn them off once they are on).
The next mod was to finish off the interior lighting to complete the blue theme. I'm so glad that Hyundai stuck with their blue lighting. I did a similar mod on my wife's tiburon since it came with OEM blue lighting too. I installed (4) 50/50 LED strips that come multicolor, but I only soldered wiring on to the strips to make them light only blue. They are installed under each front seat and under the dashboard. I also did my own DIY LED cupholder since I have done this in every car of mine as well. I used some more of the ebay 5mm blue leds and installed a total of 4 led's for the cupholder. All of these lights are turned on once the parking lights turn on. I have a toggle switch installed in between so if I want to turn them off I can. I also ordered a 12v RF wireless remote that lets me change patterns, speeds and adjust brightness for all of the added blue lighting I installed.
100% Brightness
50% Brightness
25% Brightness
I also installed a 2" 50/50 LED strip wired to blue for the glovebox lighting and removed the small 194 bulb.
I ordered the OEM Mudguards and installed them too. Front & Rear
Since my local tint guy was giving me a hassle as far as tinting my taillights and starting to aggravate me, he lost my business. For now I went ahead and bought modelmasters transparent black spray paint and did my taillights myself. The outcome isn't perfect but I am happy with it. It did leave a few "bubble" looking spots and I ordered just enough cans. These cans are the ones that are very small and can be found at local hobby/RC shops.
I also ordered the rear bumper LED reflector replacements and I tinted those too. They are some cheaper ones on ebay but I plan to do different lighting later on. The LED bumper lights are wired to the parking lights and brake lights. There will be a video showing the brightness of these as well as the taillights. Installed but not pictured are Red LED Turn signals.
One of the most recent mods I did was with the last strips I had left of the 50/50 LED strips I installed on the actual bumper support to light up the grill/lower valance at night. The strips are siliconed in and the zipties were there to apply pressure and to seal them down and I ended up just leaving them on since they are black and you don't see them. The lights are wired to constant so I can turn them on with the car off. They will soon be wired in with another 12v RF Remote so I can do different patterns and modes with them. I also installed a blue LED indicator light on top of the steering column so I know if the light is on or off. I don't drive with these lights on at night.
Here is how she stands as of 2/27/14!
02-28-2014, 07:10 AM
#5
Administrator

Amazing! Love everything you did except the blue LED strips in the front grill. Otherwise, awesome job!  Now just get some nice wheels, and kill some of that fender gap with a decent drop, and that car will be perfect!
Oh, and you're allowed to tint the front windshield in Florida?
Now just get some nice wheels, and kill some of that fender gap with a decent drop, and that car will be perfect!Oh, and you're allowed to tint the front windshield in Florida?
02-28-2014, 10:18 AM
#6
Junior Member
Thread Starter
Amazing! Love everything you did except the blue LED strips in the front grill. Otherwise, awesome job! Now just get some nice wheels, and kill some of that fender gap with a decent drop, and that car will be perfect!
Oh, and you're allowed to tint the front windshield in Florida?
Now just get some nice wheels, and kill some of that fender gap with a decent drop, and that car will be perfect!Oh, and you're allowed to tint the front windshield in Florida?
no worries. everyone is entitled to their own opinions and i won't get mad. i plan on keeping these for a while just b/c i like how they look and i am gonna plastidip them vintage gold. i'm not gonna bother with a drop because i'll eventually be on airride
02-28-2014, 10:14 PM
#7
Senior Member
Join Date: Mar 2008
Location: Atlanta, GA
Posts: 4,185
Likes: 0
Received 0 Likes
on
0 Posts
Vehicle: MC + RD2 + AW11 + 944 = 4x Win
Sweet!
I personally like the blue LED as it shows through the grill, though you should gone with a Larson Scanner for extra Hasselhoff points.
Not as much a fan of the plastidip grill, but that my taste. x2 for new rims and moar low, hurry up with the air ride. Slam it too the ground and keep it this clean. It's a beauty already, can't wait to see the finished product.
03-17-2014, 11:35 PM
#8
Junior Member
Thread Starter
Since my last post on this thread I haven't really added anything new.
I did however do the following changes:
Removed (1) 5050 Blue LED Strip from Trunk
Changed the existing wiring from the other 5050 Blue LED Strip to turn on/off with the existing blue leds on the interior of the car
Installed (1) 6000k LED Complete Circle in trunk wired to trunk light wires w/ a toggle switch
(I installed the switch so I could show off the blue trunk light at night and be able to turn off the white)
Changed the DIY Foglight Wiring to be able to turn on the fogs anytime the car is on (before it was wired to when the parking lights were on)
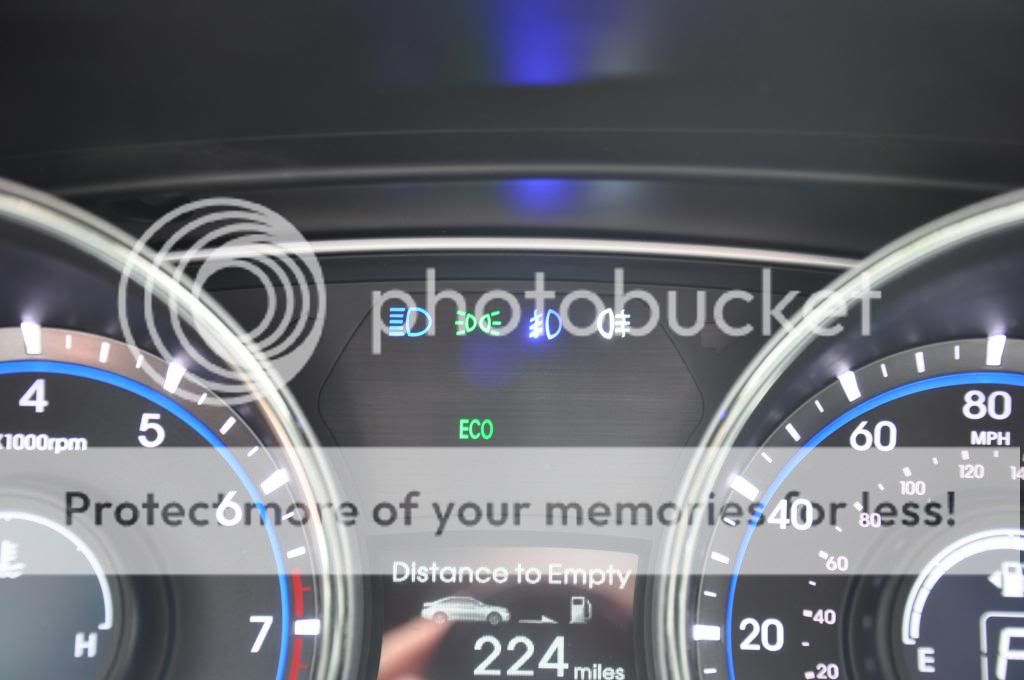
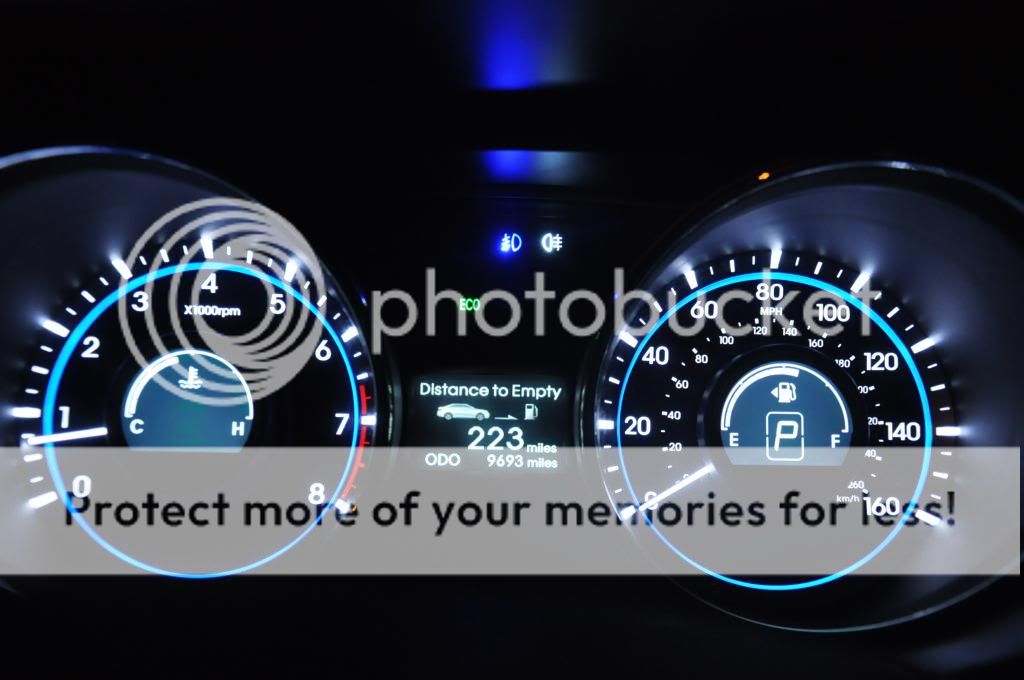
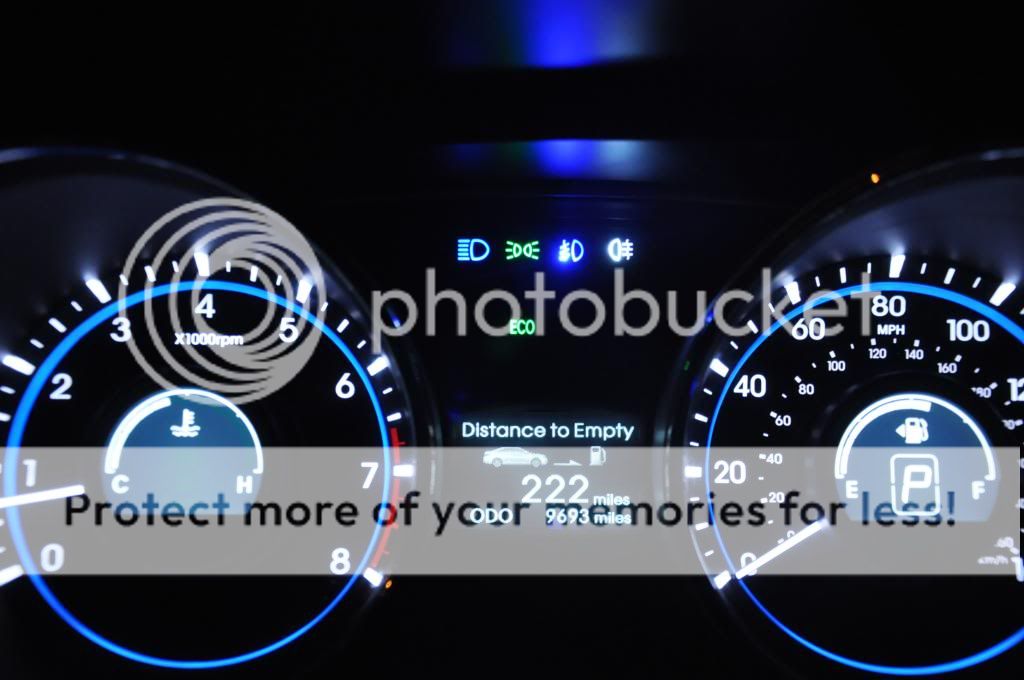
DIY Custom Blue LED Foglight Indicator in OEM Location on Gauge Cluster
DIY Custom White LED - DRL LED Indicator in OEM Location on Gauge Cluster
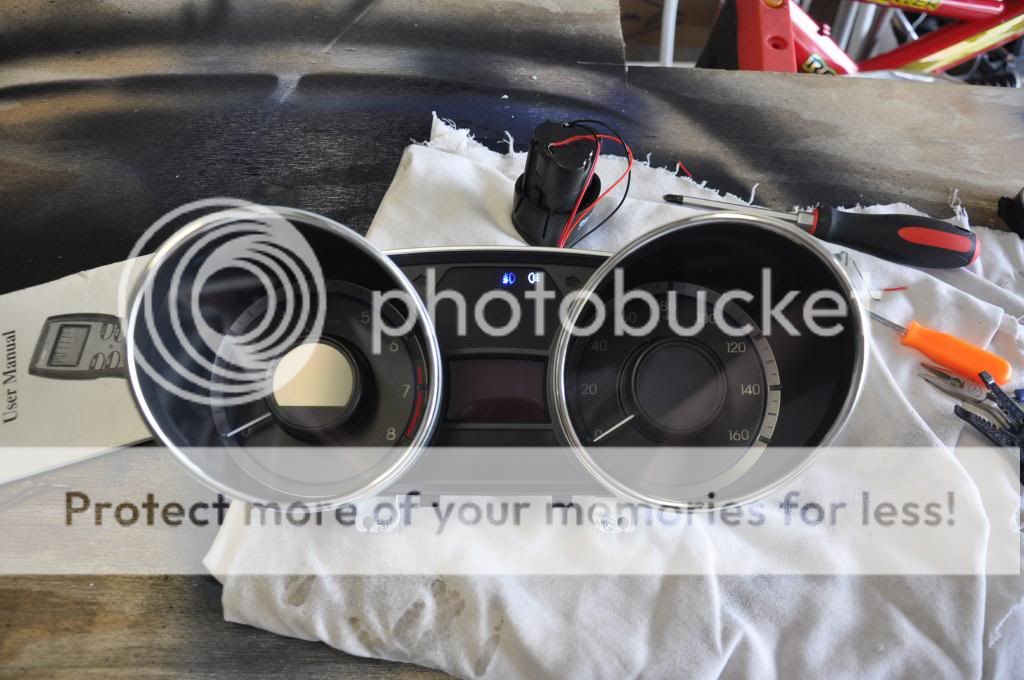
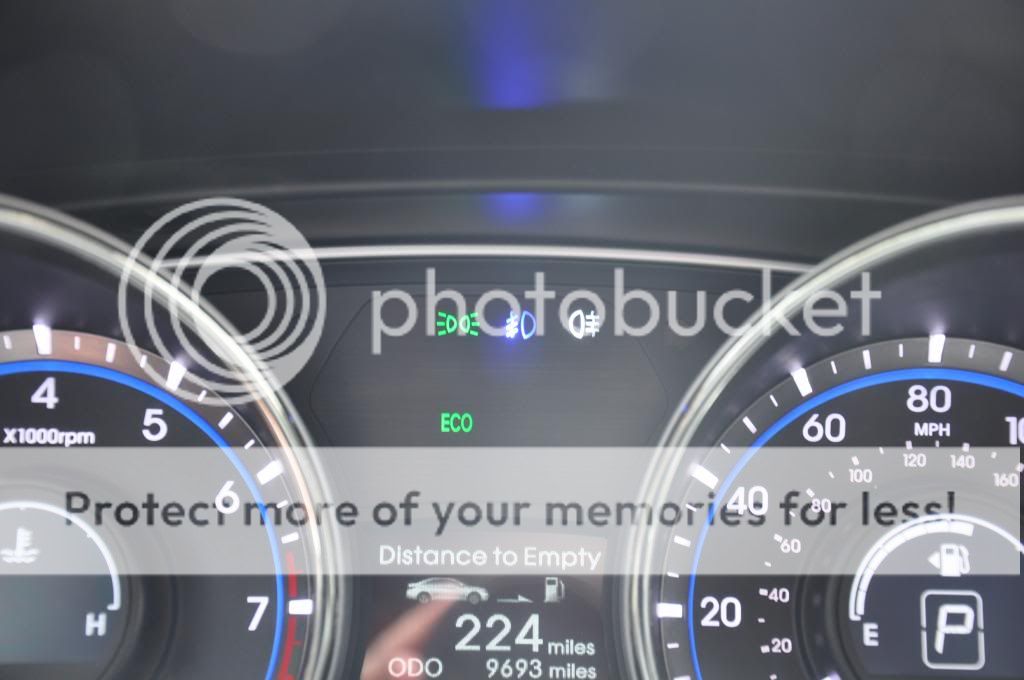
I wanted something more 'custom' and a better oem look than the led indicators I had drilled holes for. I know you're saying "well now you have empty holes!" I actually never had an indicator light for the DRL LEDs so there wasn't a hole. As far as the LED that was lit up when the fogs were on, the LED is still in the hole and I left slack on the wires. I'm sure I'll end up using that blue LED as an indicator for something else down the road. All I did for these OEM type indicators was I pulled out the gauge cluster again and I removed both the front & rear plastic pieces. I also unscrewed the (4) phillips screws from the circuit board but did NOT remove the board. There was enough play to wedge both wires through the holes once you remove the plastic piece (as seen in my DIY Disable Seatbelt Flashing Indicator thread). You'll notice that the far right indicator doesn't even have an LED. This is for the Korean version of our cars that has a 'foglight' on the rear bumper. I used a little bit of black electrical tape around the 5mm led to let it sit in place so it would beam out straight. I extended the pos/neg wires on both led's and ran them to the switches I already had mounted for the foglights and DRLs. I only had to shave down a little bit of a corner of the white plastic trim piece in order to get the wires out and to get the clip clipped in.
I'm very happy with the outcome. I took a quick drive just now to make sure the lights were aiming in my face and they are not at all. I'm so glad I did this mod!
Here you can see I am testing the LEDs with a regular 12v battery from my drill
These are how the indicators look during the day:
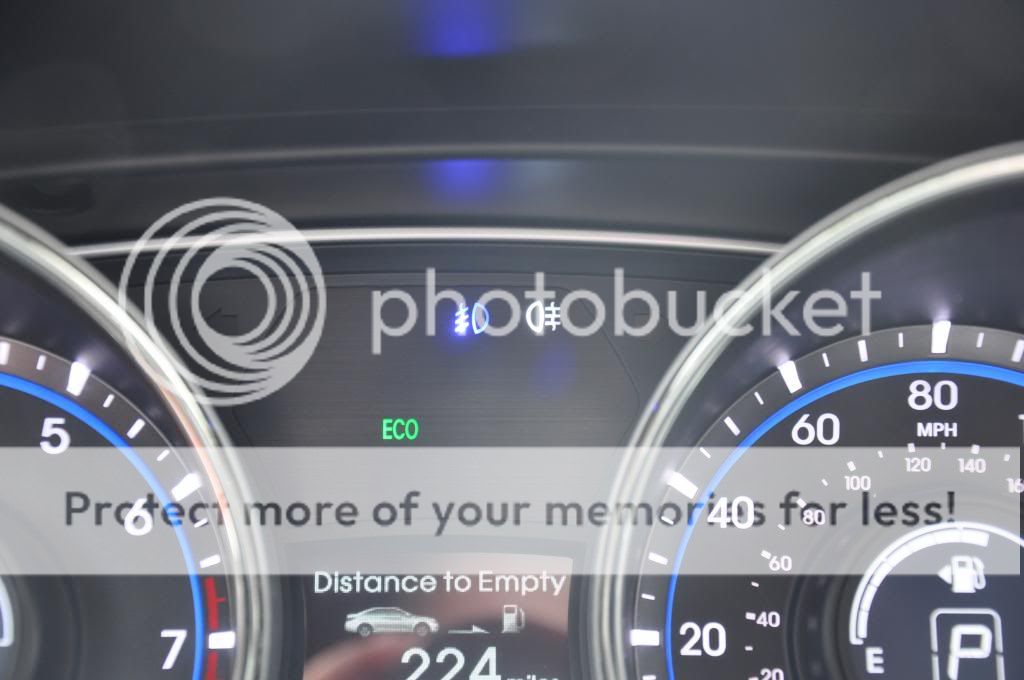
The white indicator is for my DRL LEDs
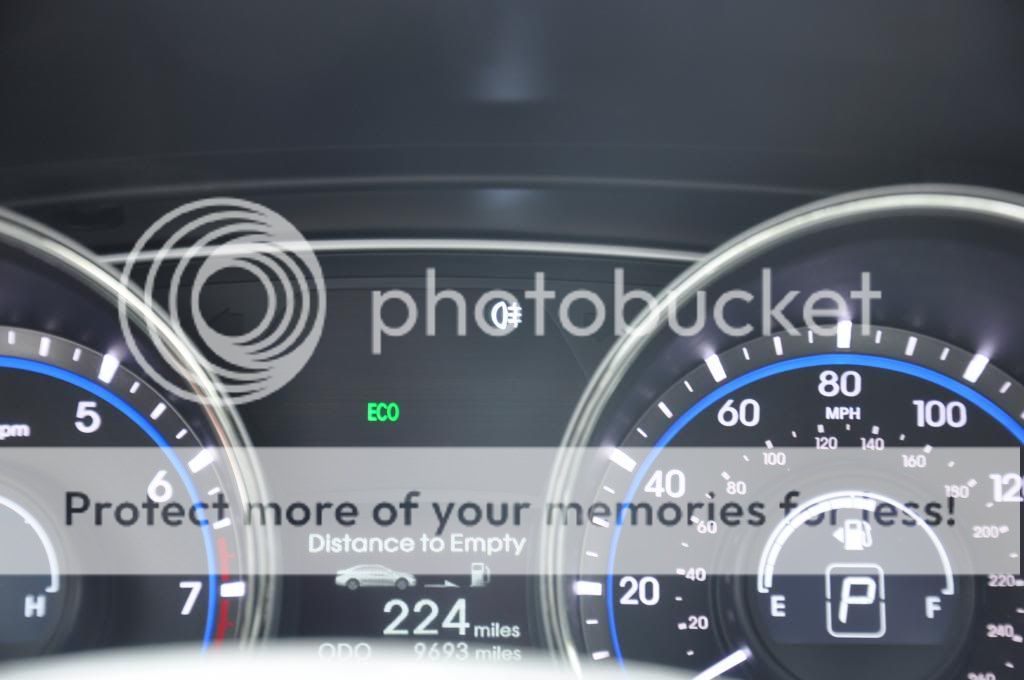
The blue indicator is for my HID fogs
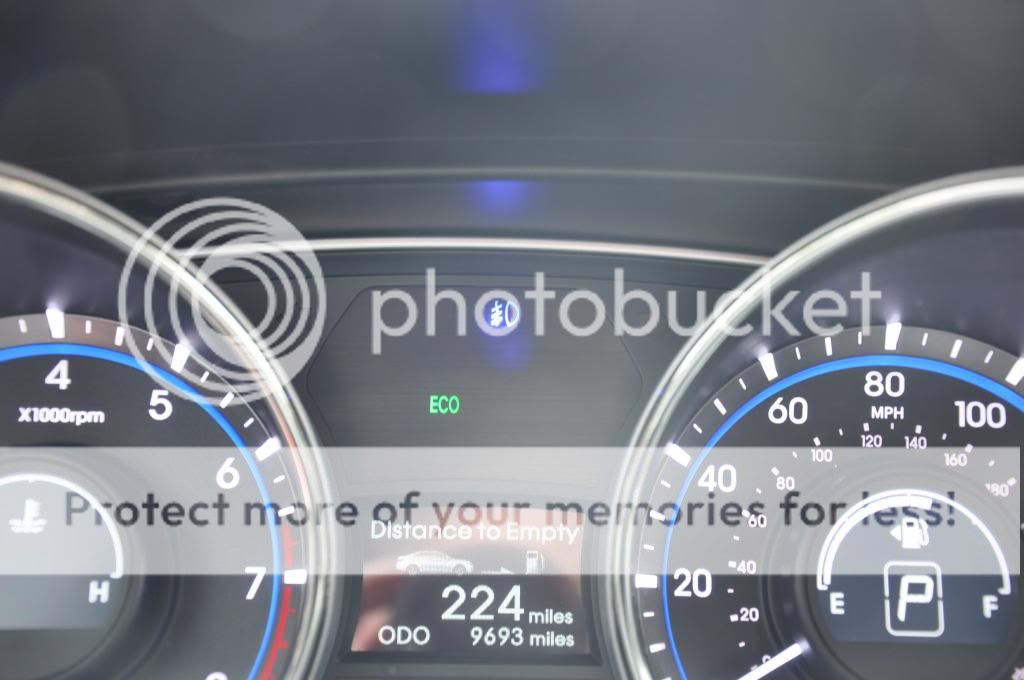
Both indicators on:
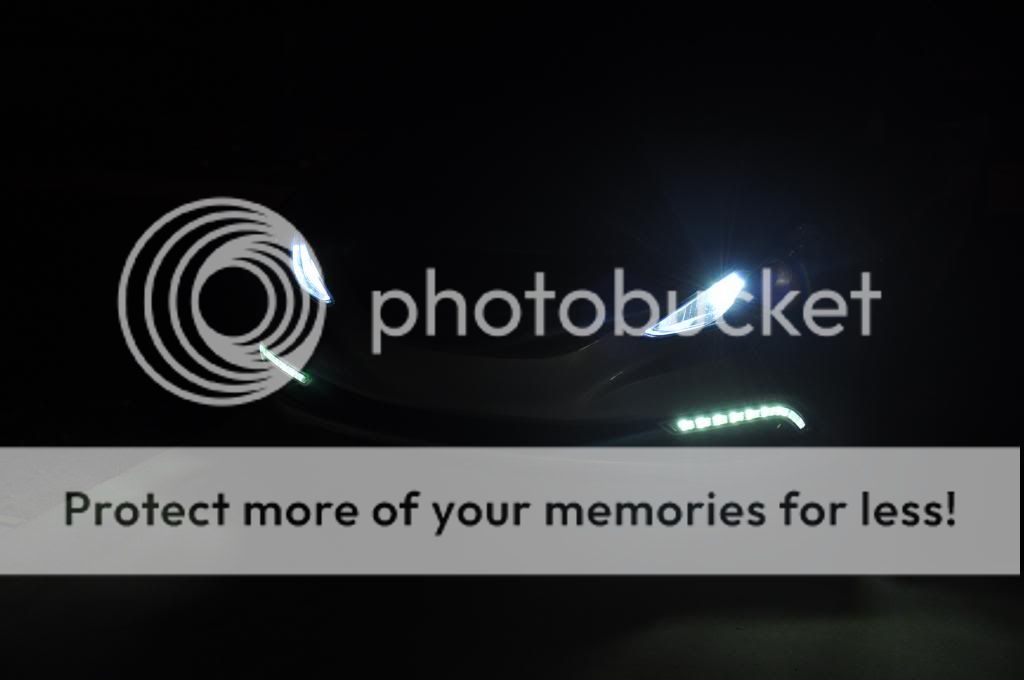
With headlights on
With high beams on
At night
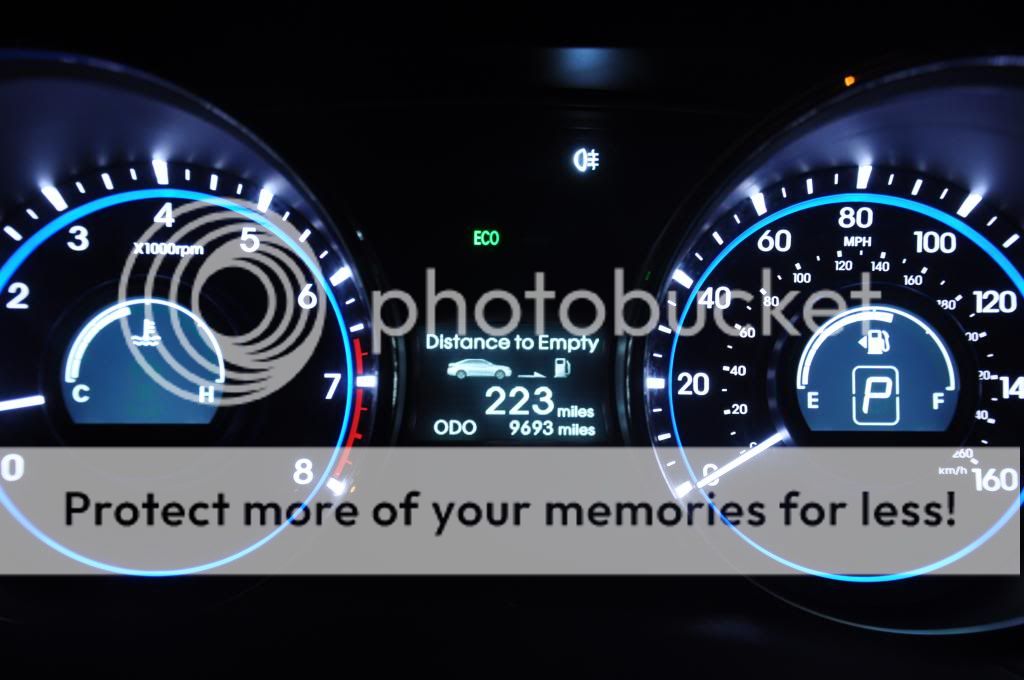
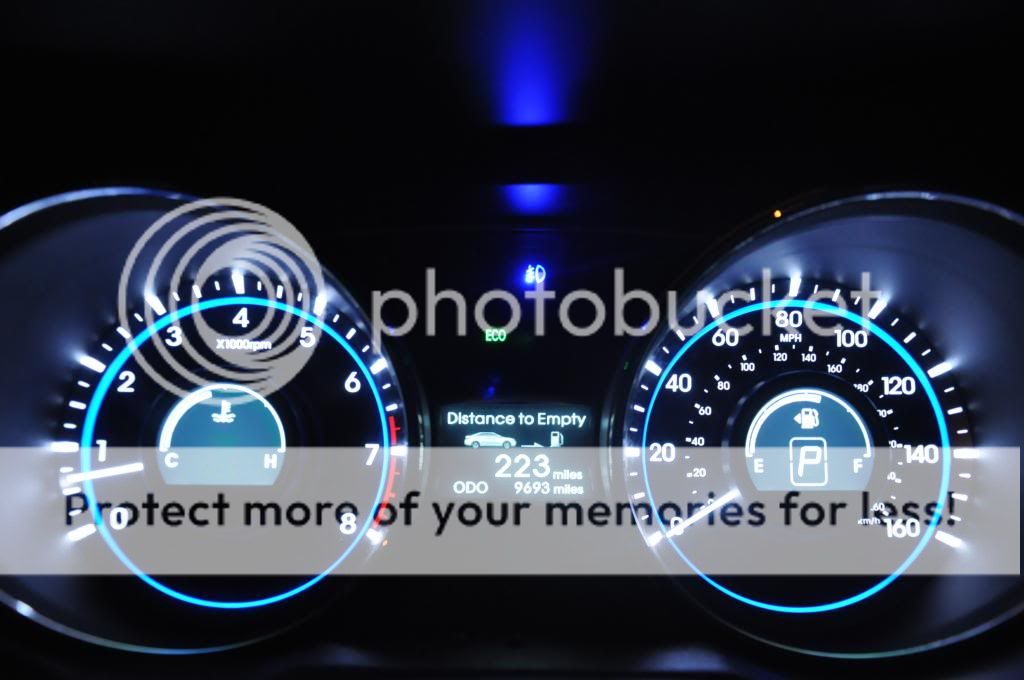
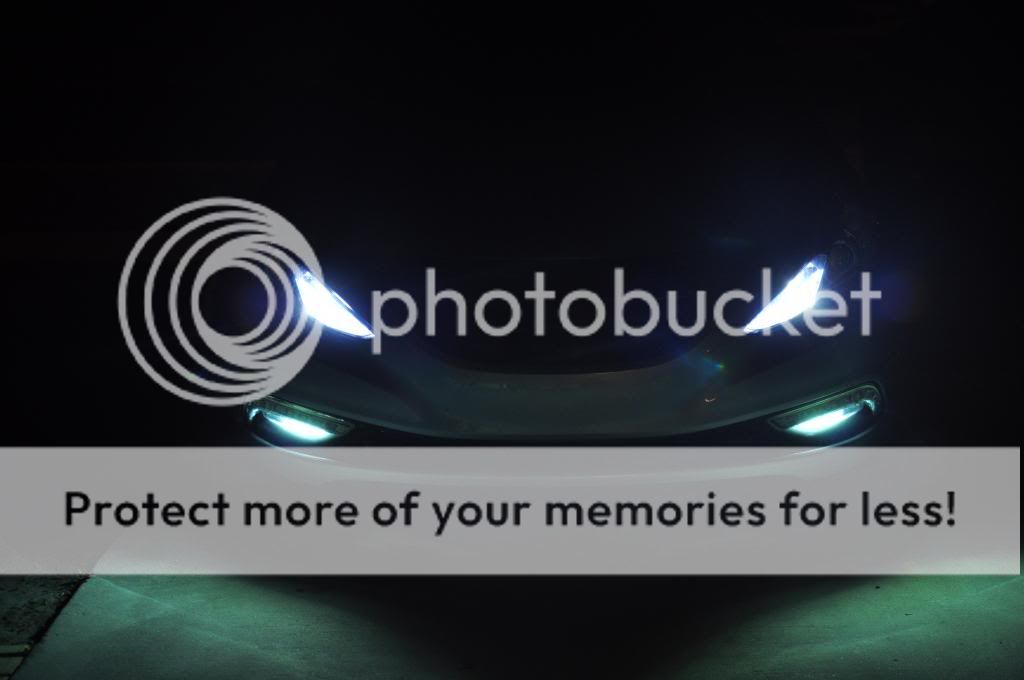
Both on at night
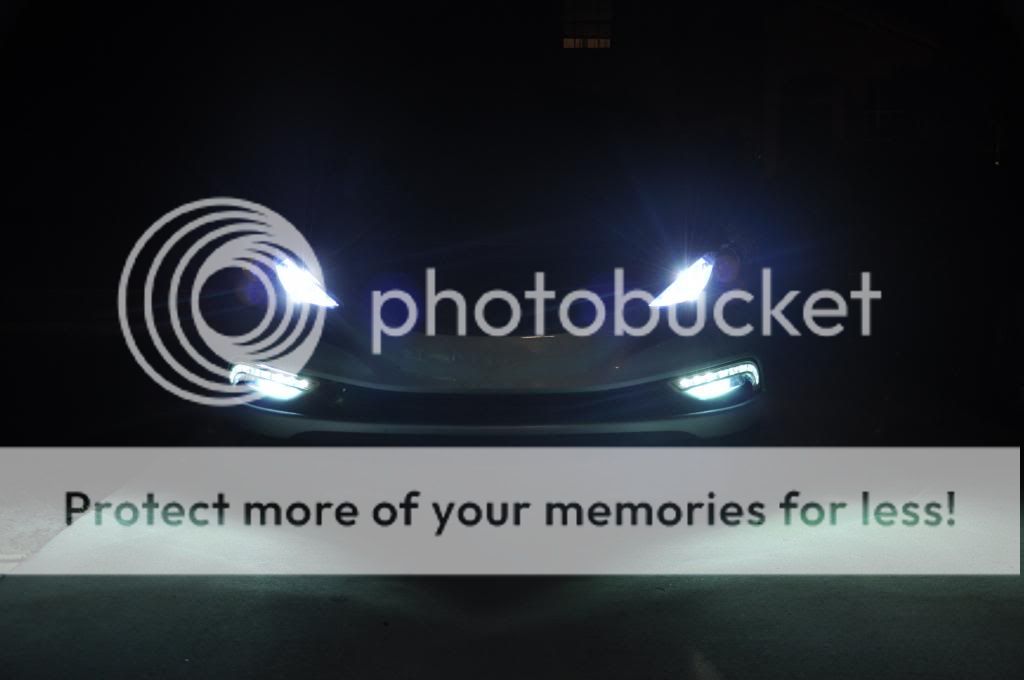
With headlights
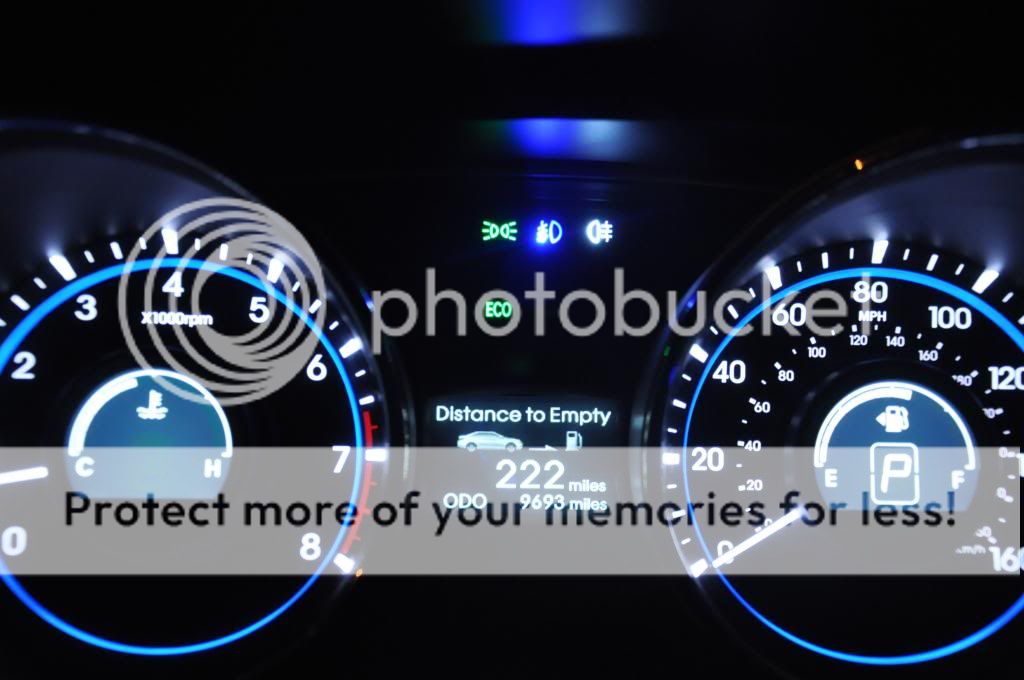
With high beams
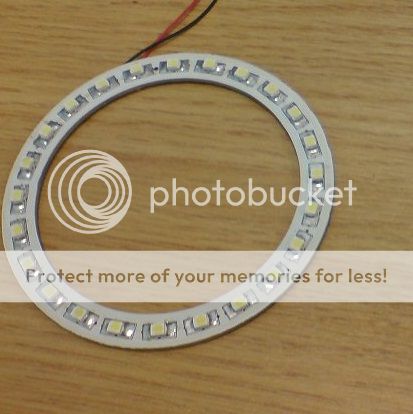
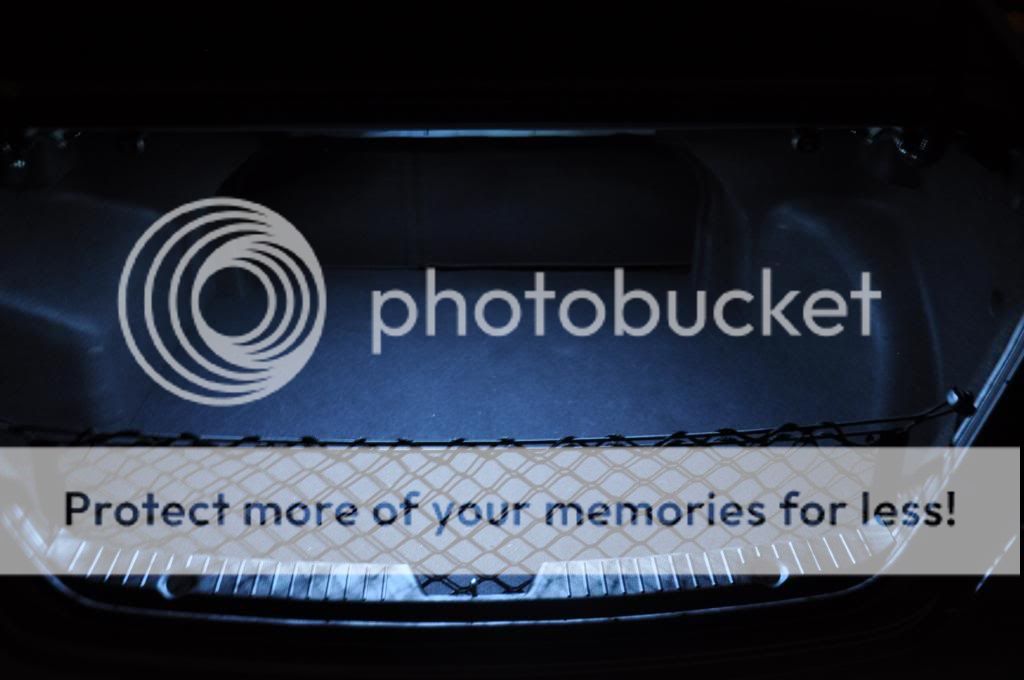
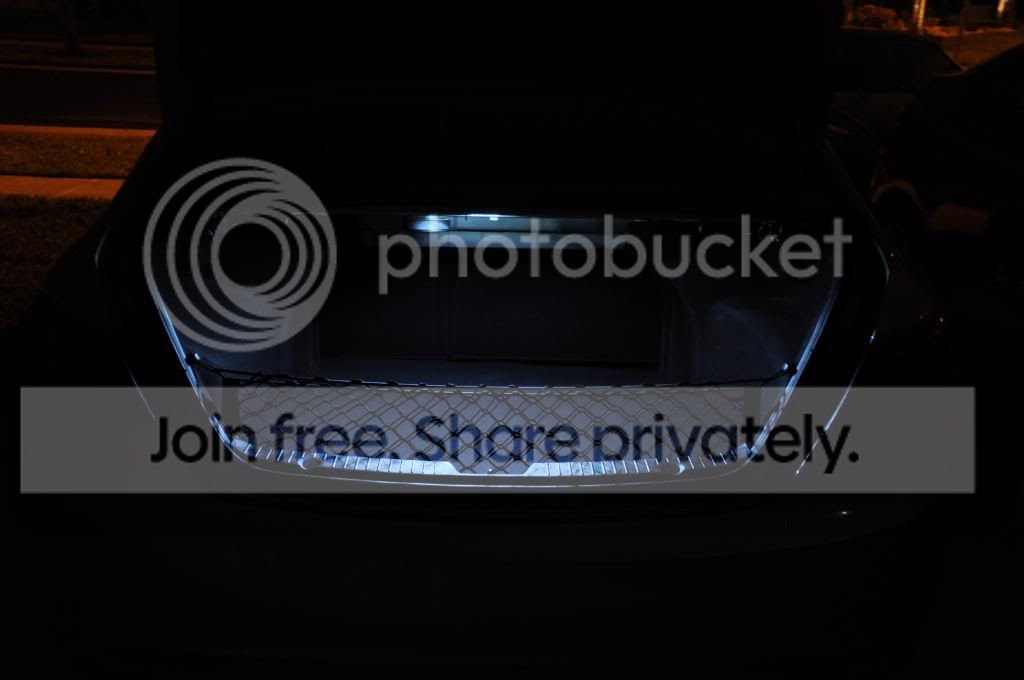
This is the type of LED ring I used for the trunk. You would think it would only beam down straight but it does not. These are wide angle type LEDs so they light up the trunk brighter than any standard LED replacement for the trunk light bulb will!
Excuse the camera glare!
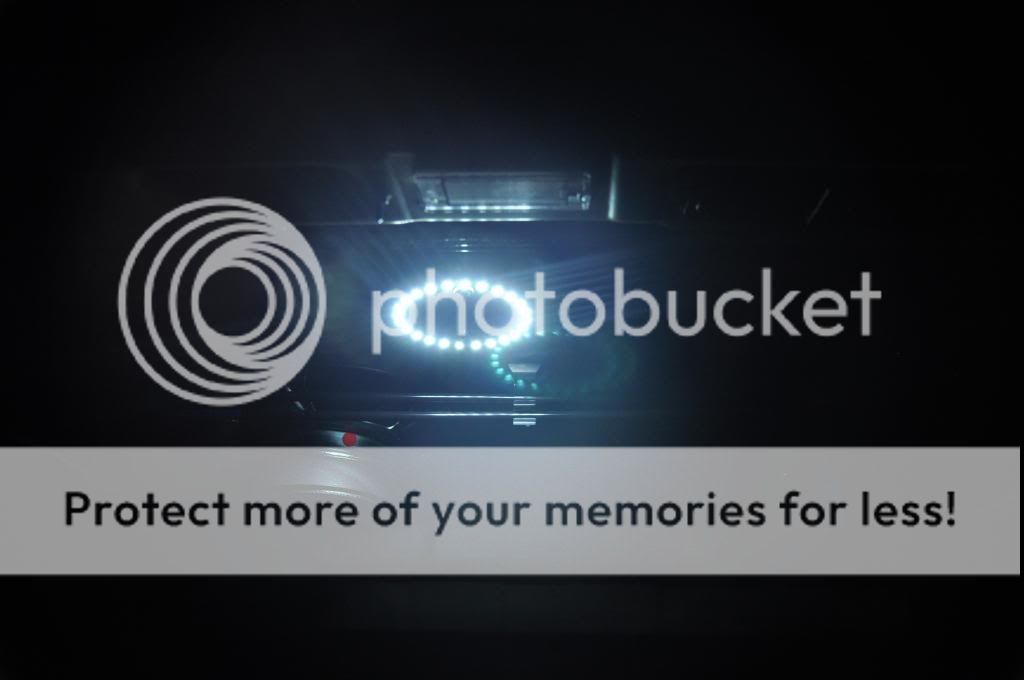
Brightness
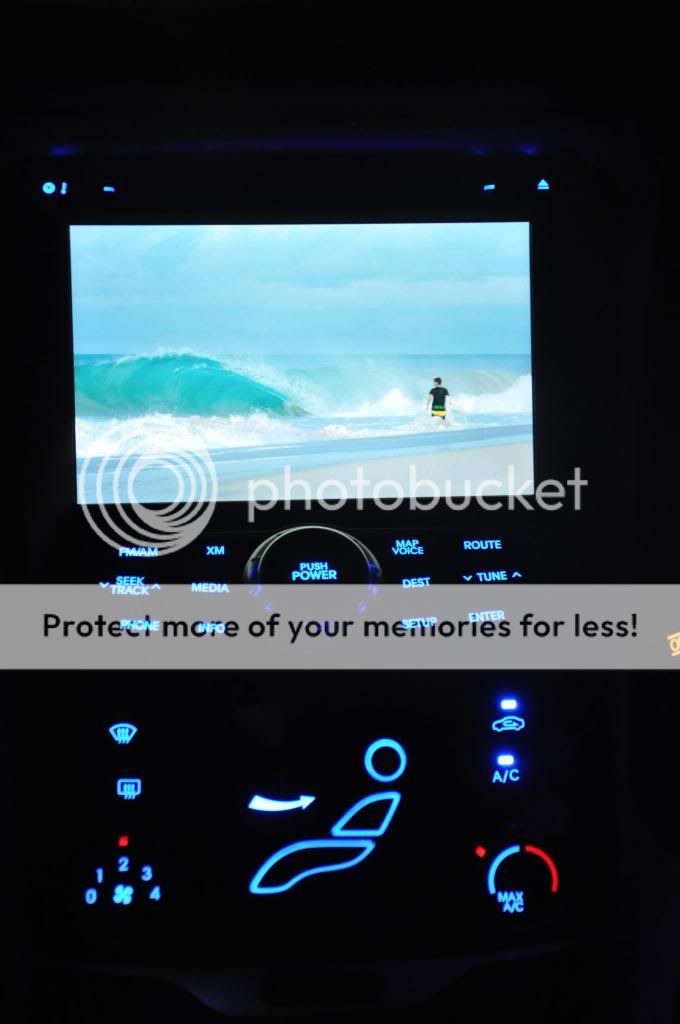
Last but not least I added a photo on my nav screen for when/if I ever shut off my radio for what so ever reason lol
I did however do the following changes:
Removed (1) 5050 Blue LED Strip from Trunk
Changed the existing wiring from the other 5050 Blue LED Strip to turn on/off with the existing blue leds on the interior of the car
Installed (1) 6000k LED Complete Circle in trunk wired to trunk light wires w/ a toggle switch
(I installed the switch so I could show off the blue trunk light at night and be able to turn off the white)
Changed the DIY Foglight Wiring to be able to turn on the fogs anytime the car is on (before it was wired to when the parking lights were on)
DIY Custom Blue LED Foglight Indicator in OEM Location on Gauge Cluster
DIY Custom White LED - DRL LED Indicator in OEM Location on Gauge Cluster
I wanted something more 'custom' and a better oem look than the led indicators I had drilled holes for. I know you're saying "well now you have empty holes!" I actually never had an indicator light for the DRL LEDs so there wasn't a hole. As far as the LED that was lit up when the fogs were on, the LED is still in the hole and I left slack on the wires. I'm sure I'll end up using that blue LED as an indicator for something else down the road. All I did for these OEM type indicators was I pulled out the gauge cluster again and I removed both the front & rear plastic pieces. I also unscrewed the (4) phillips screws from the circuit board but did NOT remove the board. There was enough play to wedge both wires through the holes once you remove the plastic piece (as seen in my DIY Disable Seatbelt Flashing Indicator thread). You'll notice that the far right indicator doesn't even have an LED. This is for the Korean version of our cars that has a 'foglight' on the rear bumper. I used a little bit of black electrical tape around the 5mm led to let it sit in place so it would beam out straight. I extended the pos/neg wires on both led's and ran them to the switches I already had mounted for the foglights and DRLs. I only had to shave down a little bit of a corner of the white plastic trim piece in order to get the wires out and to get the clip clipped in.
I'm very happy with the outcome. I took a quick drive just now to make sure the lights were aiming in my face and they are not at all. I'm so glad I did this mod!
Here you can see I am testing the LEDs with a regular 12v battery from my drill
These are how the indicators look during the day:
The white indicator is for my DRL LEDs
The blue indicator is for my HID fogs
Both indicators on:
With headlights on
With high beams on
At night
Both on at night
With headlights
With high beams
This is the type of LED ring I used for the trunk. You would think it would only beam down straight but it does not. These are wide angle type LEDs so they light up the trunk brighter than any standard LED replacement for the trunk light bulb will!
Excuse the camera glare!
Brightness
Last but not least I added a photo on my nav screen for when/if I ever shut off my radio for what so ever reason lol
03-18-2014, 10:27 AM
#10
Junior Member
Thread Starter